How to Hang a Wooden Gate That Won't Sag (Hardware First)

A wooden gate sags for three reasons, and two of them are hardware: hinges too short for the width of the gate, fixings that only bite into the face of the stile, and a hinge post that moves in the ground. Sort those out and a heavy timber gate will still shut cleanly in five years. Skip them and it'll be scuffing the path by the end of the first wet winter.
Below is the order we'd work in, with the sizes, finishes and fixings we'd pick off our own shelves in Eindhoven. The email we get most often in spring is some version of "I hung it in March and it's already catching on the slabs", and nine times out of ten the answer is in the first two sections.
Gates don't drop because they're heavy. They drop because of leverage
A gate is a cantilever. Every kilo of it hangs off one vertical edge, and the further out that weight sits, the harder it pulls. A 1 m wide, 1.8 m high softwood ledged-and-braced gate comes in somewhere around 25 to 30 kg as a rough figure. That isn't much. But hang it on two 100 mm T hinges and the top hinge is being levered straight out of the post while the bottom one is crushed into it, and the screws holding the strap have maybe 30 mm of timber to grip.
So the whole job is about spreading that load. A longer hinge strap reaches further across the gate and shares the pull between more of the frame. A bolt through the stile can't pull out the way a screw can. And a post that's properly set doesn't let the whole assembly lean away from you.
Start with the post, not the gate
The hinge post is the hardest-working piece of timber in the whole fence line, and it should be the beefiest. For a single gate up to about a metre wide, 100 x 100 mm is the sensible minimum. Go to 120 x 120 mm or 140 x 140 mm for anything wider, for double gates, or if the gate is close-boarded and catches wind like a sail.
Depth: roughly a third of the height that stands above ground, and not less than 600 mm. On clay or loose sand, deeper. Concrete it in, and give it a day to go off before you hang anything on it, however tempting it is to carry on the same afternoon.
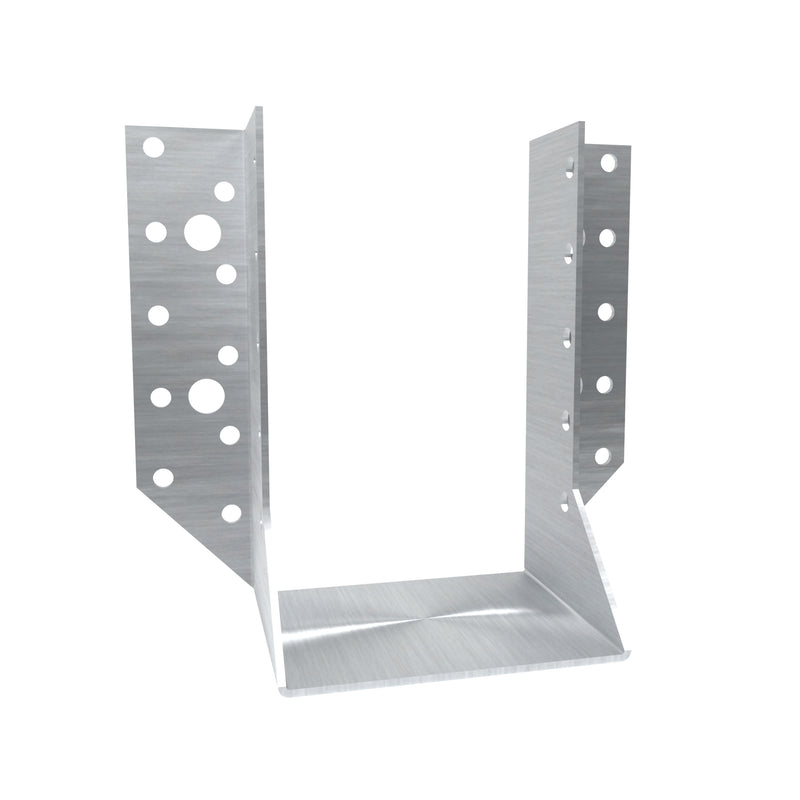
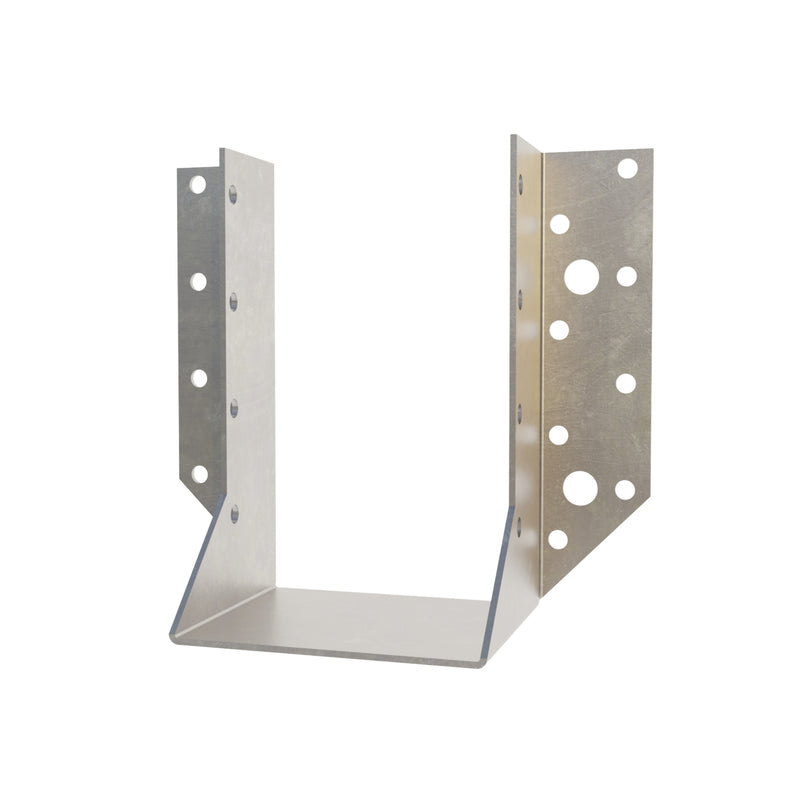
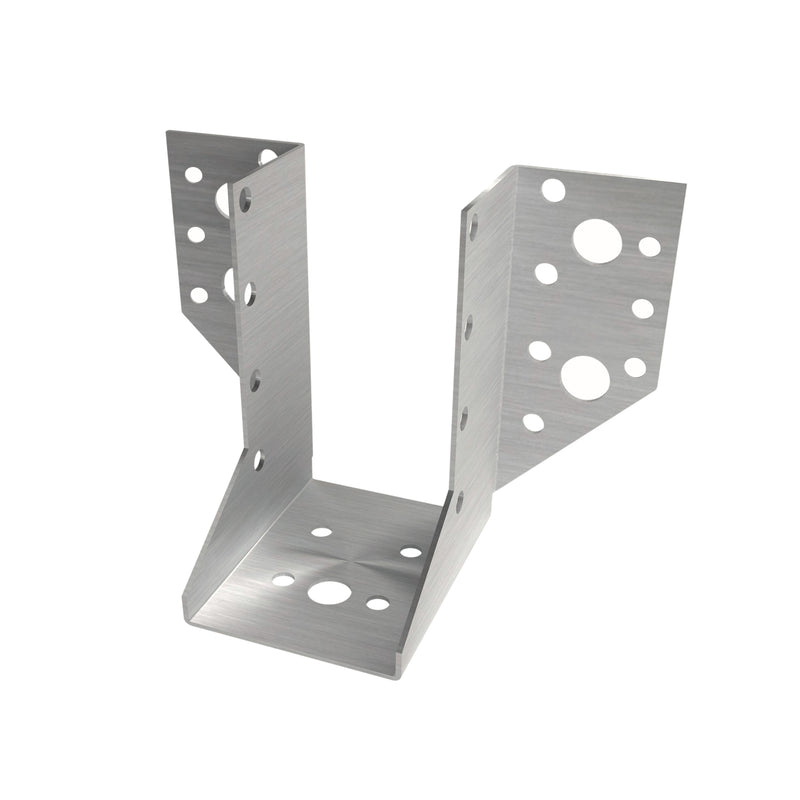
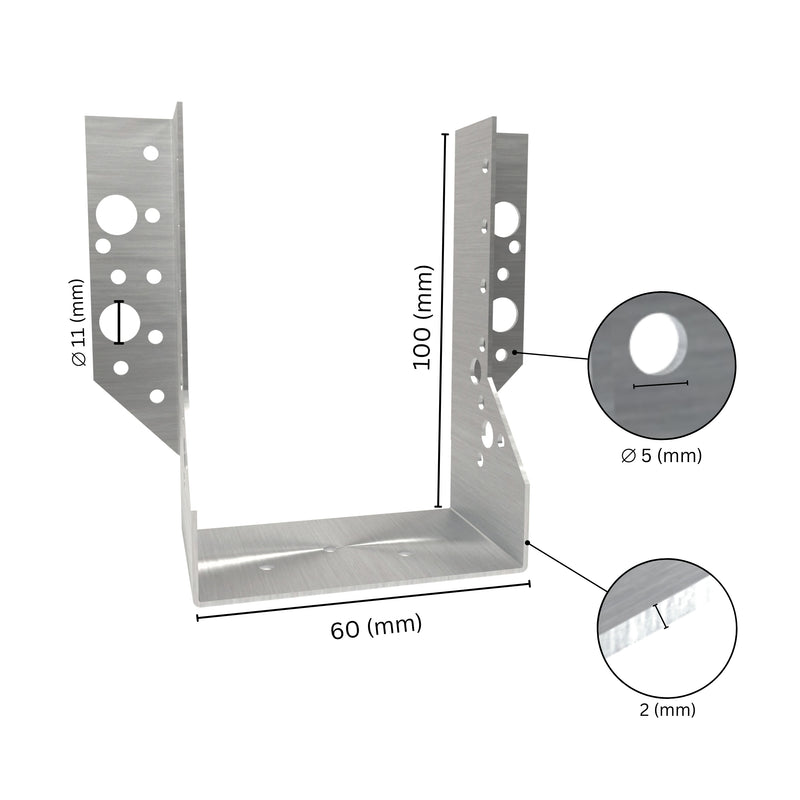
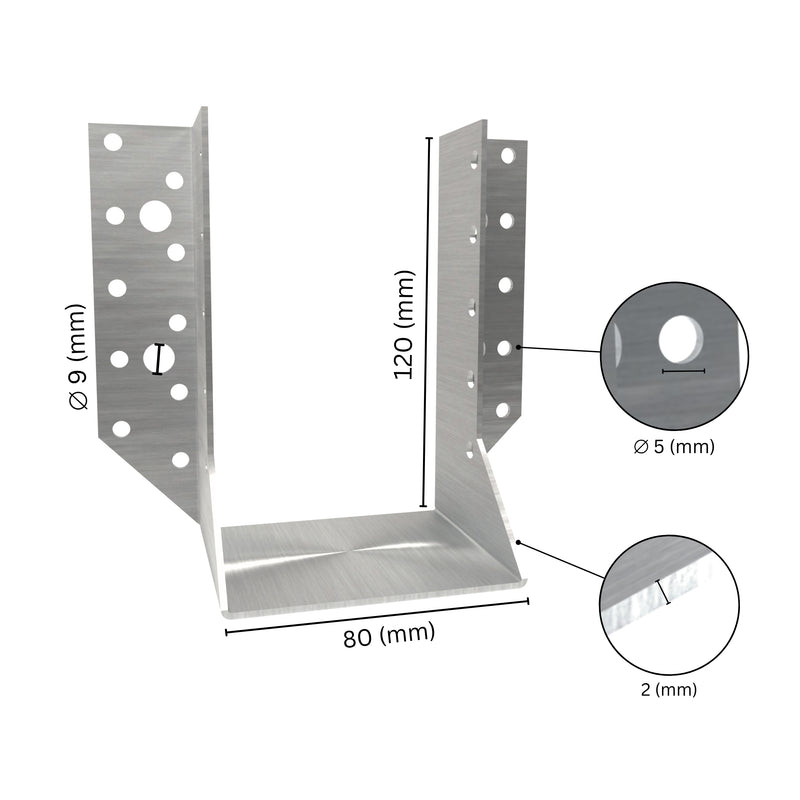
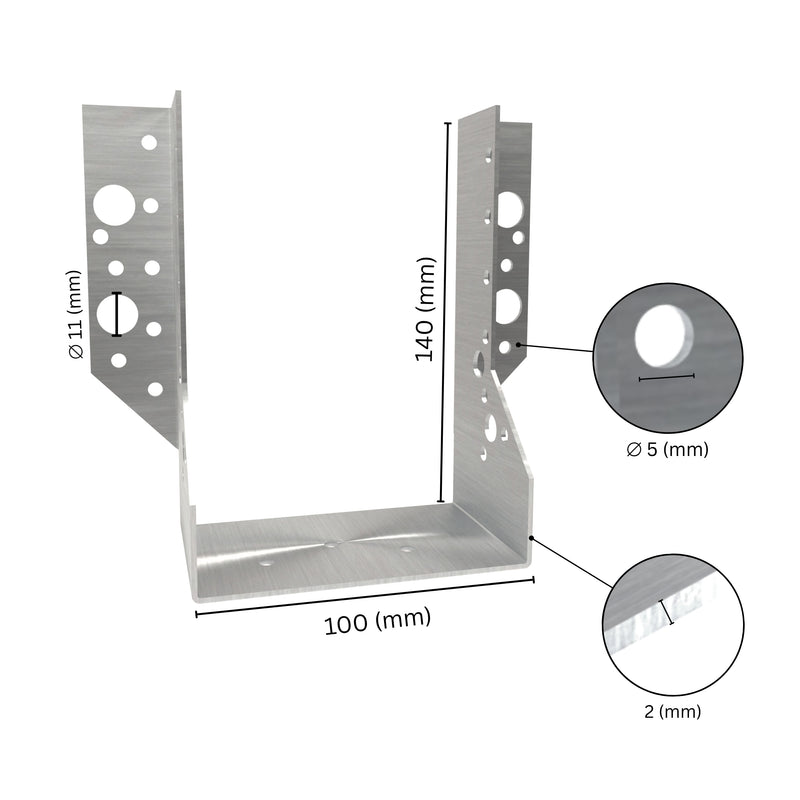
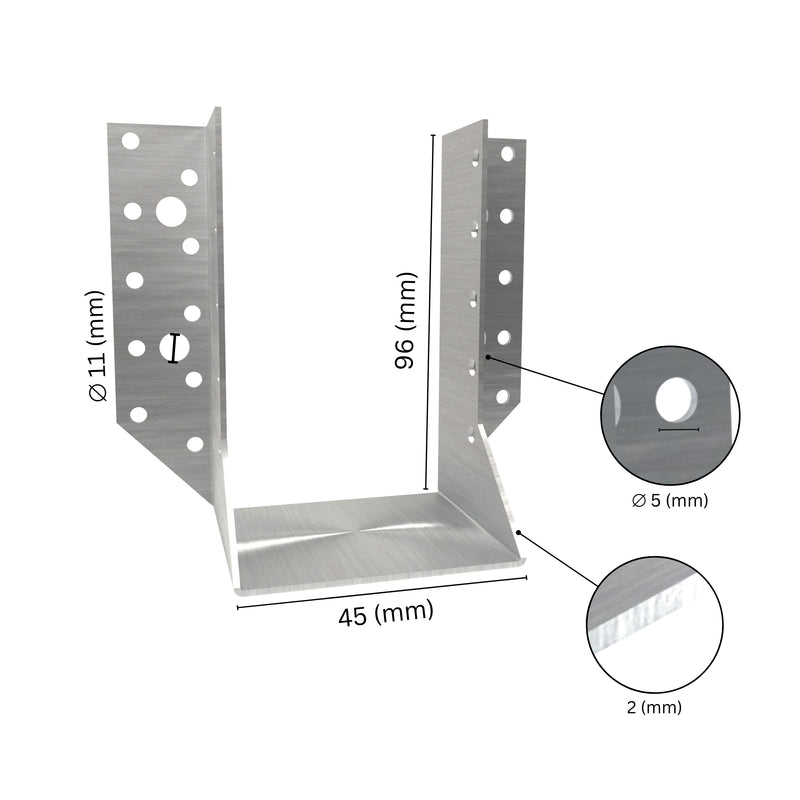
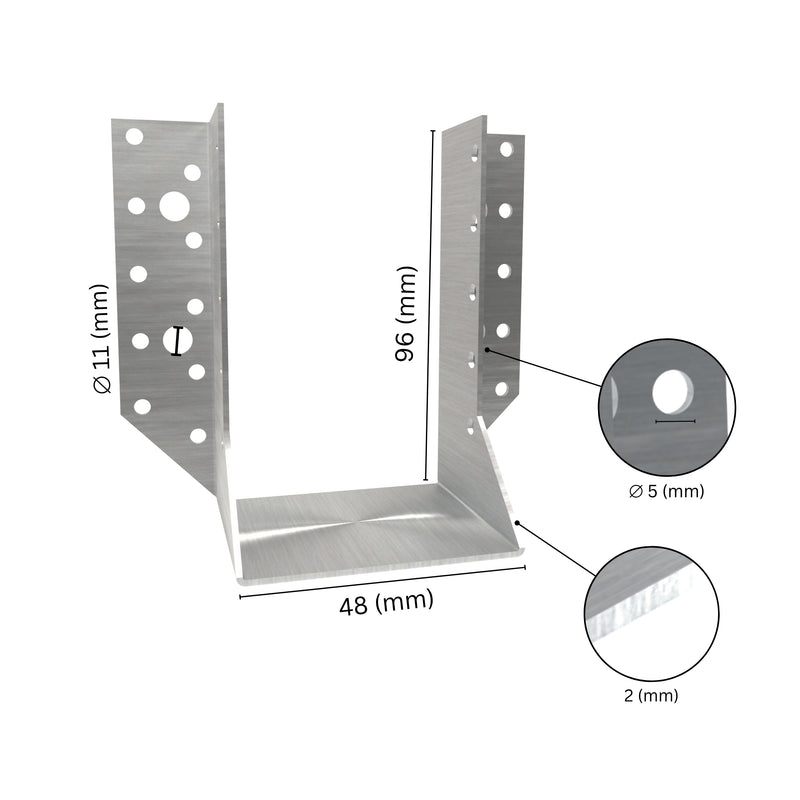
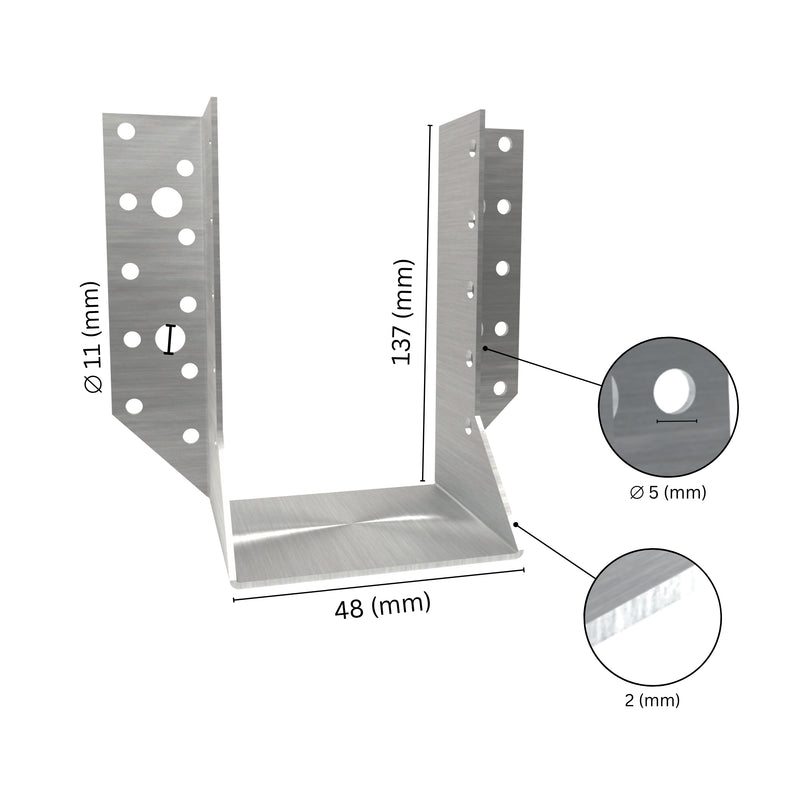
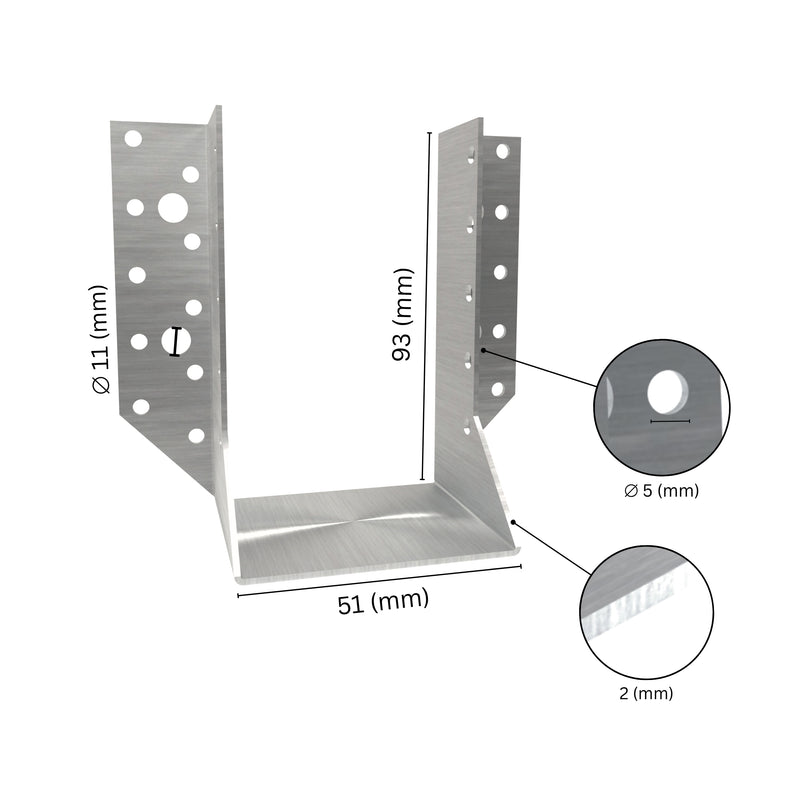
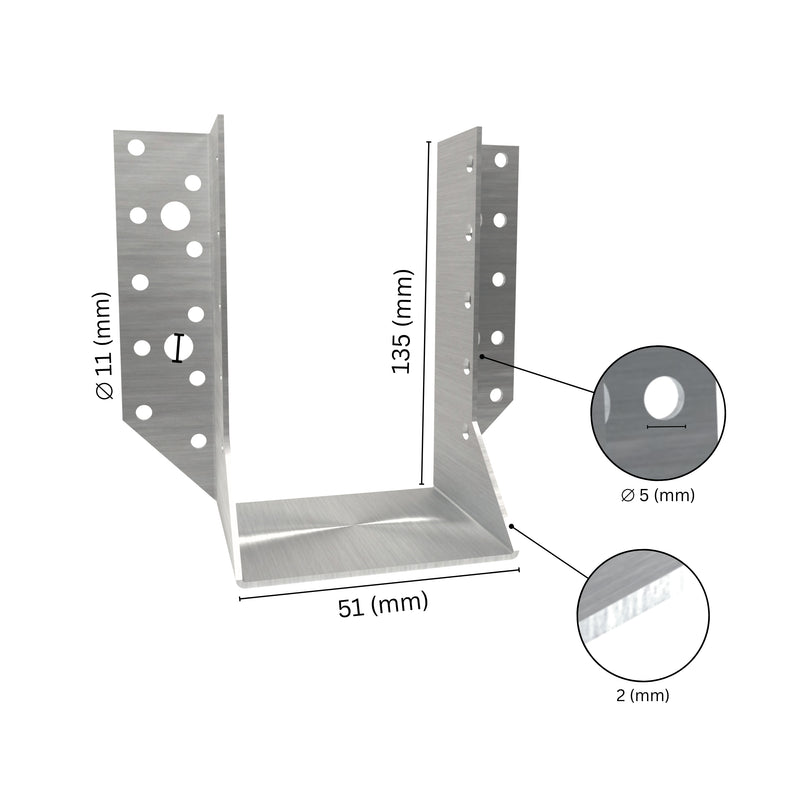
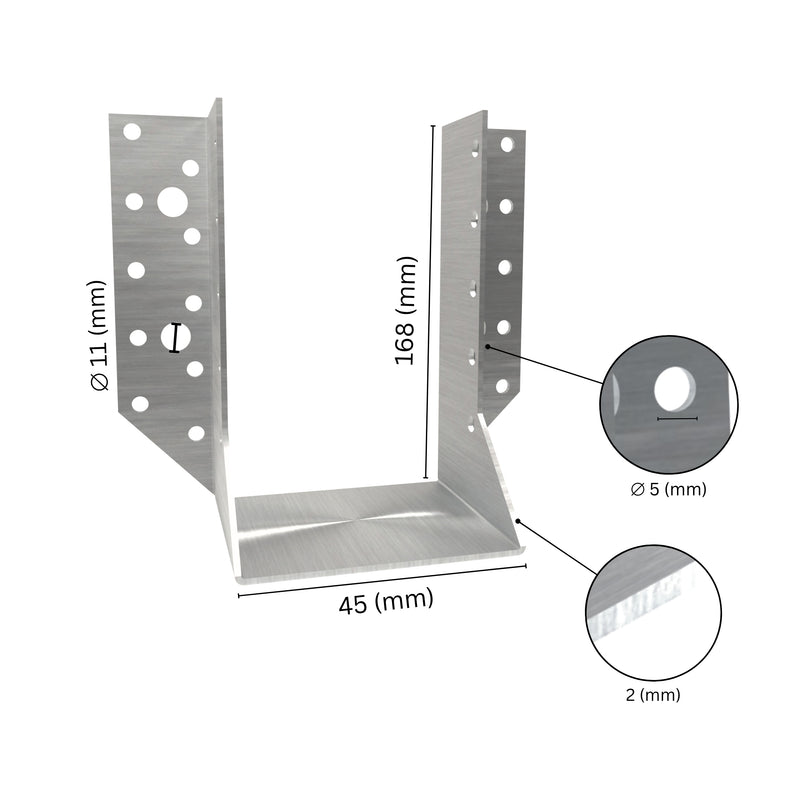
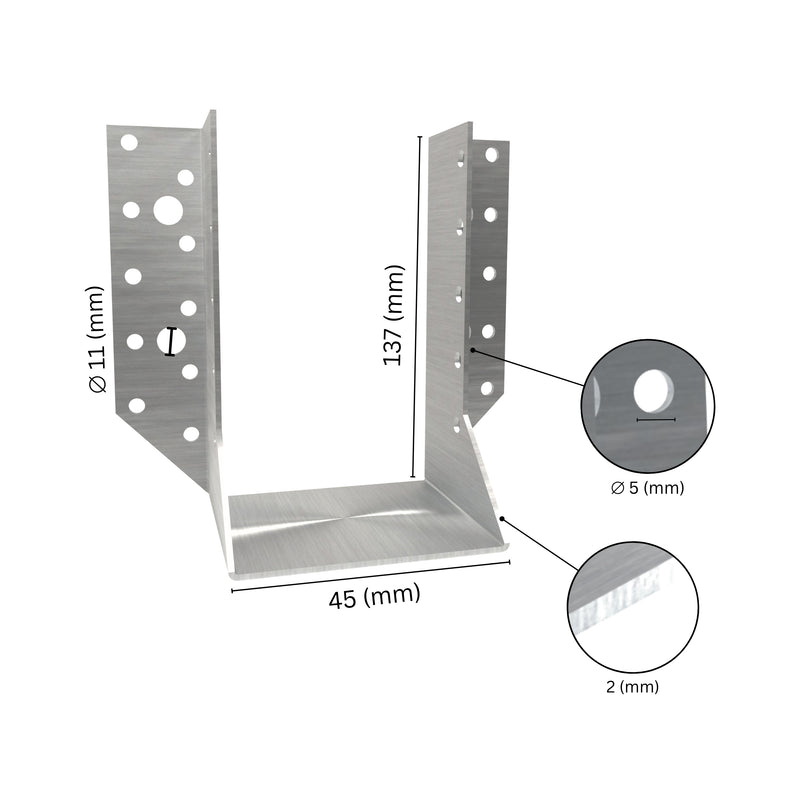
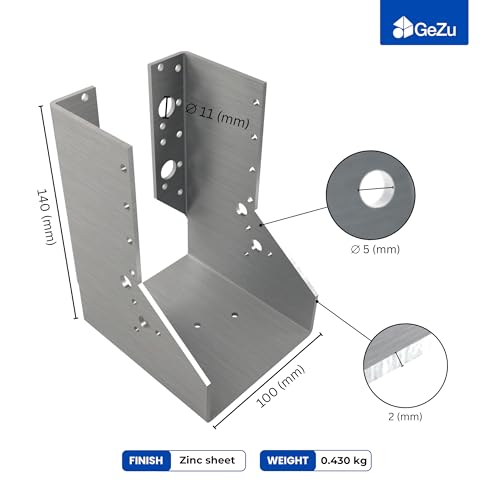
If you'd rather not bury timber at all, a galvanised post support keeps the end grain out of the wet, which is where posts rot first. The concrete-in U-shaped supports start around €5.49 and come in 101, 111 and 116 mm widths to suit common post sizes. One honest warning though: a drive-in spike is a good, quick answer for a fence post and a marginal one for a gate hinge post. The spike can rock in soft ground, and a gate will find that movement and amplify it. Bolt-down or concrete-in for hinge posts. Every time.
Pick the hinge by gate width, not by what looks about right
The working rule: the strap should reach at least halfway across the gate, and closer to two thirds on a heavy ledged-and-braced one. Hinges sized at a third of the width are the usual compromise people make in the shop, and they're the usual reason a gate is back on the workbench a year later.
| Gate | Rough weight | What we'd hang it on | Strap length |
|---|---|---|---|
| Light side gate, up to 600 mm wide | 10-15 kg | Pair of T hinges | 250-400 mm |
| Standard single gate, 900 mm | 20-30 kg | Band hinge on a pintle, or long T hinges | 400-500 mm |
| Ledged and braced, 1,000-1,200 mm | 30-45 kg | Band hinge and pintle bracket | 600 mm |
| Double gates or a field gate, 1,500 mm+ per leaf | 50 kg and up | Band hinges, three per leaf if over 1.8 m tall | 1,000 mm |
Our T hinges run 100 to 400 mm and start at €1.91, which covers shed doors, light side gates and anything you can lift comfortably with one hand. Past that, move to a gate band hinge: 300, 400, 500, 600 and 1,000 mm, from €3.59. A band hinge wraps a hook or pintle rather than pivoting on a small knuckle, so the load path goes band to pin to post instead of band to screws to timber.
The pin itself matters as much as the band. Our pintle bracket bolts to the face of the post and comes in 21 mm and 35 mm depths, and that depth is not a detail to skim over. It sets your hinge-side gap. Choose it once, before you drill, rather than discovering afterwards that the gate fouls the post when it swings past 90 degrees.
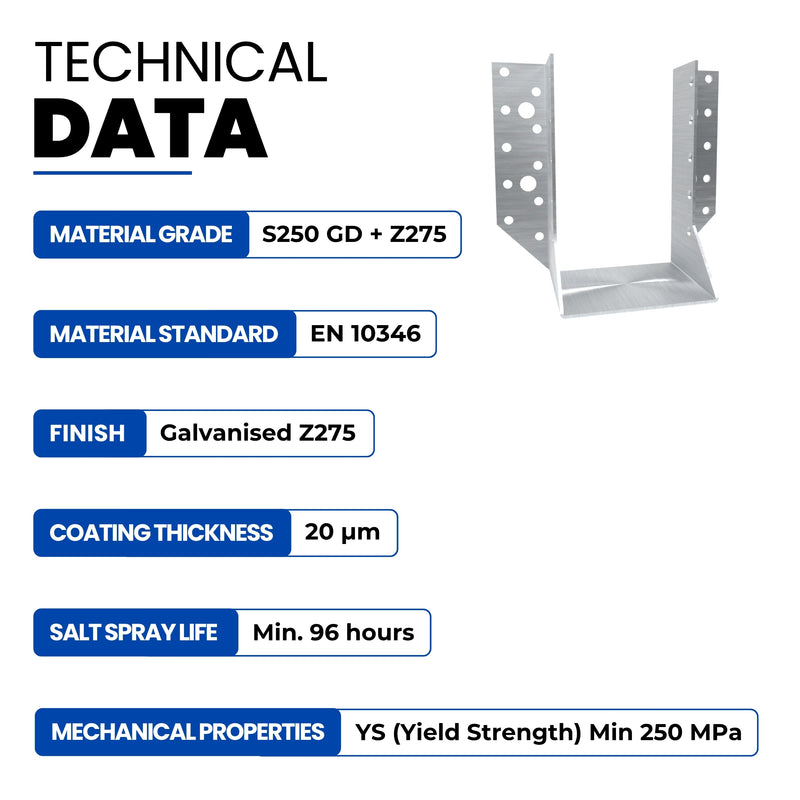
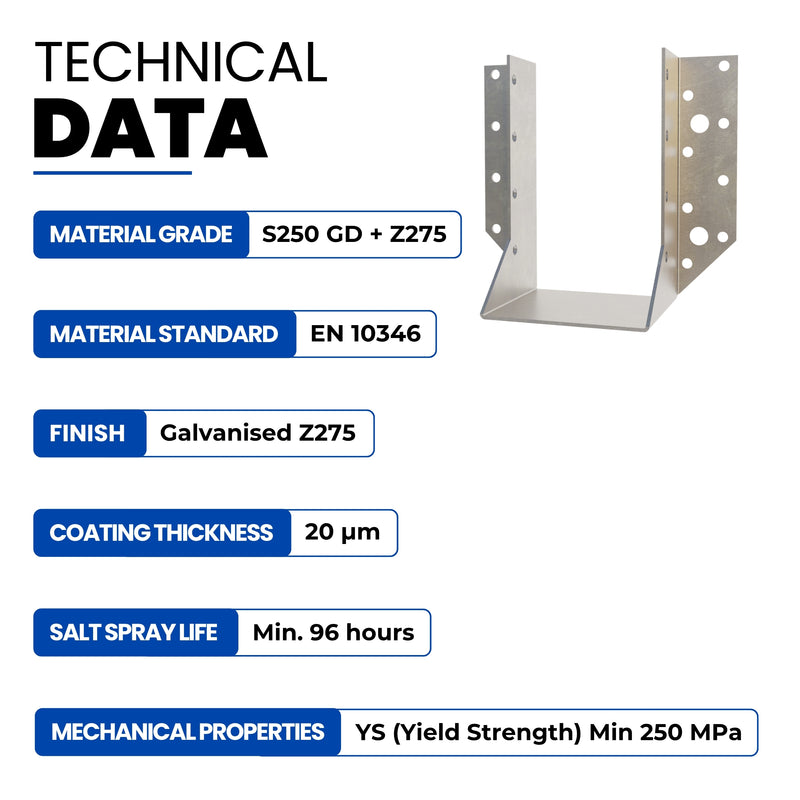
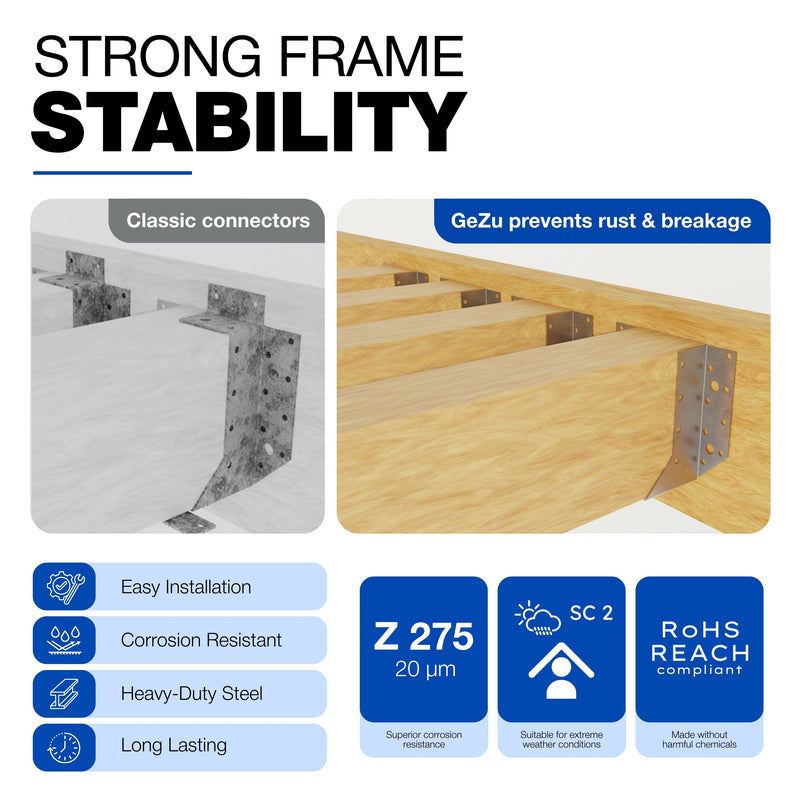
On finish: hot-dip galvanised or stainless for anything permanently outside. Electroplated zinc is a thinner coating and it belongs on sheltered work, inside a porch, under a canopy, in a barn. It will survive a garden gate, but not for as long, and a seized hinge on a rusty pin is a miserable job to undo. Browse the full range in hinges if you want to compare sizes side by side.
Bolts, not screws
This is the cheapest upgrade on the list and the one most often skipped. Wherever the hinge strap crosses the stile, put a coach bolt right through the timber (M8 for most garden gates, M10 for heavy or double gates) with a washer under the nut on the back face. A screw resists being pulled out with maybe 40 mm of thread in end-grain-adjacent softwood. A bolt simply can't pull out, because there's a steel washer and nut on the other side of the wood.
Use screws only where a bolt won't fit, and then use the longest galvanised screw that won't blow through the back. Don't mix fixings you found in a jar with galvanised hardware either, since a bright zinc screw in a hot-dip hinge is the first thing to bleed rust down the gate. We keep matching fasteners alongside the hardware for exactly that reason.
The brace has to run the right way
On a ledged-and-braced gate the diagonal runs from the bottom of the hinge side up to the top of the latch side. Not the other way. Fitted correctly, the weight of the latch corner pushes down along the brace and into the bottom hinge, where the post can take it, and the timber works in compression, which is what timber is good at.
Flip it and the brace is in tension, hanging from the top hinge, relying entirely on the joints and the fixings to hold. They won't, not for long. If you're looking at an existing gate that has dropped and the diagonal runs from the top of the hinge side down to the bottom of the latch side, you've found your problem before you've touched a spanner.
Hanging it: the seven steps
- Dry-fit first. Prop the gate in the opening on offcuts or a couple of bricks so it sits exactly where you want it when closed. Two people is much easier than one and a wedge.
- Set the ground clearance. Between 25 and 50 mm under the bottom rail. Go to the higher end on gravel, grass, or ground that rises as the gate swings. Lower only if the surface is flat concrete and stays that way.
- Set the gaps. Around 10 mm on the hinge side (or whatever your pintle depth dictates) and 10 to 20 mm on the latch side, consistent from top to bottom. A gap that tapers means the post isn't plumb, so fix that now rather than shimming the latch later.
- Mark the hinge positions. Top hinge just under the top rail, bottom hinge on the bottom rail, both landing on solid timber. Never fix a strap only to the boarding.
- Drill and bolt. Pilot everything. Fit the top hinge fully, check the gate is still sitting where you left it, then do the bottom.
- Swing it before the latch goes on. Full arc, both ways if it's a double-swing gate. Listen for the scrape. It's far easier to adjust now than after the keep is screwed to the post.
- Fit the latch last. Mark the keep with the gate closed and held in its final position, not while it's hanging free.
The latch is a five-minute decision, so make it after the swing
Which latch you want depends on which way the gate opens and whether you need to reach over. An auto gate latch at €2.79 does the job on a standard side gate that swings one way and self-catches. A farmer's gate latch set gives you a proper thumb-operated handle both sides. For double gates, a 450 mm throw-over latch holds the leading leaf while a drop bolt pins the other into the ground. All of it sits in gate latches and bolts.
One thing worth doing: if the gate is the only way into a back garden, check that whatever you fit can be opened from outside without being reachable through a gap in the boarding.
FAQ
How many hinges does a wooden gate need?
Two for most garden gates. Three once the gate is over about 1.8 m tall or genuinely heavy, with the third in the middle, since a tall gate twists as well as drops.
Can I fix a sagging gate without taking it off?
Sometimes. If the hinges are sound and the post is solid, an anti-sag cable across the frame (top hinge corner down to bottom latch corner) pulls it back square. If the hinges are undersized or the post is rocking, a cable just moves the problem along for a season.
Do gate posts always need concrete?
Not always, but the alternative has to be rigid. A bolt-down post base on an existing concrete slab or footing works well and keeps the timber out of standing water. Loose or driven fixings under a hinge post are where the trouble starts.
Galvanised or electroplated for outdoor gate hardware?
Hot-dip galvanised or stainless outside, electroplated for sheltered and indoor work. The price difference on a pair of hinges is a couple of euros, and it decides whether you're repainting rust streaks in two years.
What to order
Measure the gate width first, take two thirds of it, and buy the strap length that gets closest without overhanging the far stile. Then match the fixings to the finish. Everything you need for a gate that stays square is in our hinges collection, and if you're unsure which size suits your gate, send us the width and the height and we'll tell you what we'd hang it on.