Pergola wall brackets to a shaded patio: complete 2026 workflow

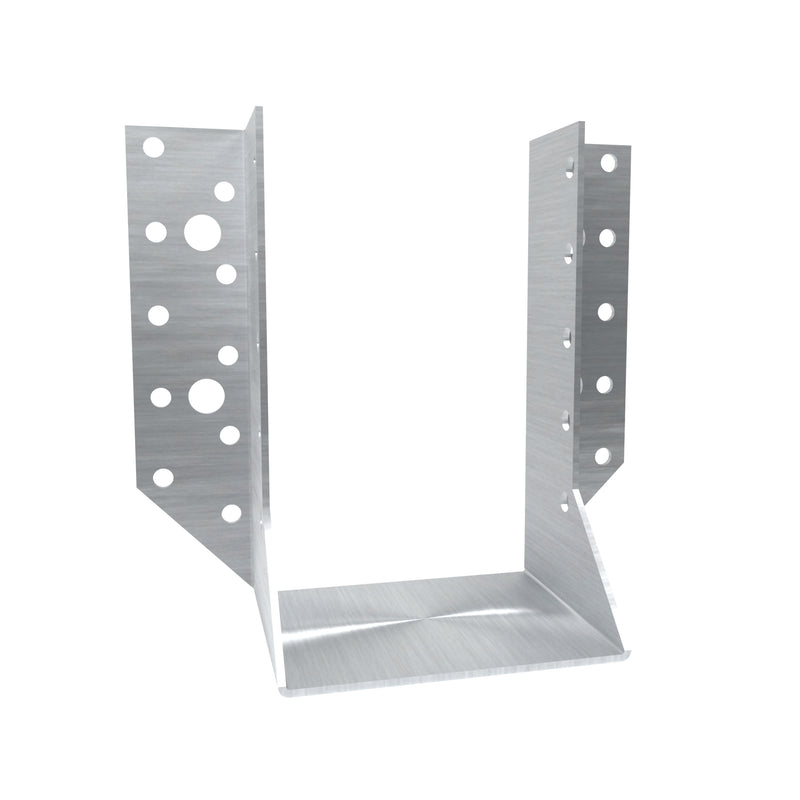
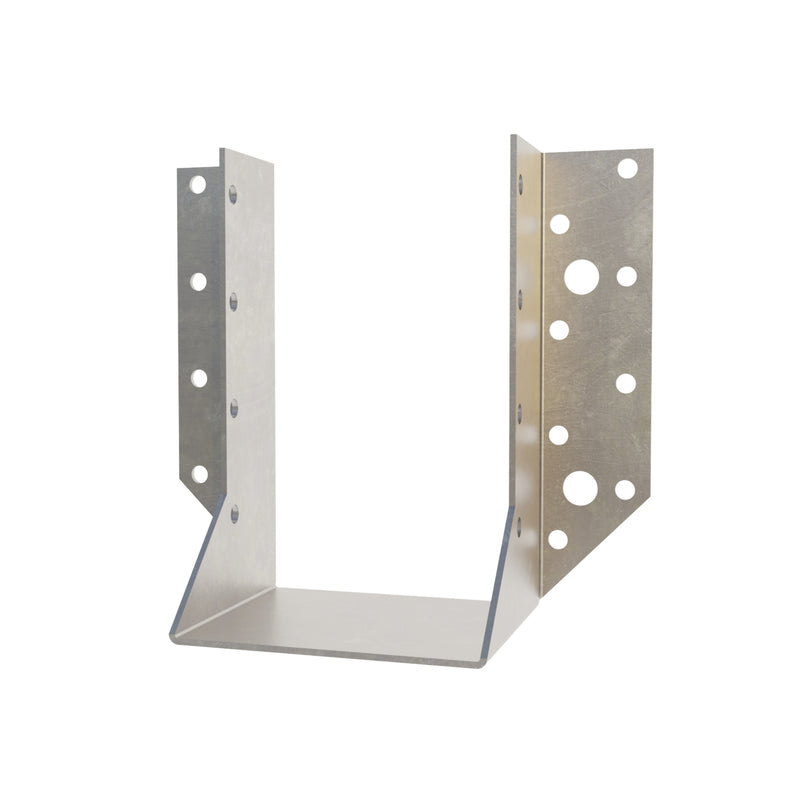
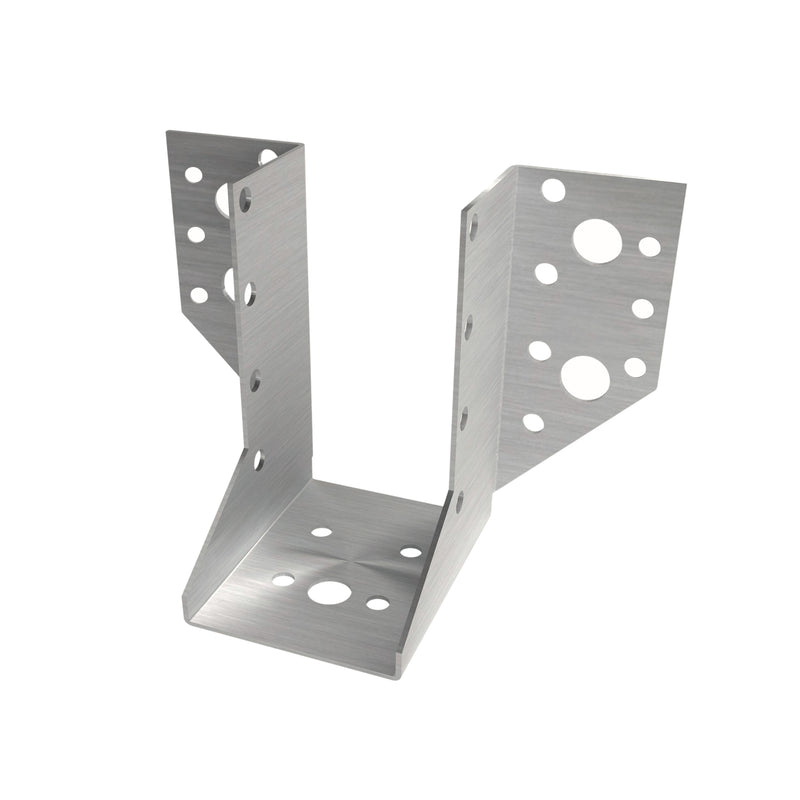
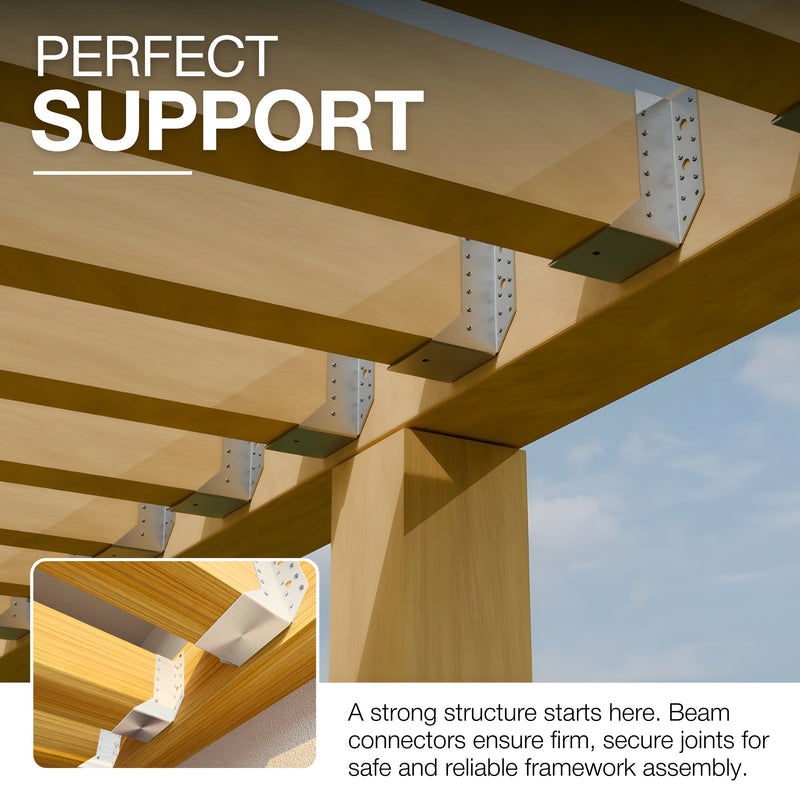
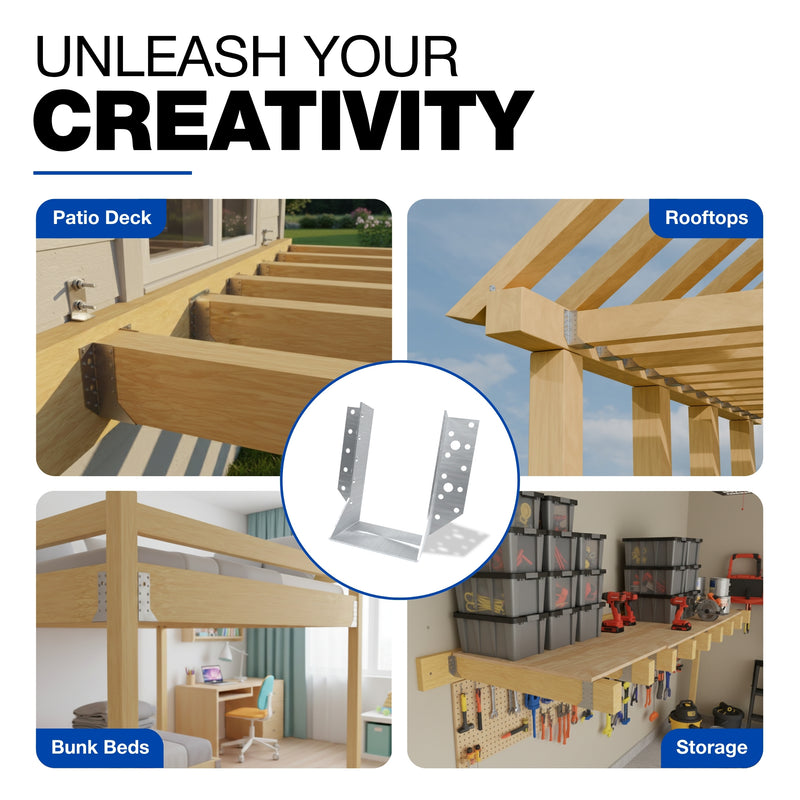
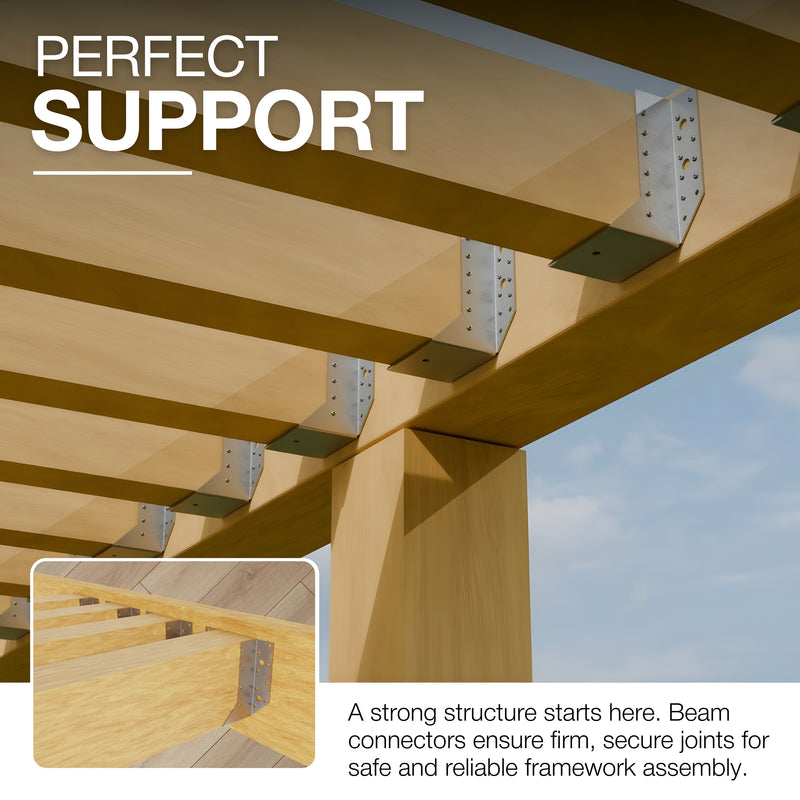
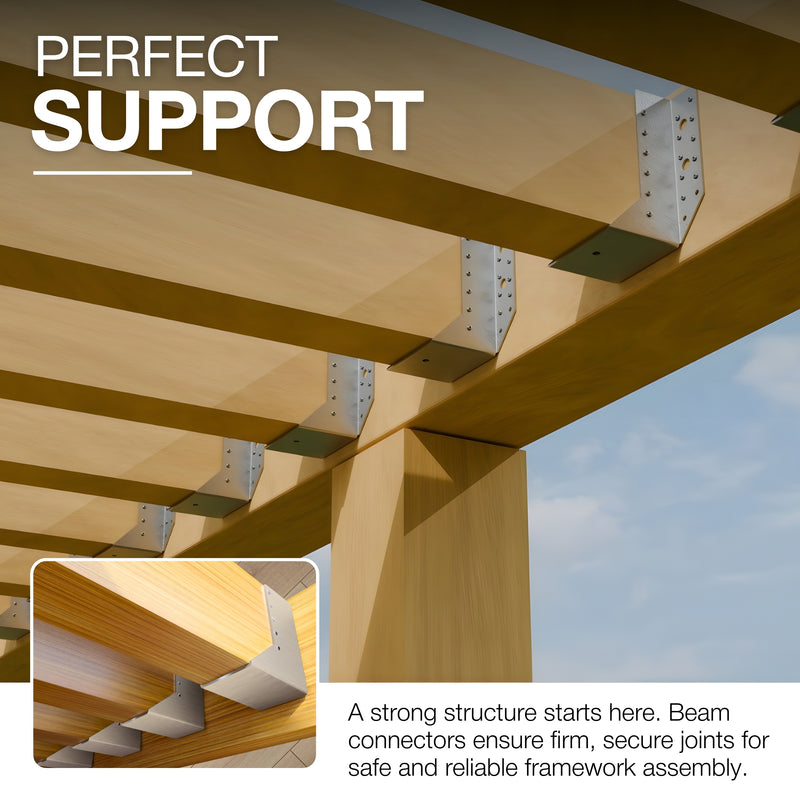
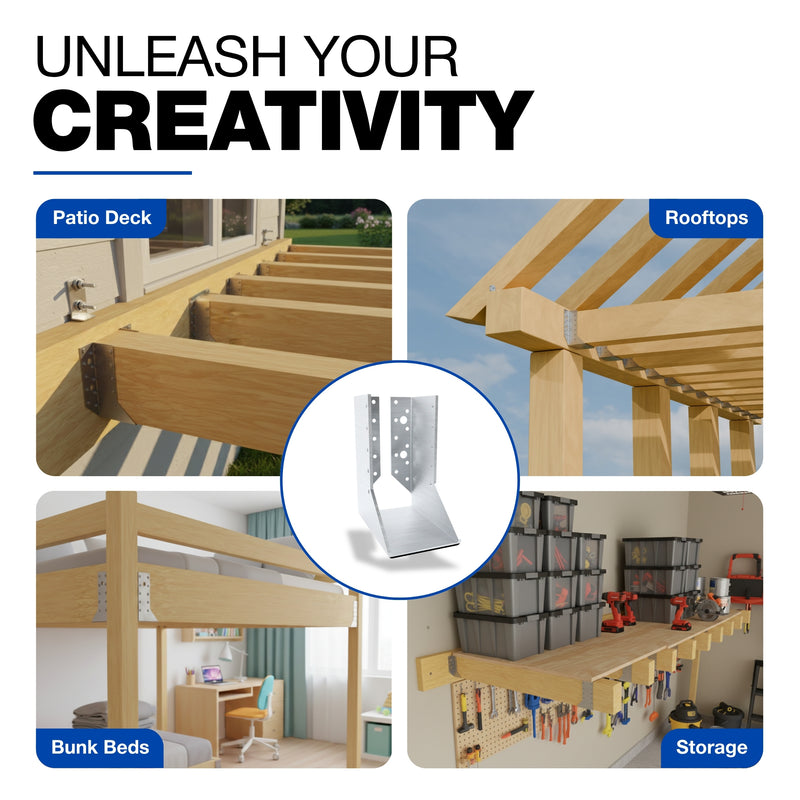
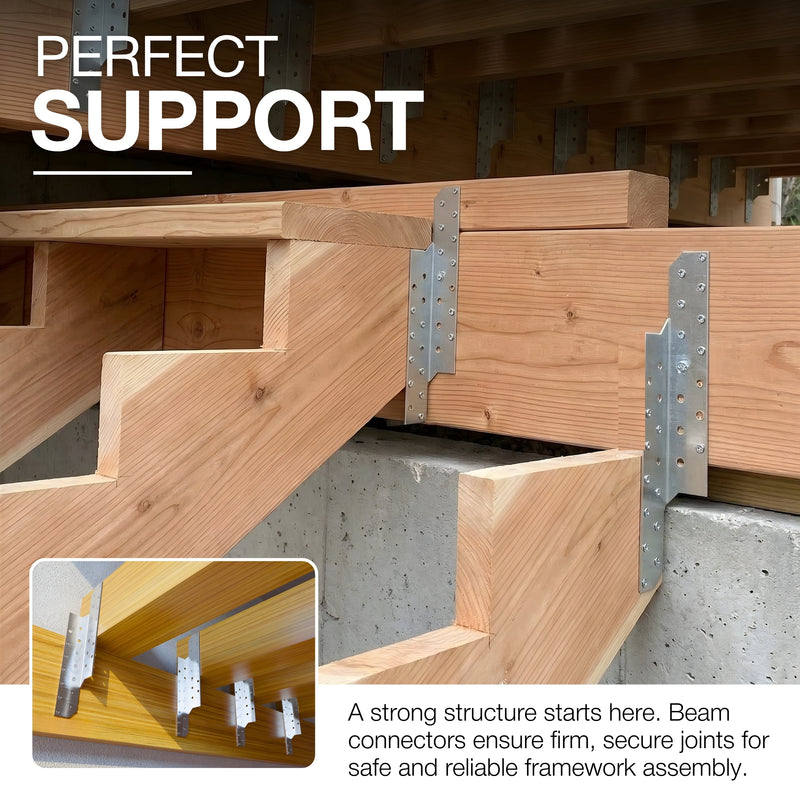
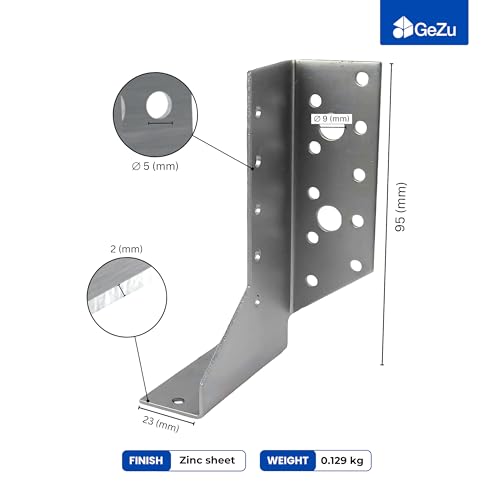
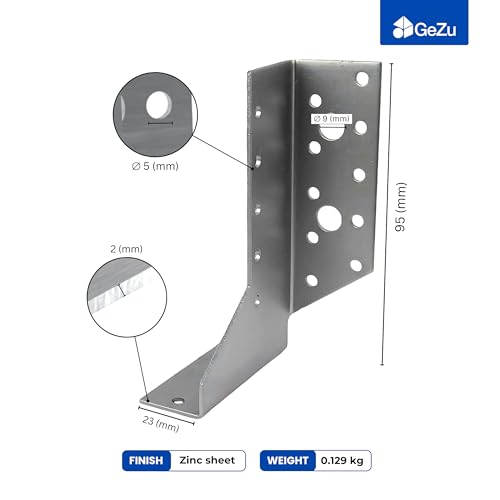
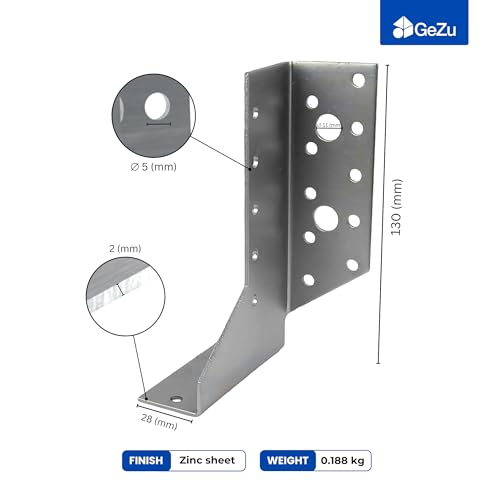
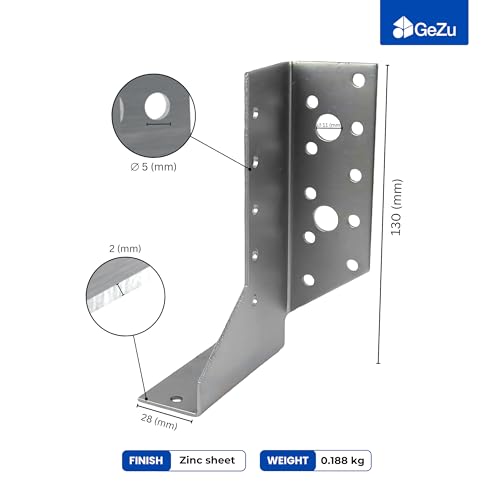
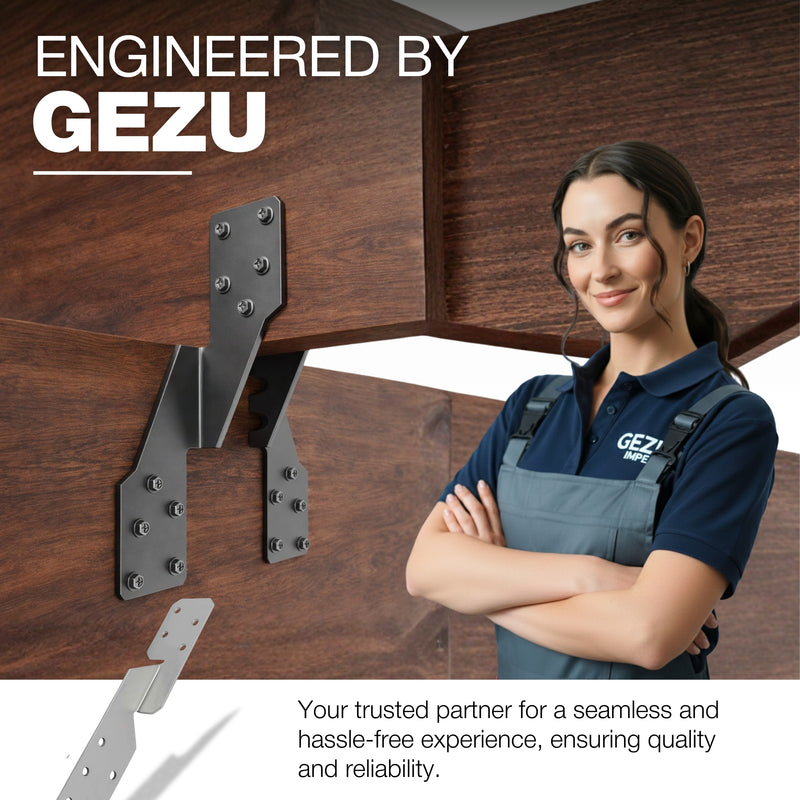
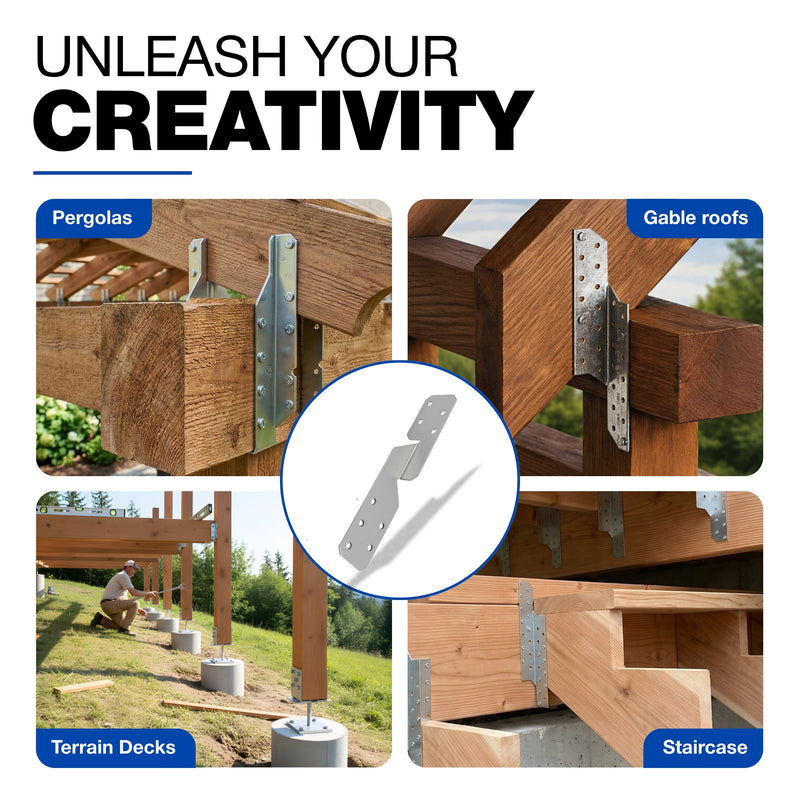
A patio pergola lives or dies at the wall — the frame can be perfect and still fail where it meets the brickwork. Pergola wall brackets turn the house wall into the fourth post of the structure: open-style steel connectors that bolt square timber posts and beams straight to sound masonry, leaving the ground side of the patio free of a post across the walkway. Start from a complete wall-mounted pergola frame kit or assemble the frame bracket by bracket — the workflow is the same.
- Wall brackets anchor the frame to masonry where a fourth post would block the space.
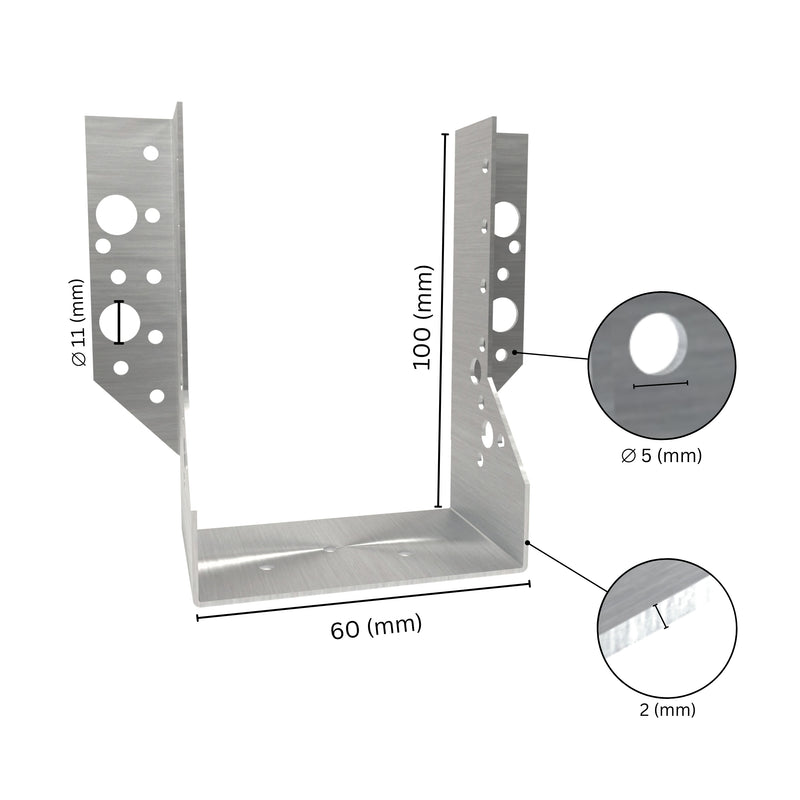
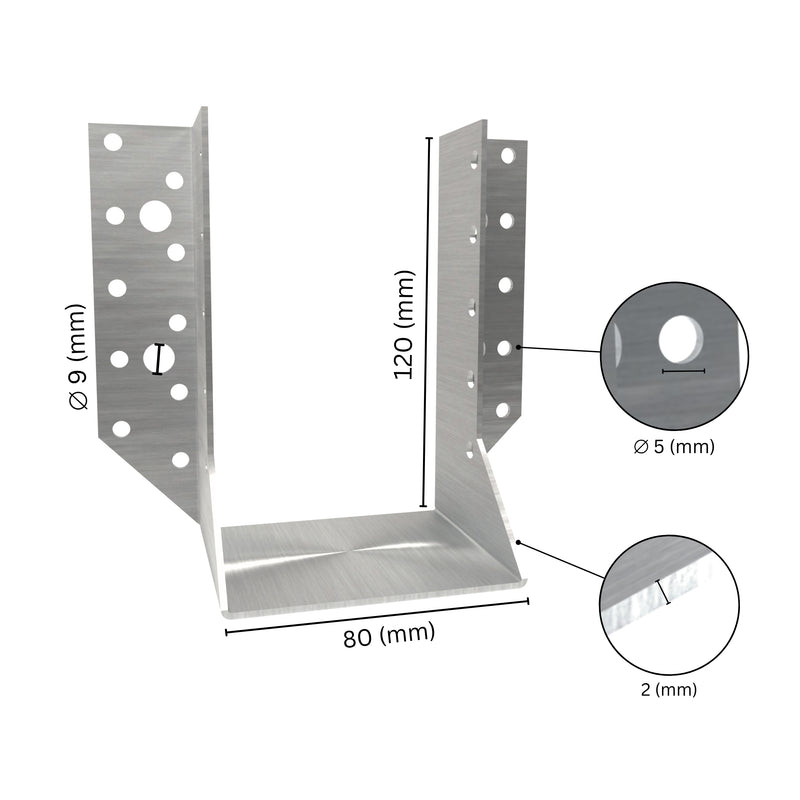
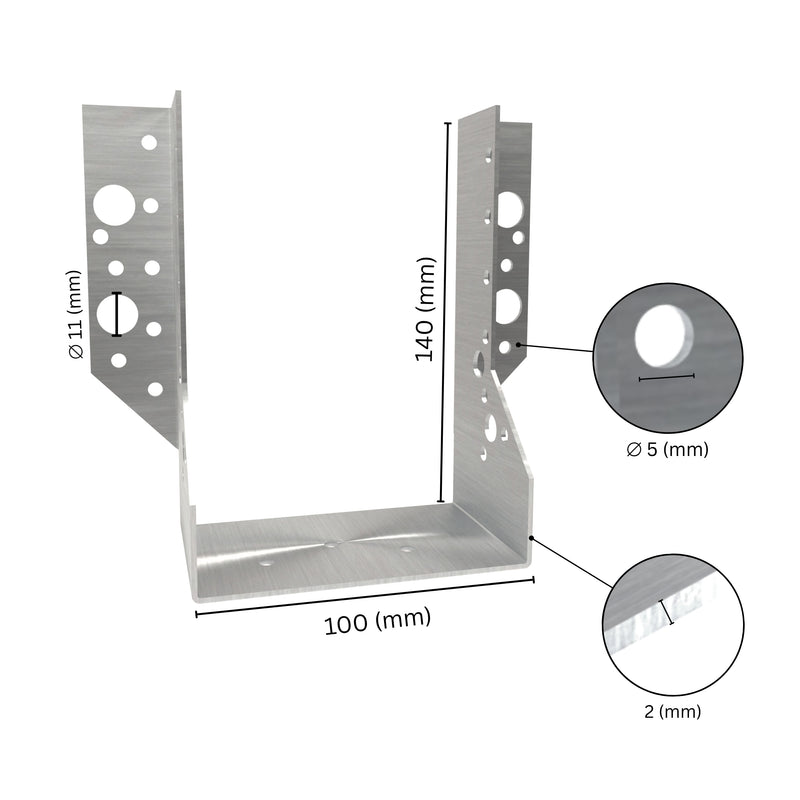
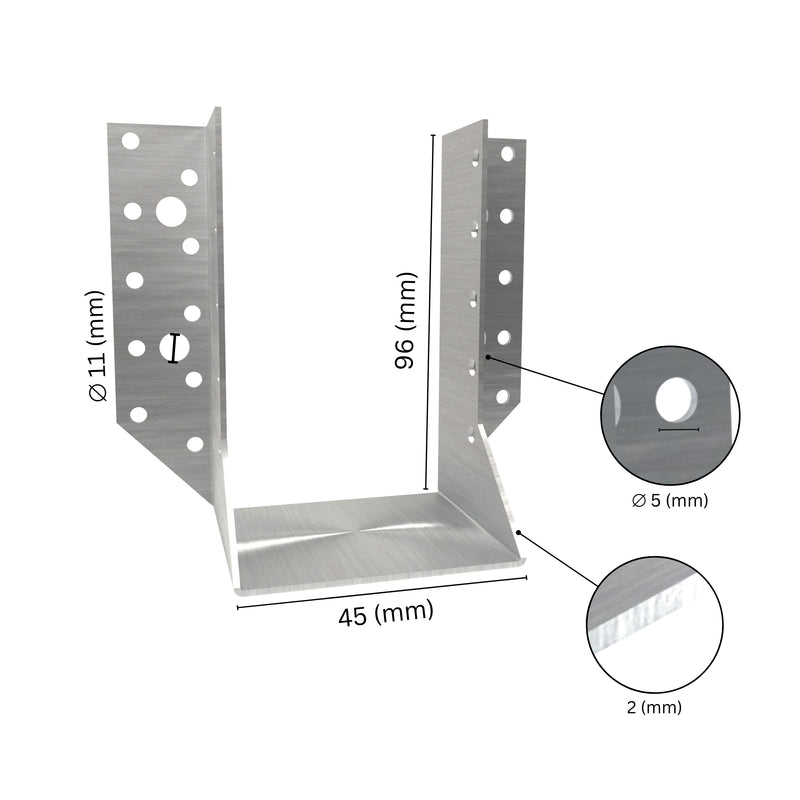
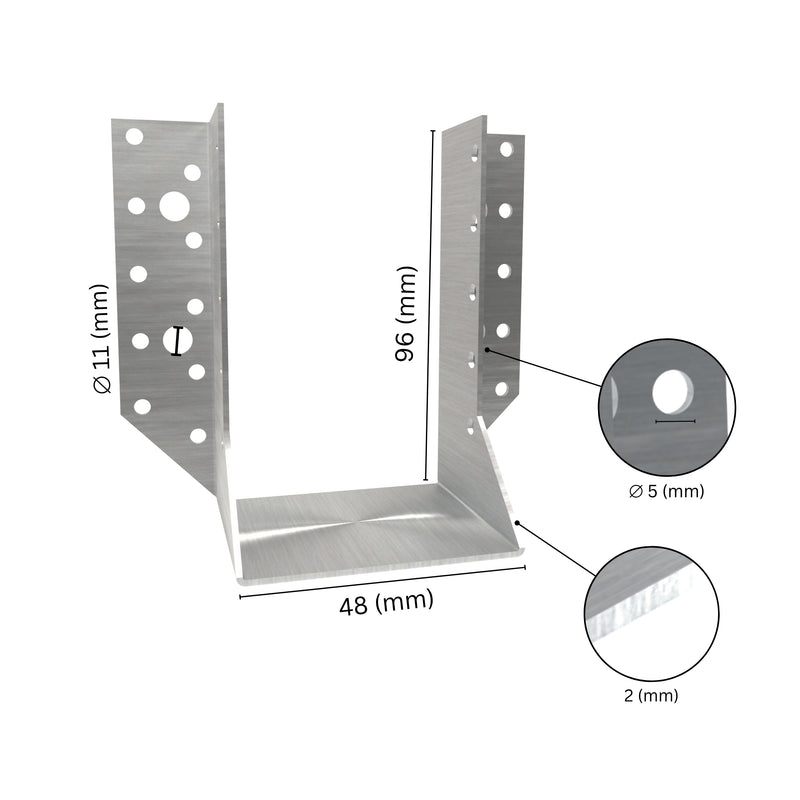
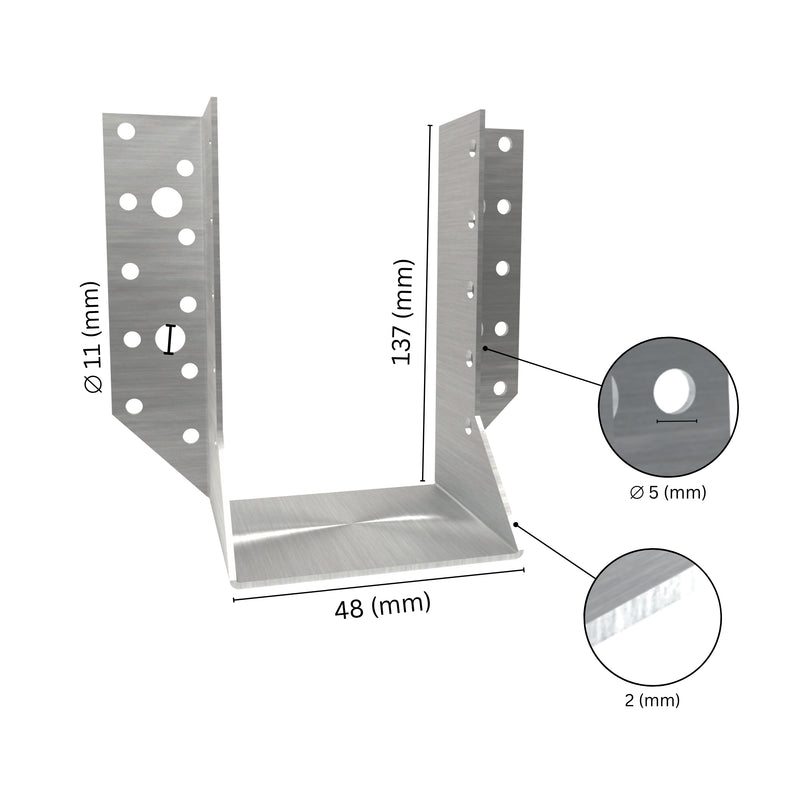
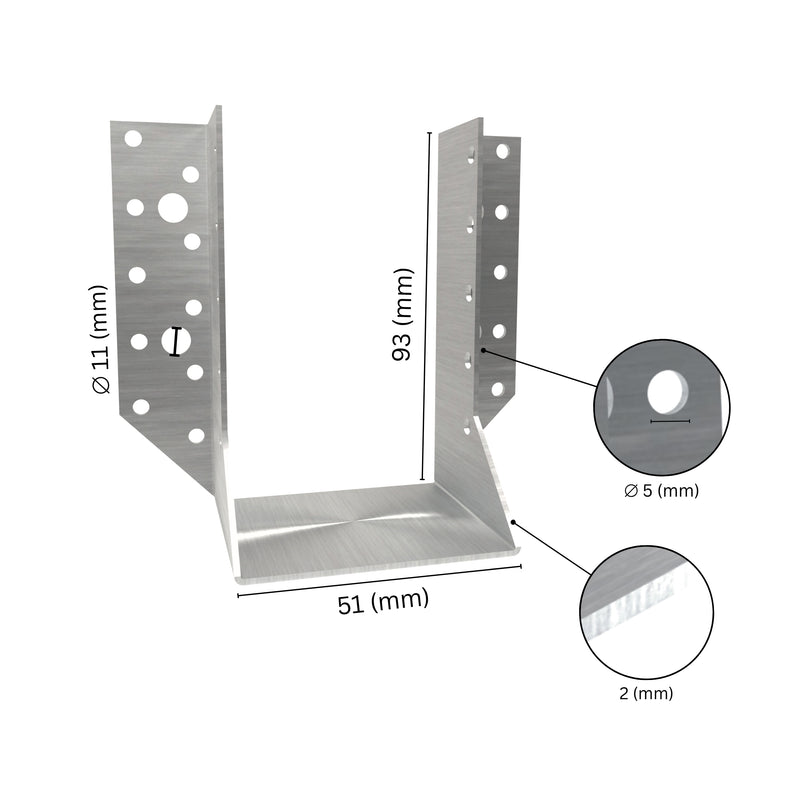
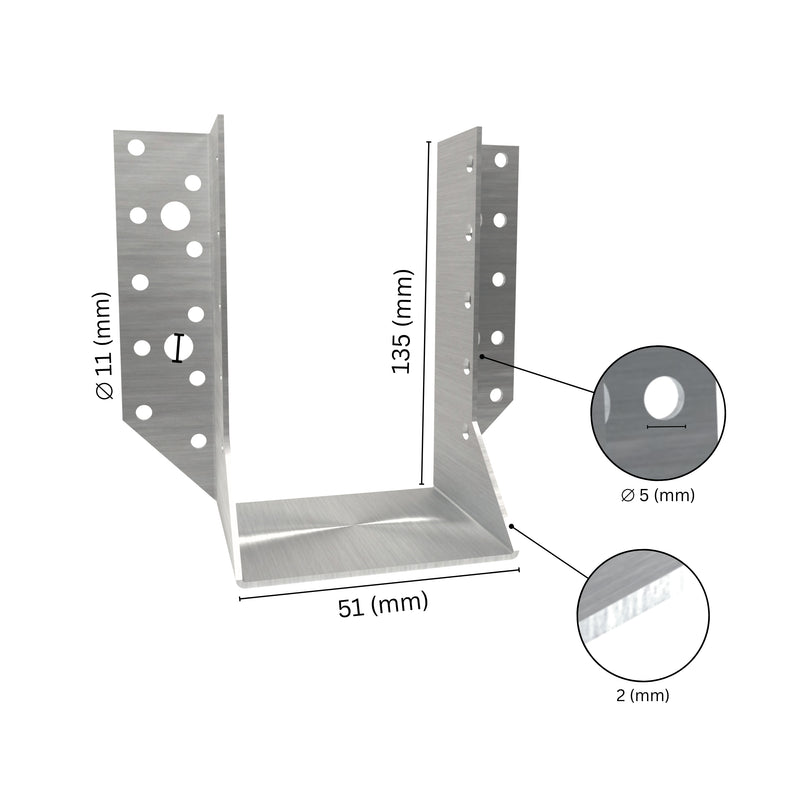
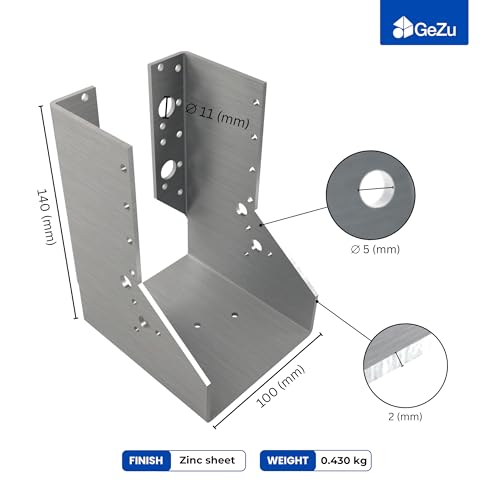
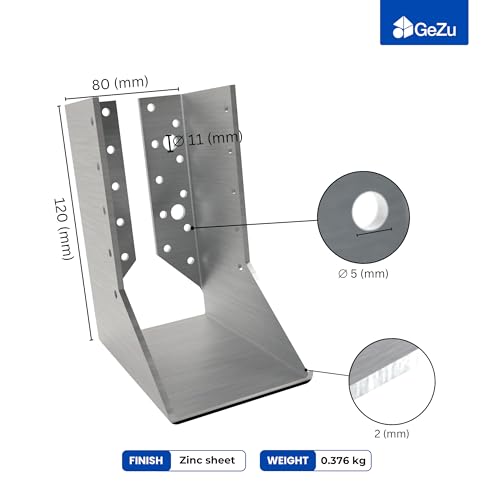
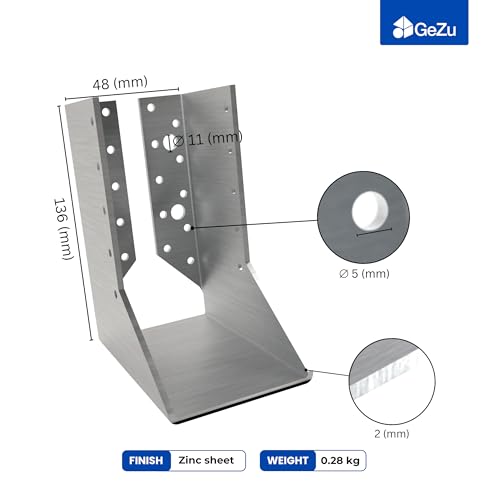
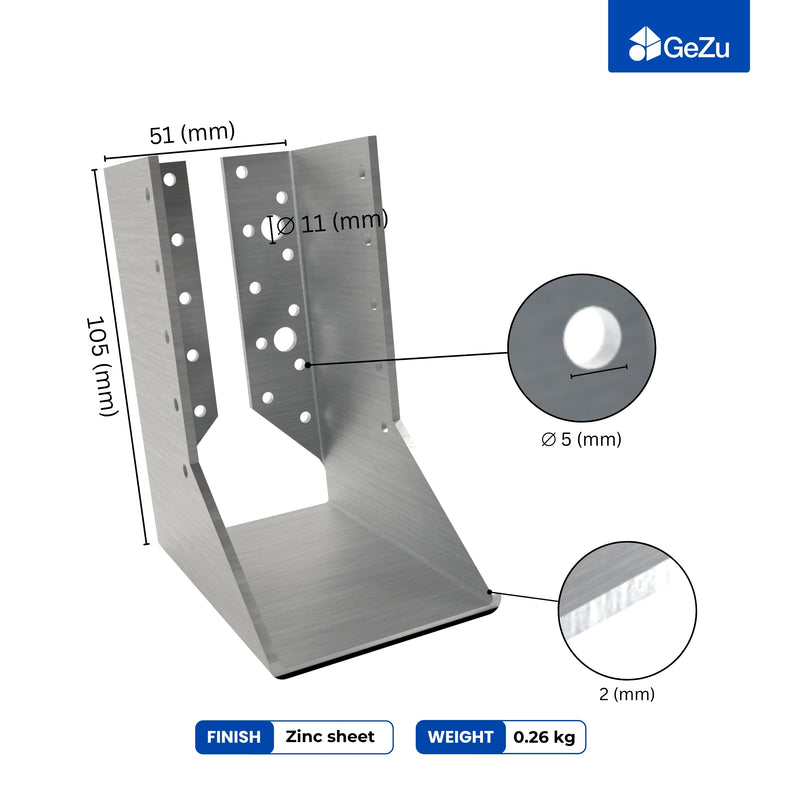
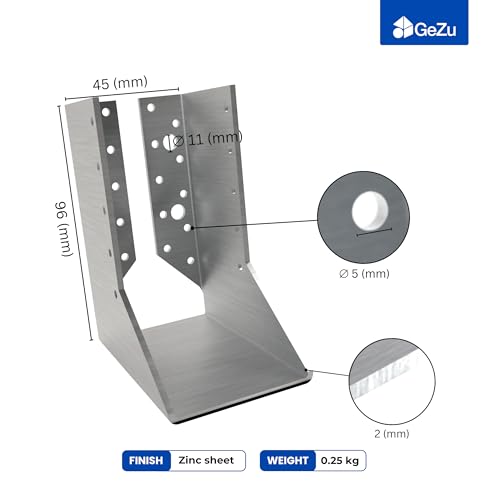
- Match the bracket size to the timber section — 71, 81, 91 and 121 mm are the common sizes.
- Fix into sound masonry with the right anchors; a weak wall carries nothing.
- Level and plumb the frame before final-tightening any bolt.
- GeZu Impex supplies wall brackets, corner connectors and complete frame kits.
Why the wall bracket decides the build
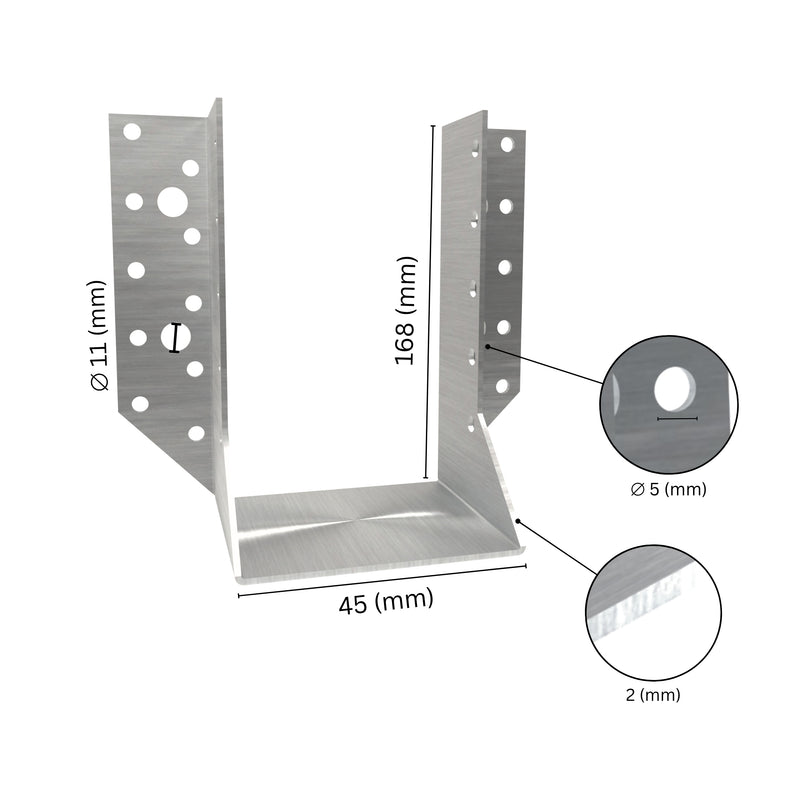
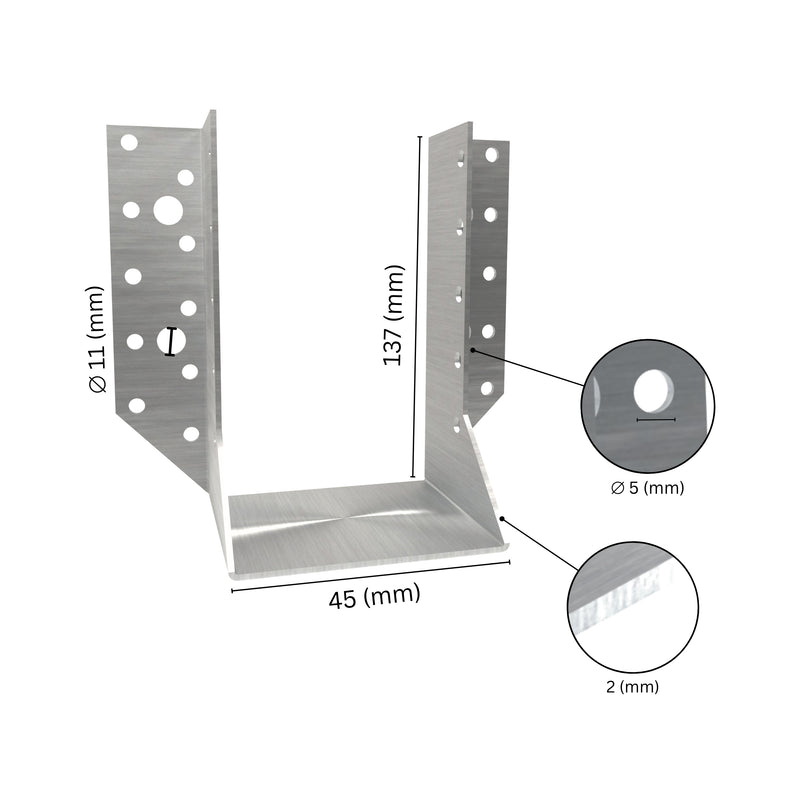
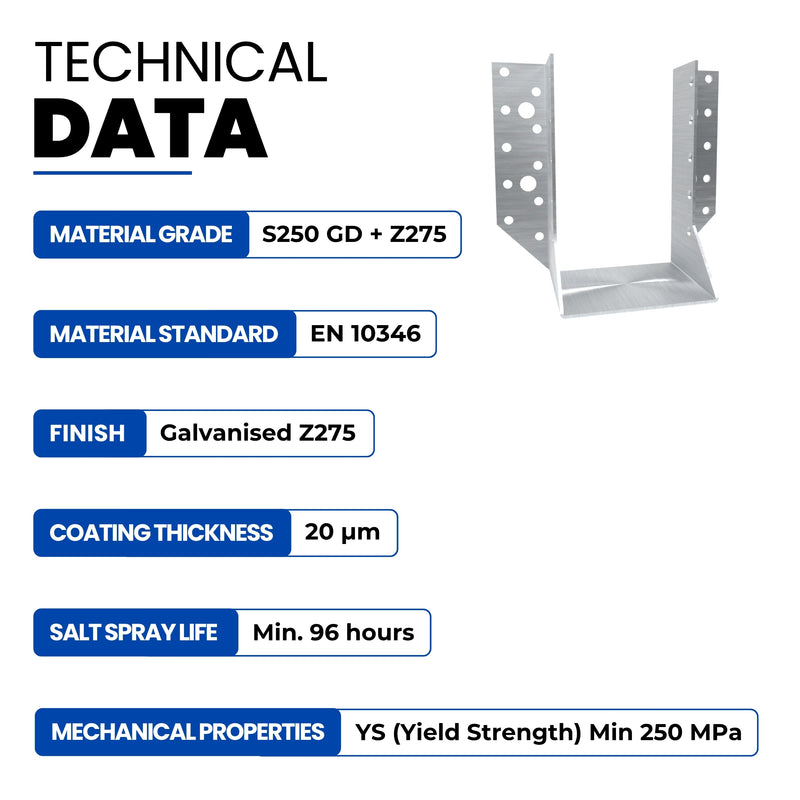
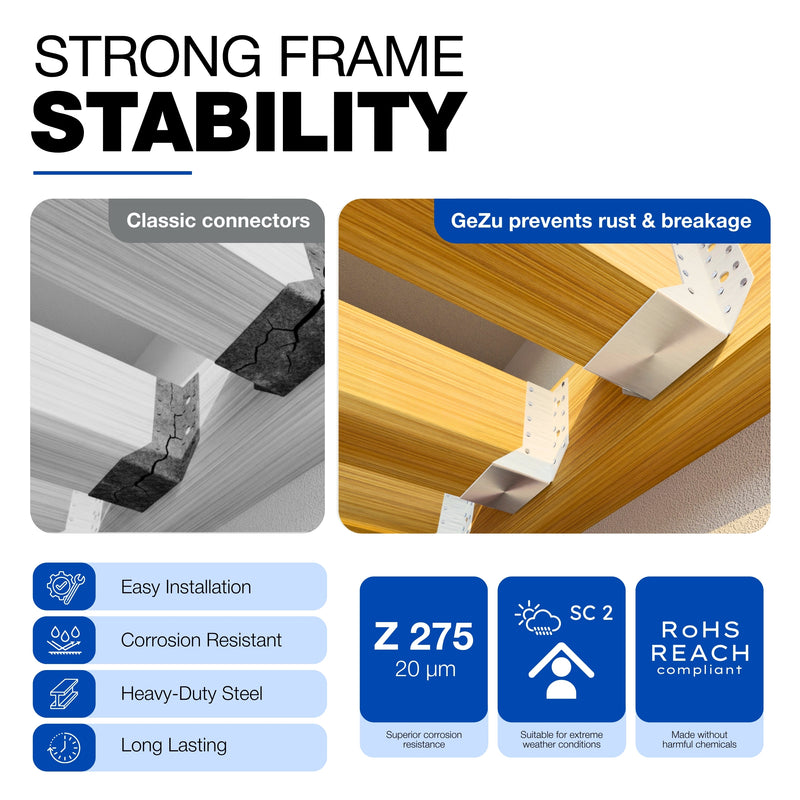
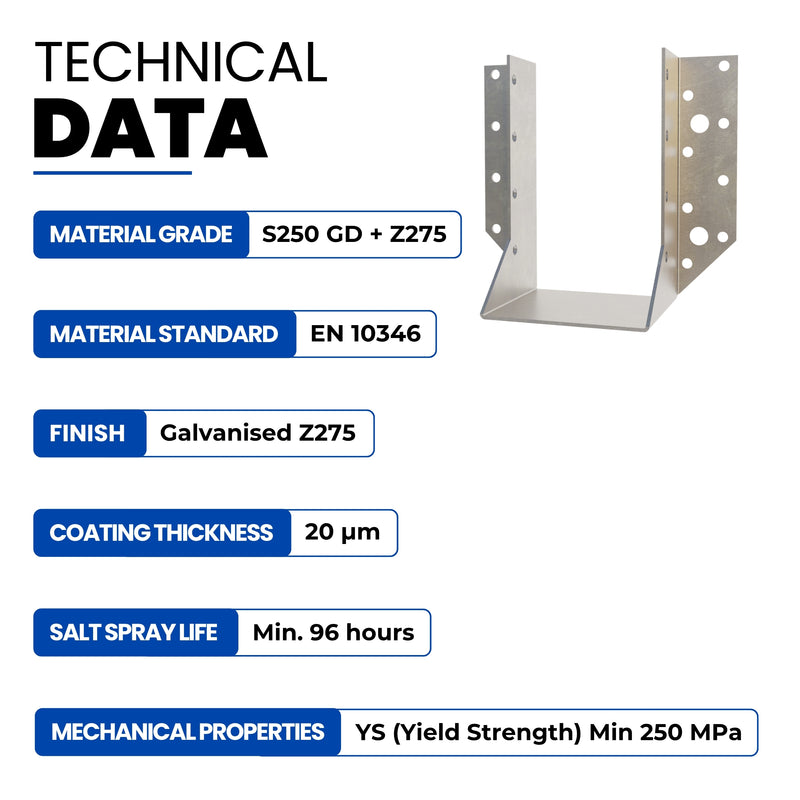
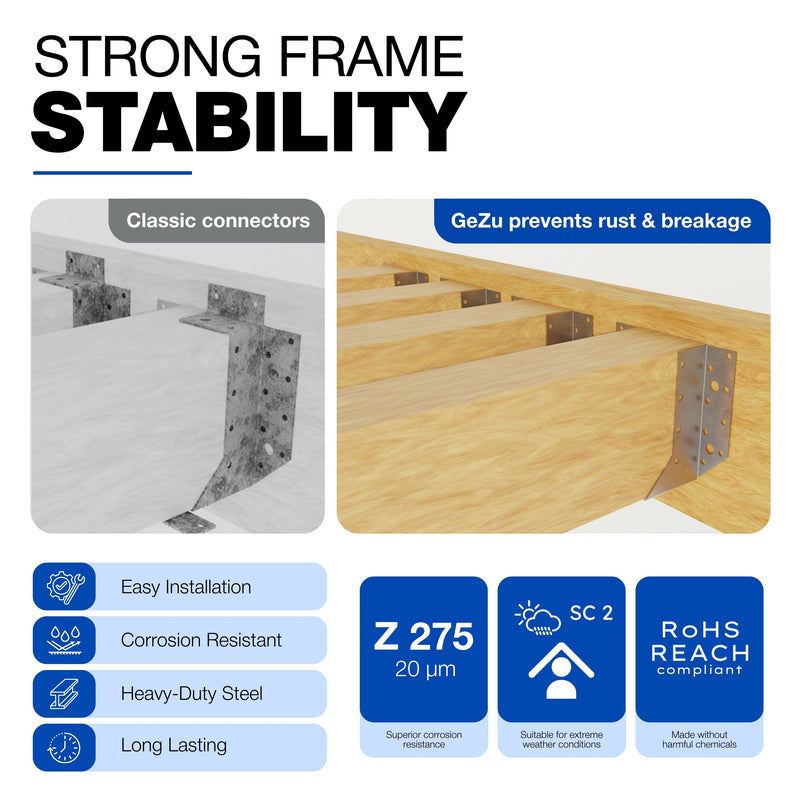
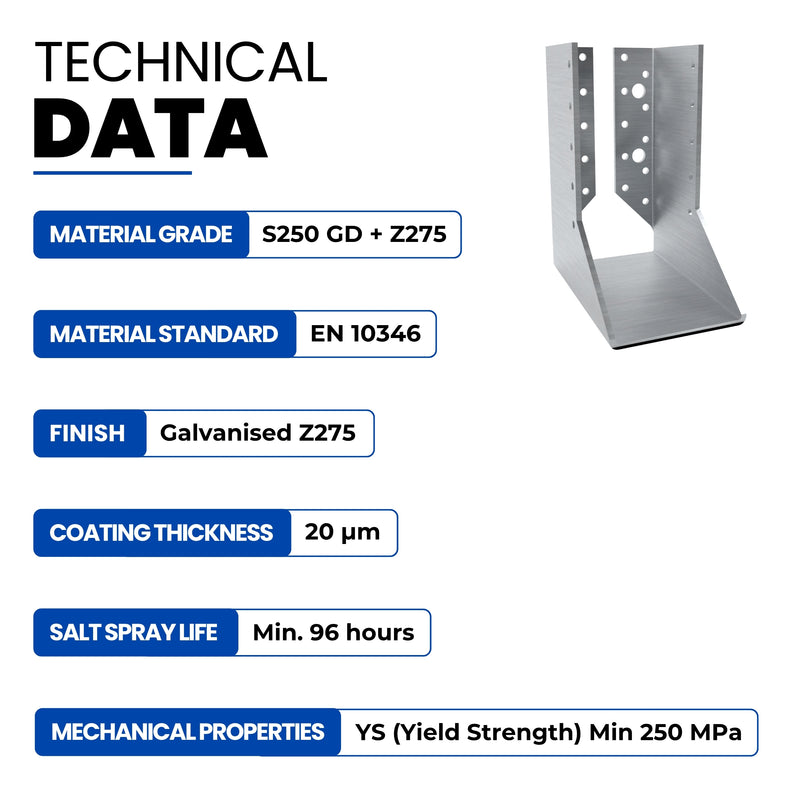
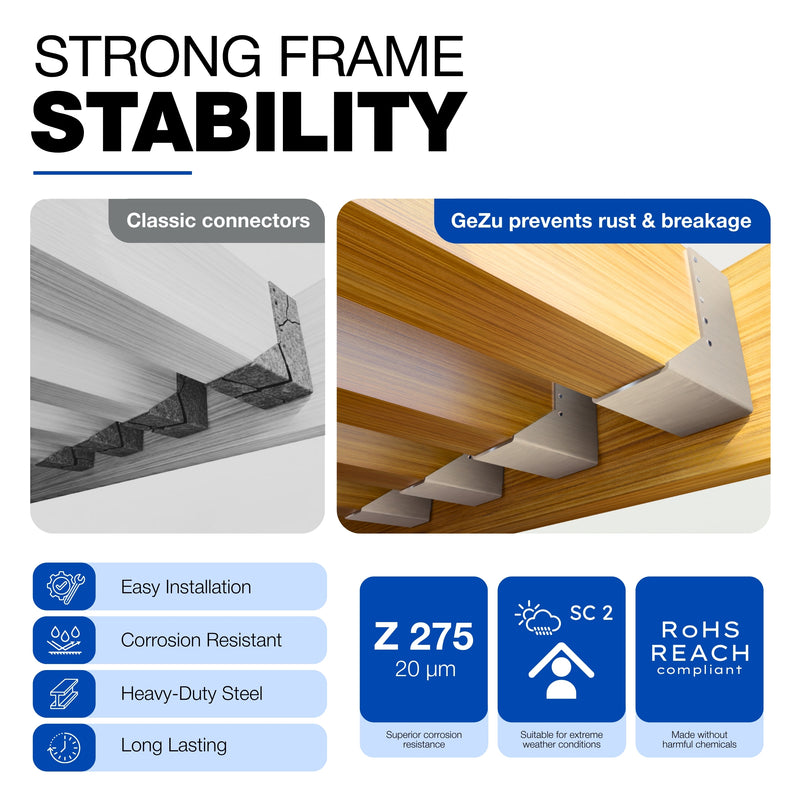
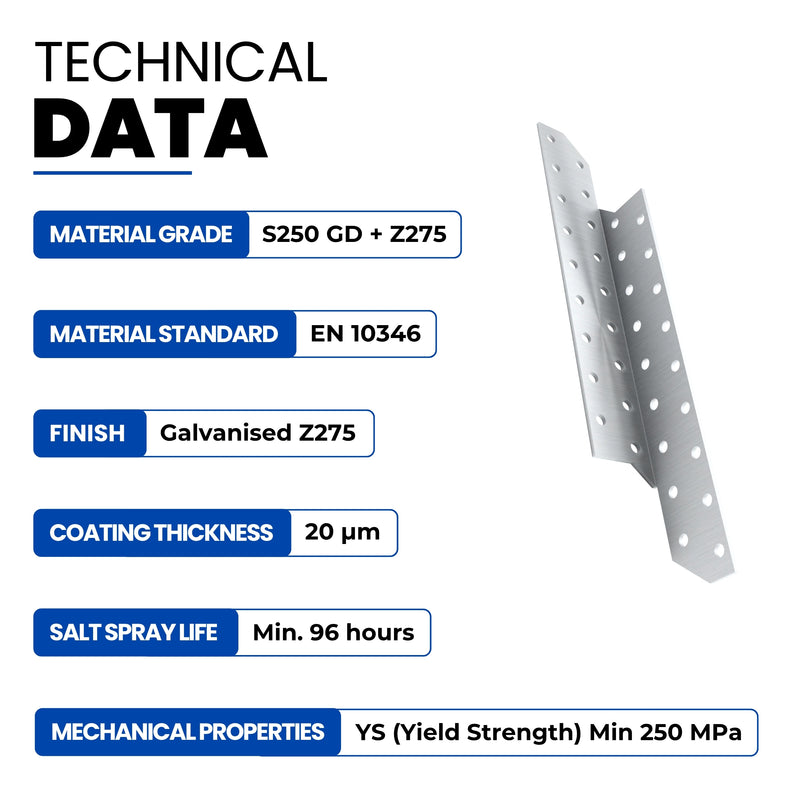
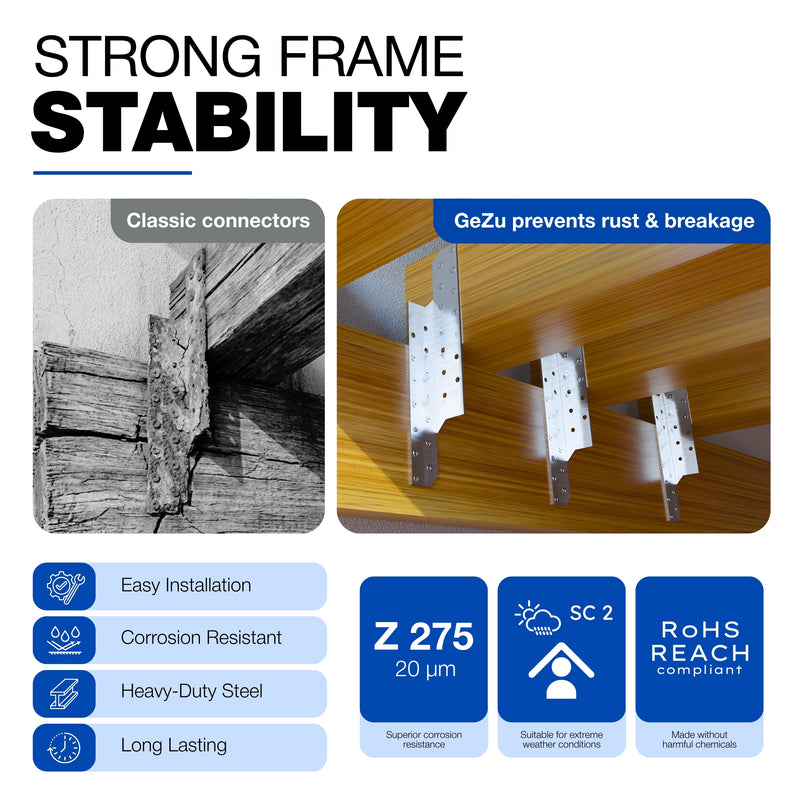
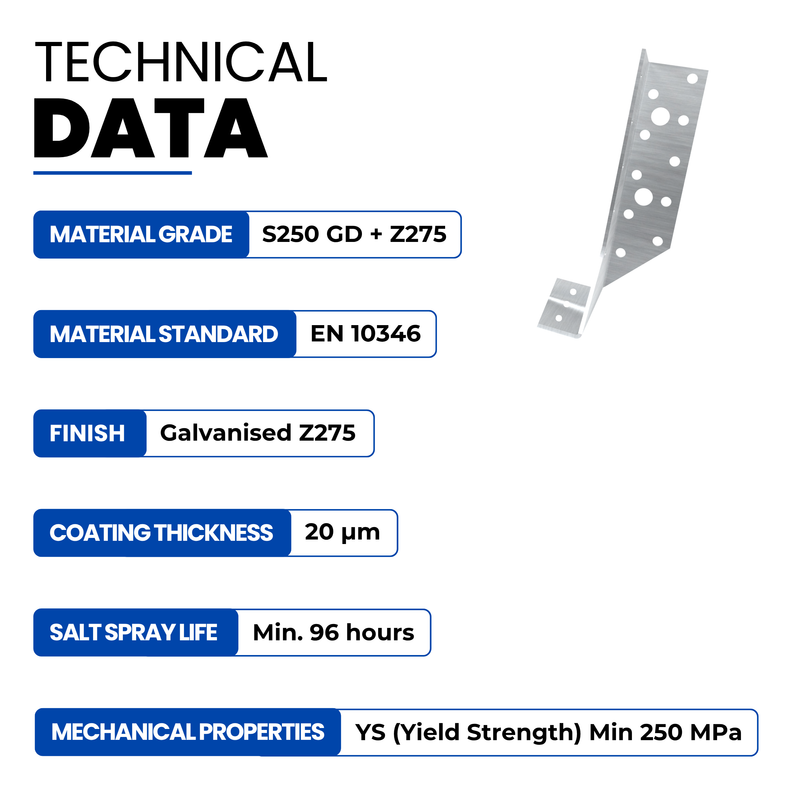
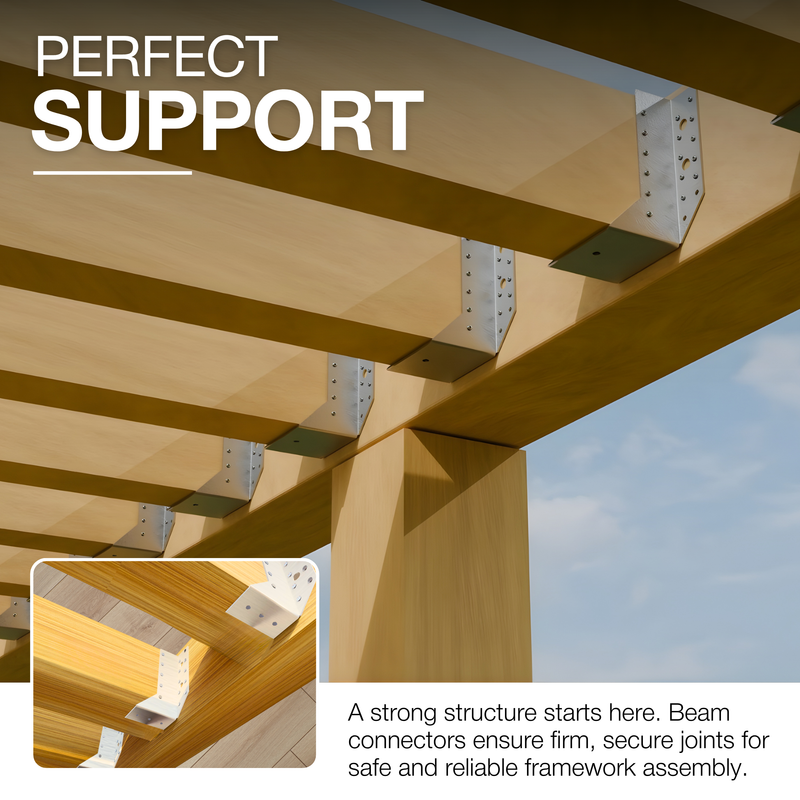
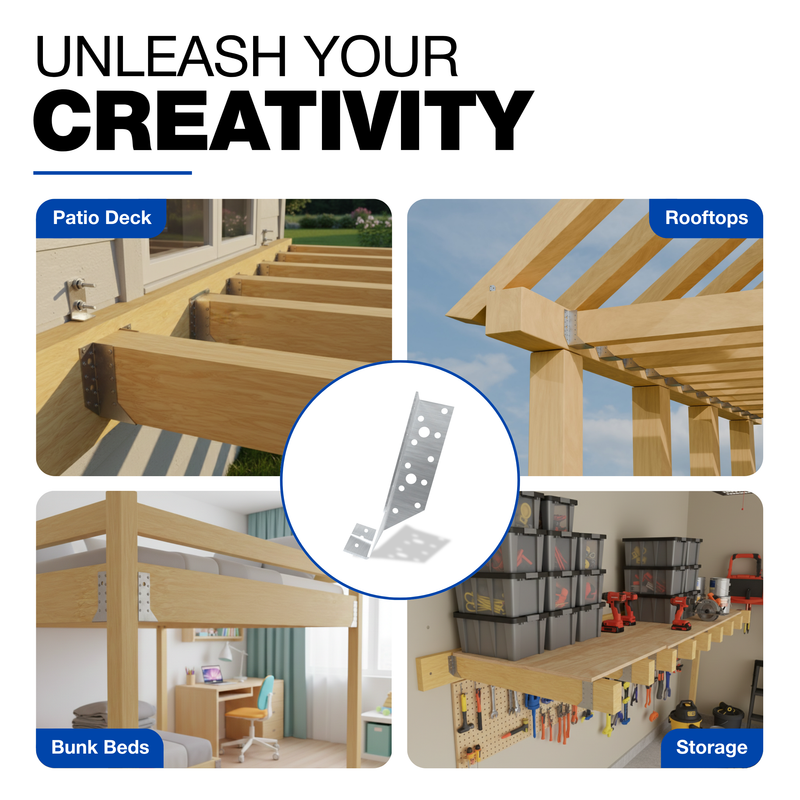
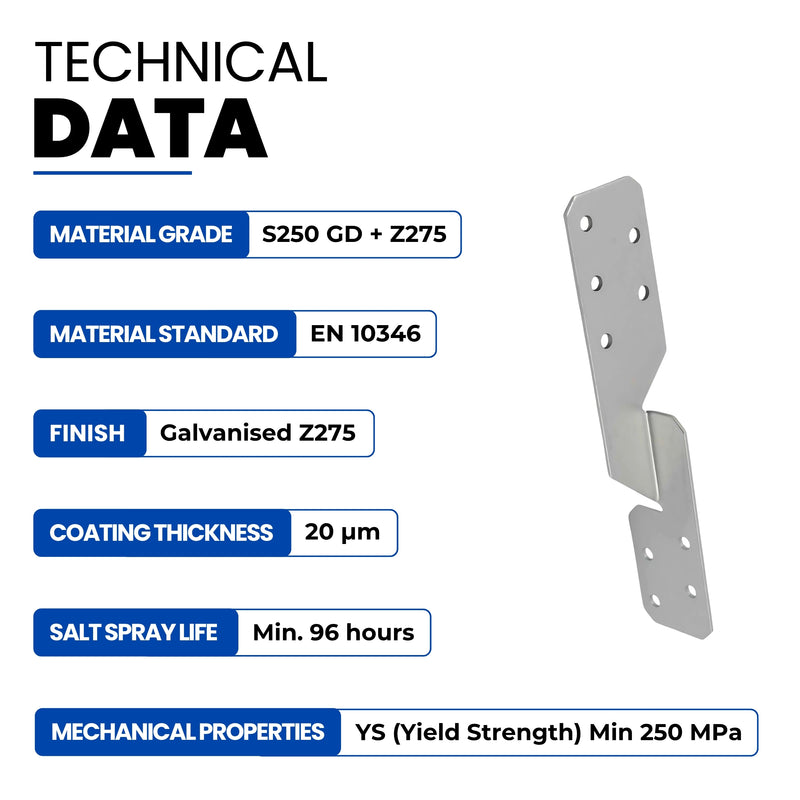
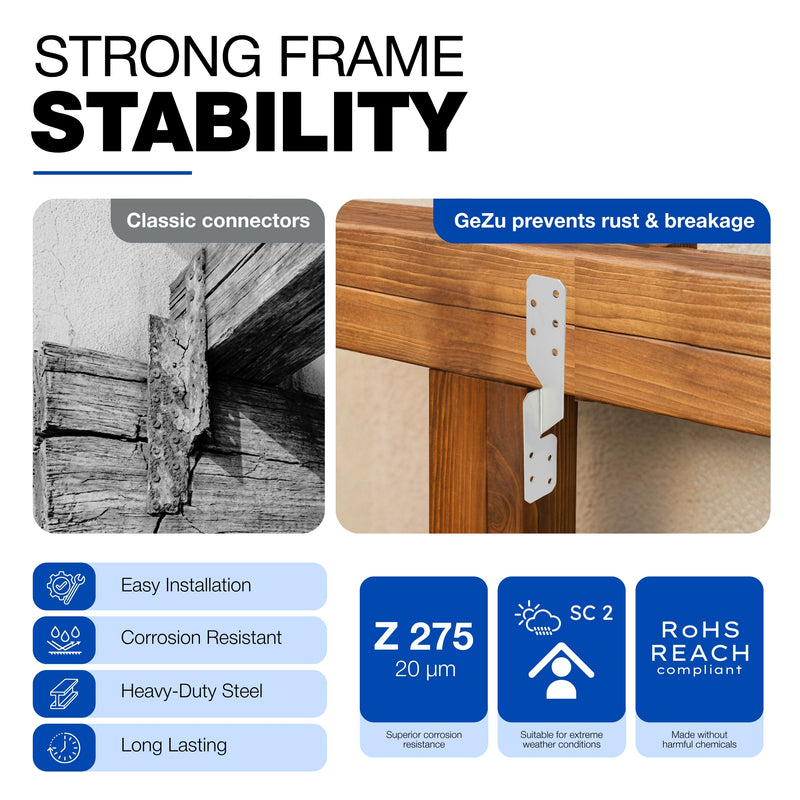
A free-standing pergola puts a post at every corner, and the corner nearest the house always lands in the wrong place — across a door, a path or a planted bed. Anchoring that side to the wall takes the structure out of the traffic line and borrows the wall's strength: the beam is carried on steel brackets fixed to masonry instead of on a fourth post with its own foundation. GeZu Impex brackets are made for square timber sections in 71, 81, 91 and 121 mm, in hot-dip galvanised steel or black and anthracite powder-coat — all three finishes weather-resistant.
Before you start
- Wall brackets and corner connectors sized to the actual timber section — 71, 81, 91 and 121 mm are the sizes these brackets cover.
- Or the one-box route: the DIY wall-mounted kit with 4 square support brackets (2 base, 2 wall) and 2 Y-shape corner connectors.
- Masonry anchors matched to the wall material, plus drill, bits and spanners.
- Timber posts and beams — the brackets and connectors ship without wood.
- Level, square and tape measure; a clear working zone against the wall.
One check saves the whole build: measure the timber before ordering brackets. A 71 mm bracket on an 81 mm post leaves the post loose in the steel, and no number of extra bolts fixes a size mismatch.
Plan the layout and mark the wall
- Fix the mounting height first — high enough for headroom under the finished beam; most patio builds sit the bracket line well above door height.
- Mark both bracket fixing centres on the masonry along one level line, and check for hidden cables and pipes before drilling.
- Mark the ground-side post positions square to the wall line.
Expected result: a level line of wall fixing marks and post positions that sit square to the house.
Fix the wall side
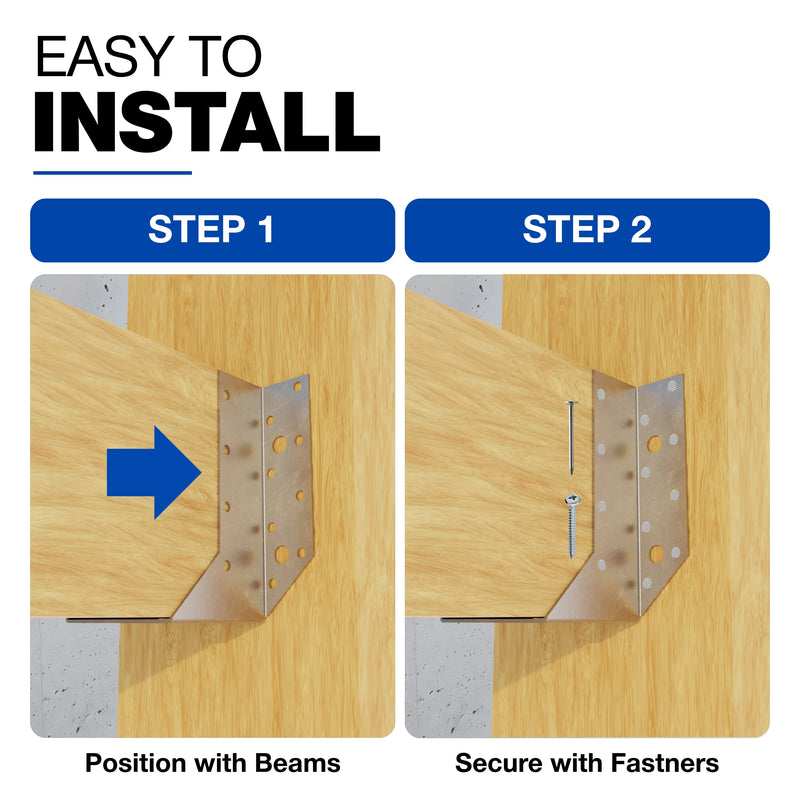
- Drill into solid masonry and set the anchors the brackets specify — a bracket in soft brick or mortar joints carries nothing.
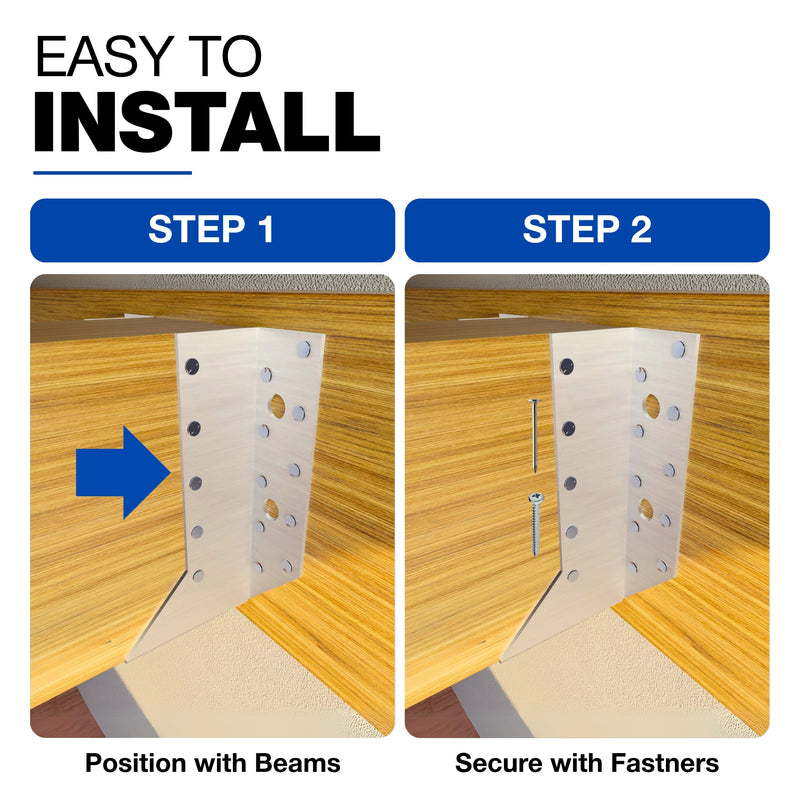
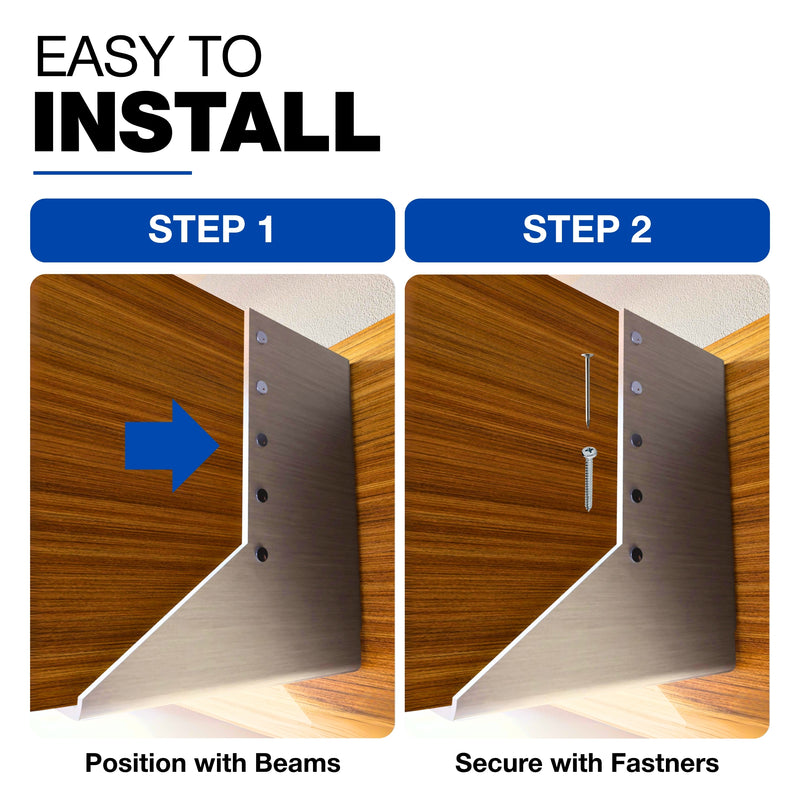
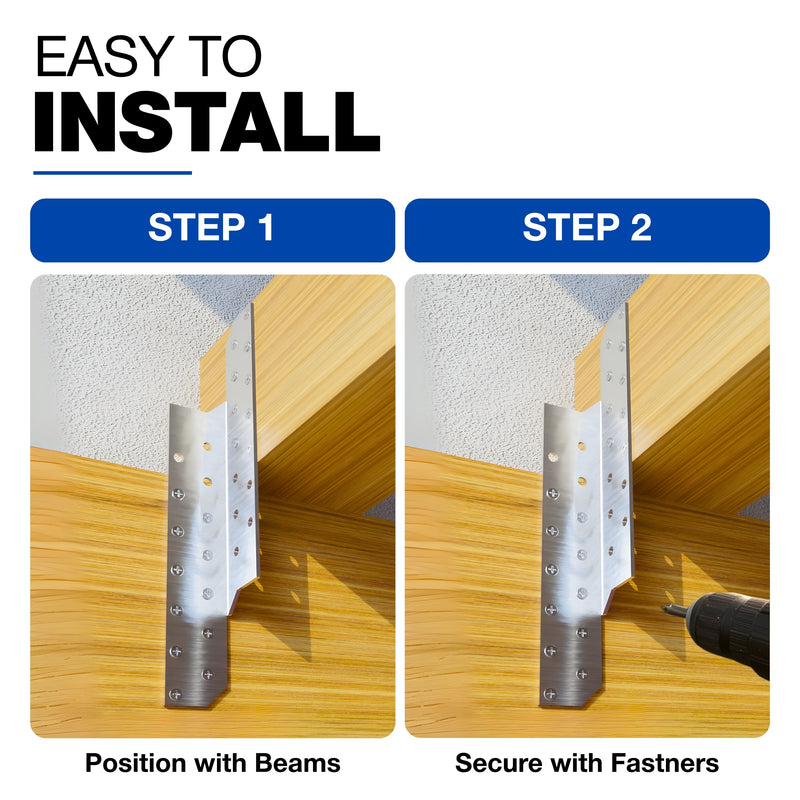
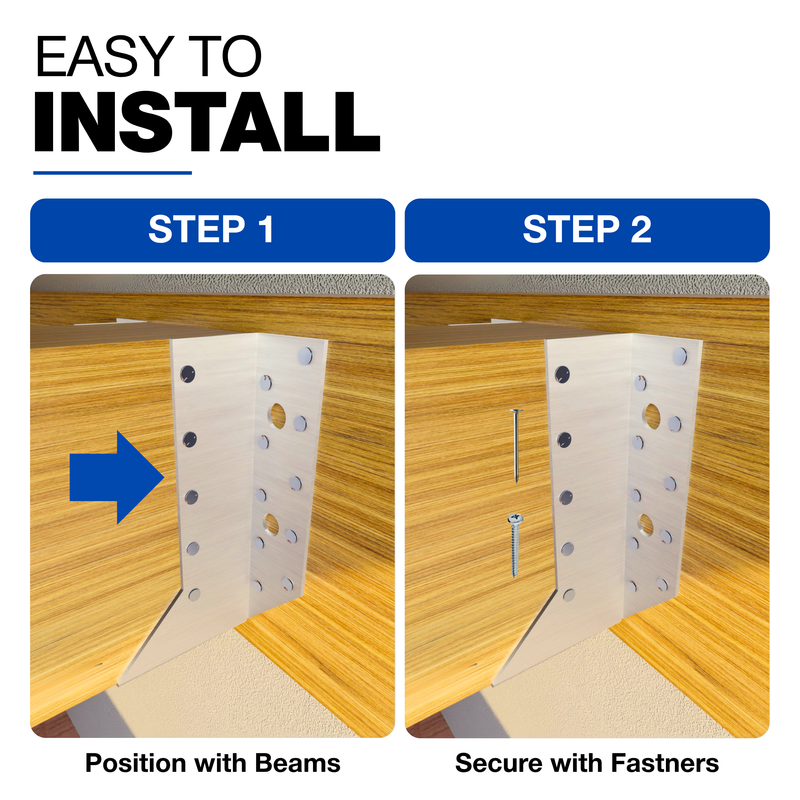
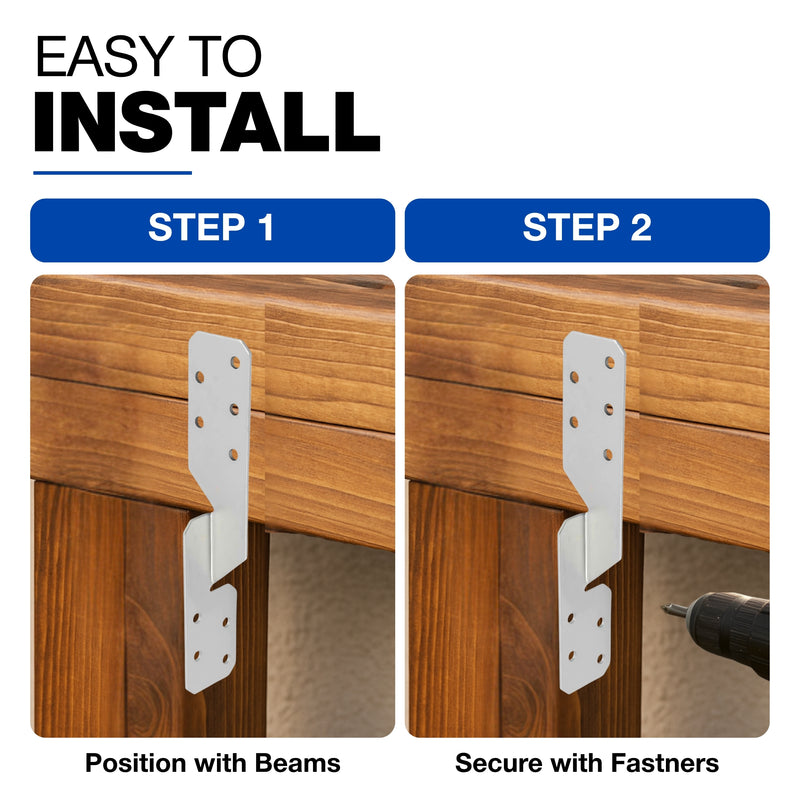
- Bolt both wall brackets on, seat them flat against the wall, and check them level against each other.
- Bolt the wall-side beam into the brackets and check it level along its full length.
Expected result: a beam hanging level on the wall with both brackets flat and fully anchored.
Set the posts and close the frame
- Fix the two base brackets at the marked ground positions — bolt-down feet on paving or concrete.
- Stand the posts, plumb them in both directions, and bolt them into the brackets.
- Join the post tops with an L-shaped corner connector and close the roof junction with the Y-shape corner connectors.
- Check the finished frame: level on both beams, plumb on every post, equal diagonals across the roof rectangle.
Expected result: a standing frame that reads square from every angle with every bracket bolt torqued.
Corners, extensions and the finish
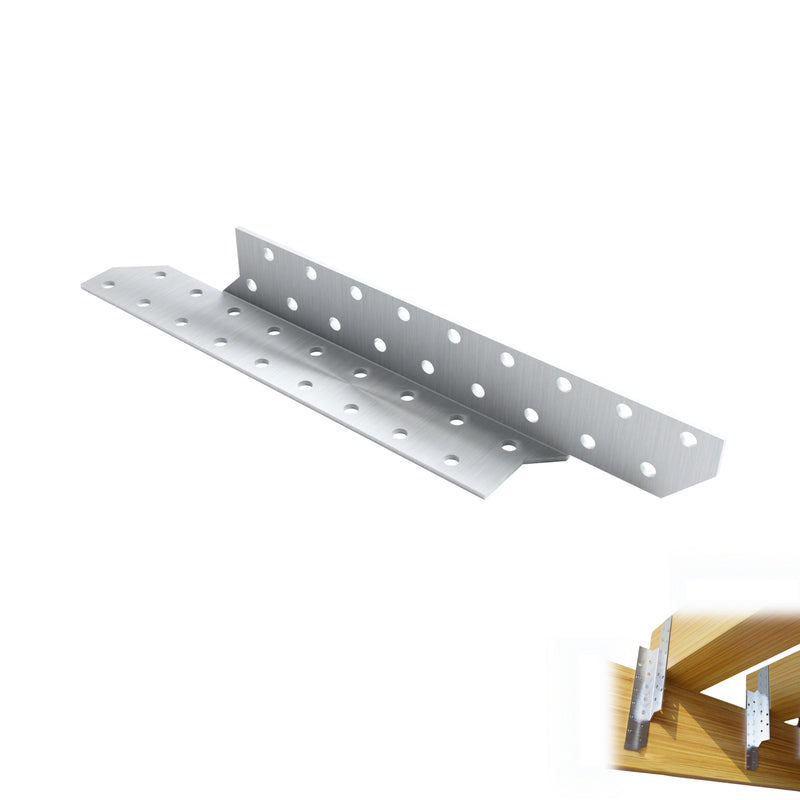
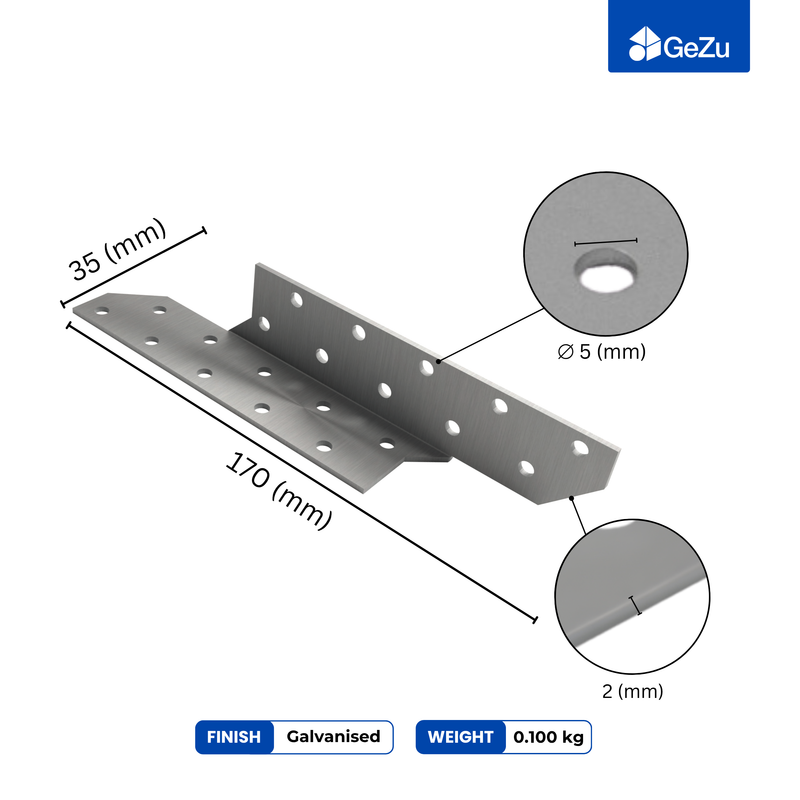
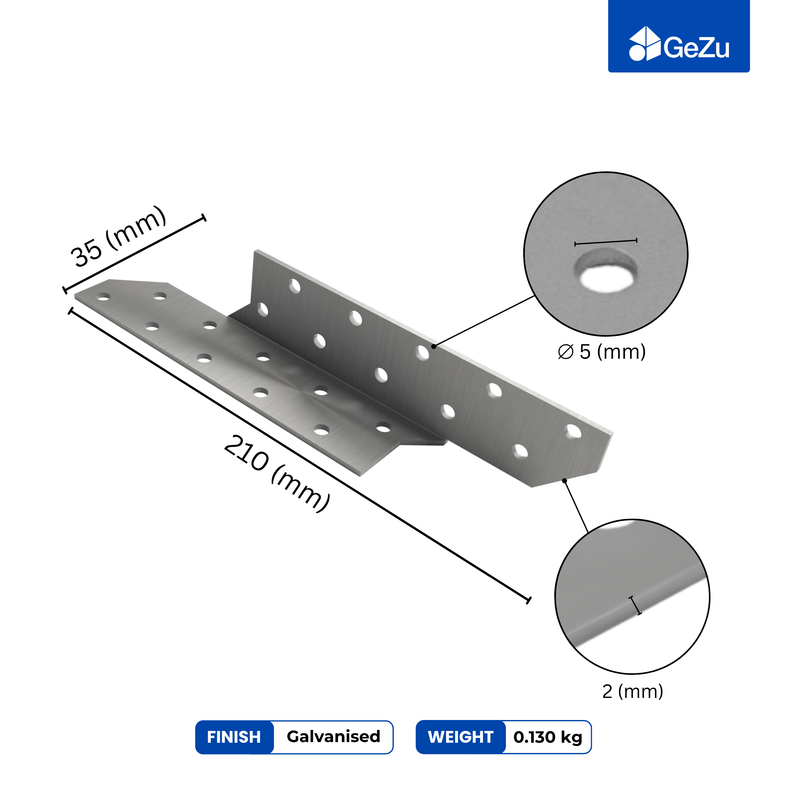
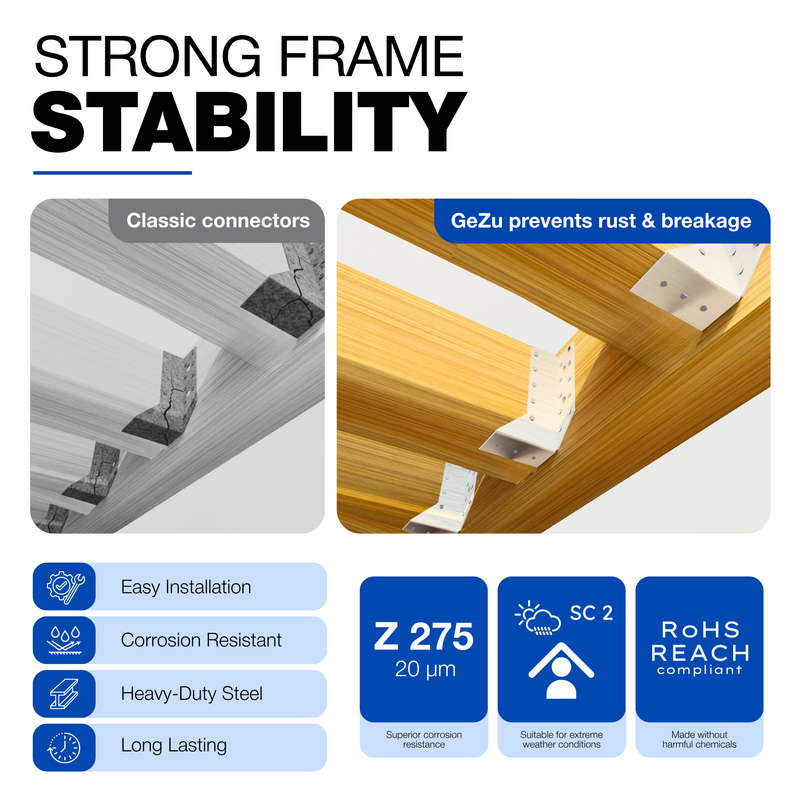
The open side grows with the garden: a T-piece extension bracket adds a mid-post and extends a beam without cutting it, and a Y-shape 3-way open-style connector closes a three-post roof junction. Choose the finish to match the job — hot-dip galvanised for maximum corrosion protection, or black and anthracite powder-coat where the frame is part of the terrace look; all three are weather-resistant for outdoor service.
Troubleshooting a wall-mounted pergola
- The brackets pull from the wall. Substrate or anchors too weak — refix into sound masonry with the anchors the load requires.
- The frame leans. A post out of plumb or a base out of level — re-plumb before re-torquing anything.
- The timber is loose in the bracket. A size mismatch — measure the post and order the bracket that matches its section.
- The frame racks side to side. Bolts not torqued or the roof rectangle out of square — re-square and tighten in sequence.
What to do next


FAQ
How high should pergola wall brackets be mounted?
High enough for headroom under the finished beam — most patio builds sit the bracket line well above door height. Check the local building rules that apply to your property.
Can wall brackets carry a whole pergola?
They carry their share when fixed into sound, structural masonry with anchors matched to the load. A weak or cracked wall is not a fixing surface.
What bracket size fits a 90 mm post?
The bracket's inner width must match the timber's actual section — the 91 mm size in this range is the nominal match, but measure the real post before ordering.
Do I still need a fourth post with wall brackets?
No — that is the point of the wall side. The wall takes the fourth corner, which frees the patio edge.
Galvanised or powder-coated brackets?
Hot-dip galvanised gives the maximum corrosion protection; black and anthracite powder-coat give the finished look. All three finishes are weather-resistant.
Can the pergola be extended later?
Yes. T-piece extension brackets add a mid-post and lengthen a beam without cutting it, so the shaded area can grow run by run.
One last thing
Bolt the wall side, then test it before you trust it. A pergola that reads level on day one and still sits square after the first proper storm will shade the patio for years — and a bracket-built frame can be extended or unbolted when the patio changes. GeZu Impex stocks the brackets, the connectors and the complete kits.