Is Tube and Clamp Scaffolding Safe for DIY Home Use? The 4 Checks

Tube and clamp scaffolding is only as safe as its four weakest points: the ground under each leg, the torque on every coupler, the bracing between faces, and the honesty about height. Built with certified fittings and checked joint by joint, the same system professional scaffolders use is entirely usable for careful home projects; built on soft ground with hand-tight fittings, it is not scaffolding — it is a structure waiting to shed its boards.
- Tube and clamp scaffolding is the same system professionals use — safety for DIY comes from build discipline, not from a different product.
- The four non-negotiables: firm level base plates or screw jacks, fully torqued couplers, bracing on the loaded faces, and boards that cannot slide or tip.
- A rigid frame is a safe frame: if you can push the top and feel sway, a coupler is loose or a diagonal is missing.
- Guardrails and mid-rails belong on anything you stand on more than a body height off the ground — and legal height thresholds differ by country, so check your local work-at-height rules before building tall.
- Above modest home-project heights, or for anything fixed to a building, the honest answer is that a qualified scaffolder should take over.
Why the same system can be safe for DIY
Tube and clamp is not a trade-only technology: it is 48.3 mm steel tube joined by couplers, and the fittings made to EN 74 carry the same ratings whether they hold a site scaffold or a garden workbench. What differs on site is the process — trained crews, torque checks, inspections. That process is learnable, and for small, low structures it is the difference between a rigid platform and a wobbly one.
What is NOT a DIY variable: load ratings you have not verified, and structures fixed to a building or above safe working height. Those change the answer from "yes, carefully" to "not without a professional".
The four checks that decide safety
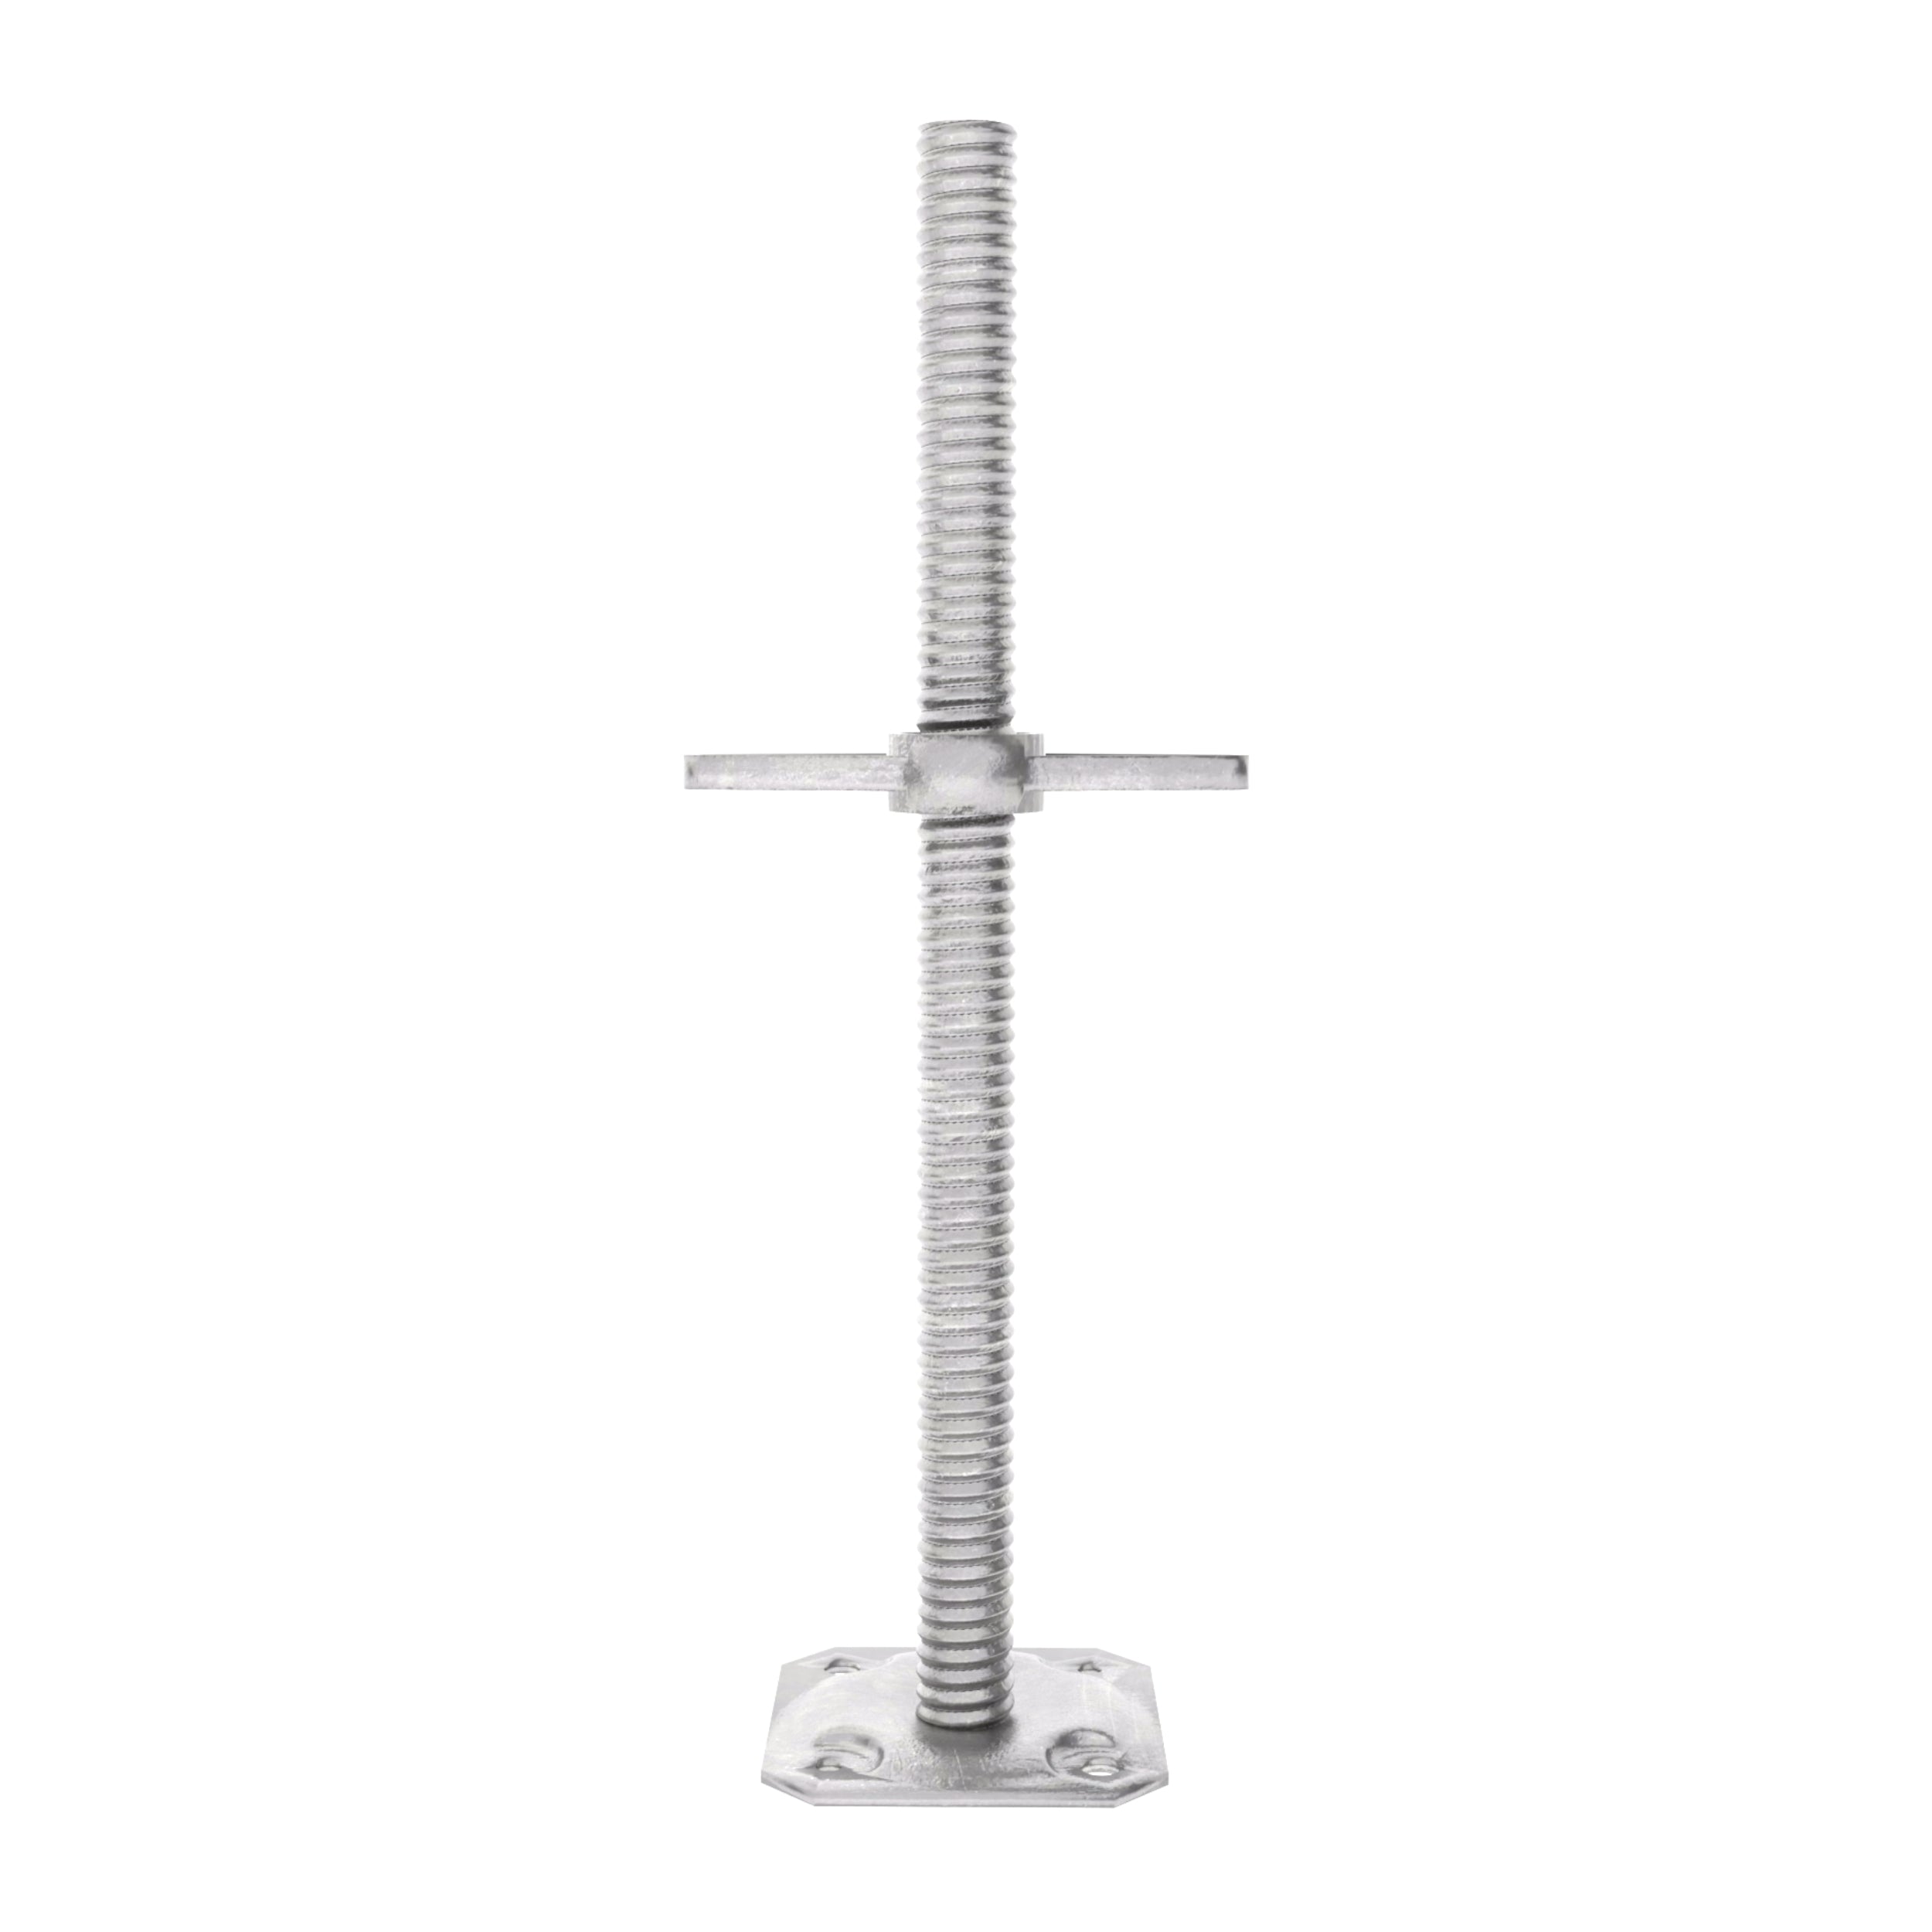
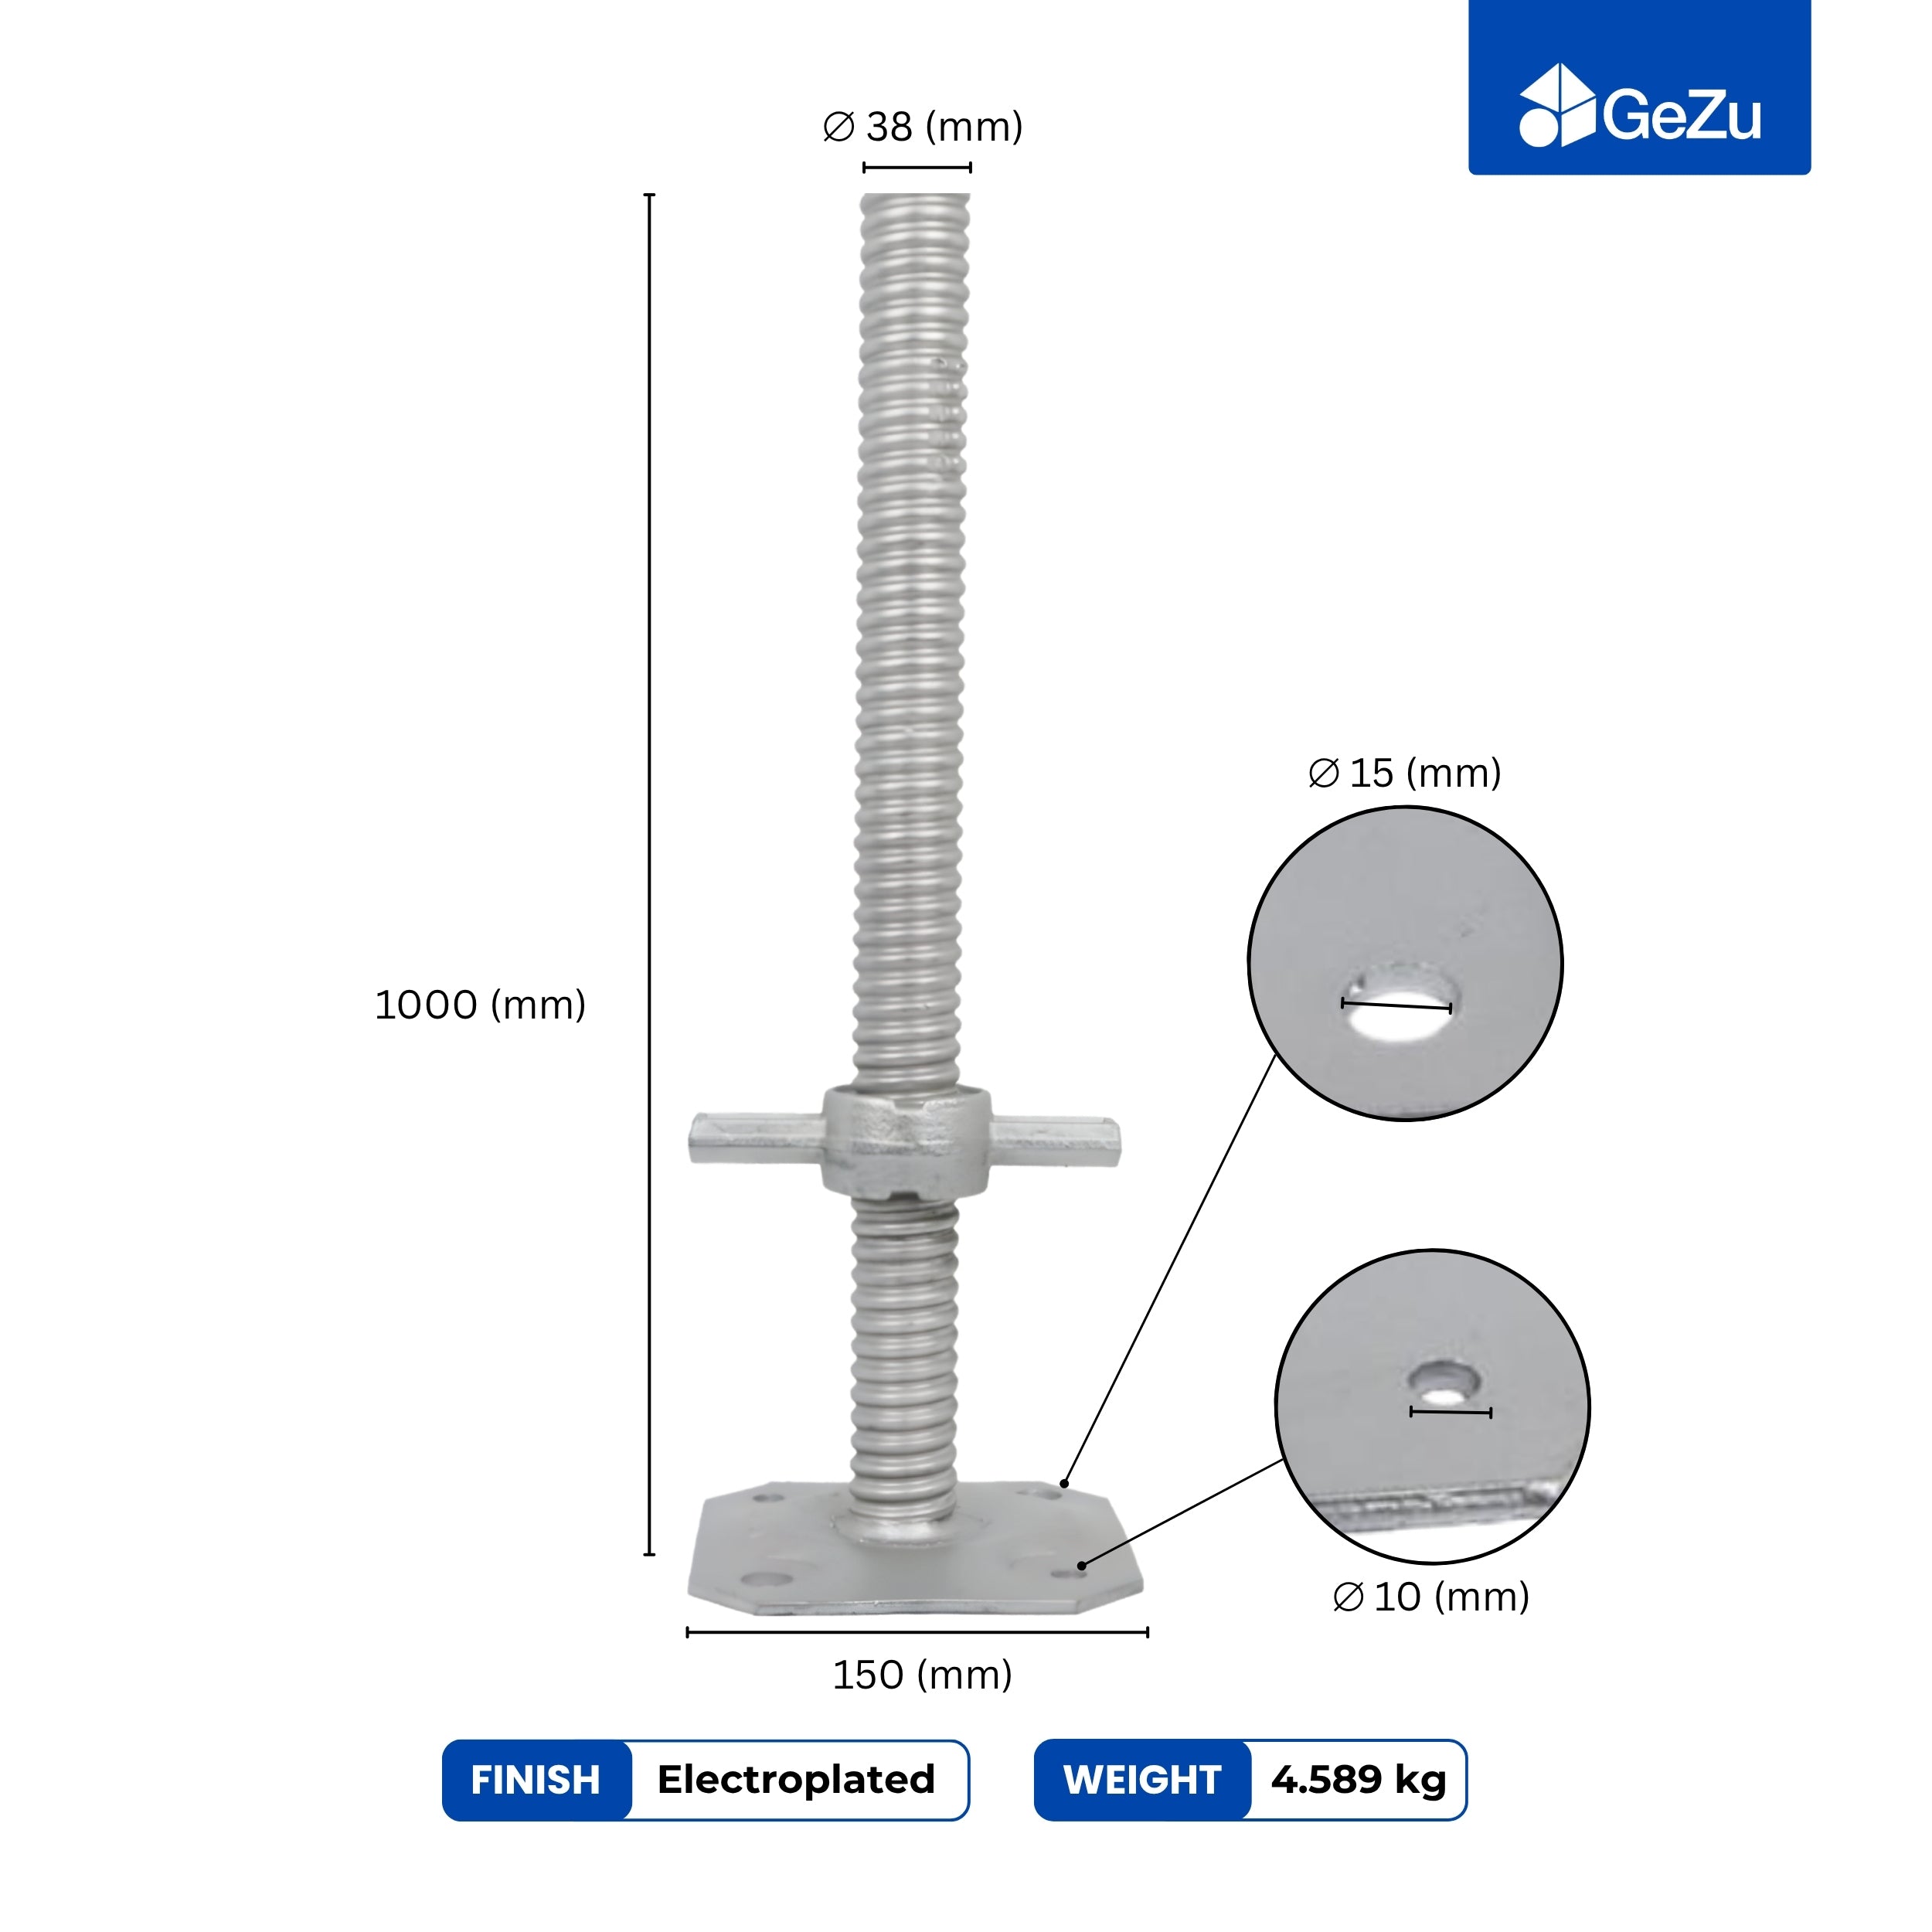
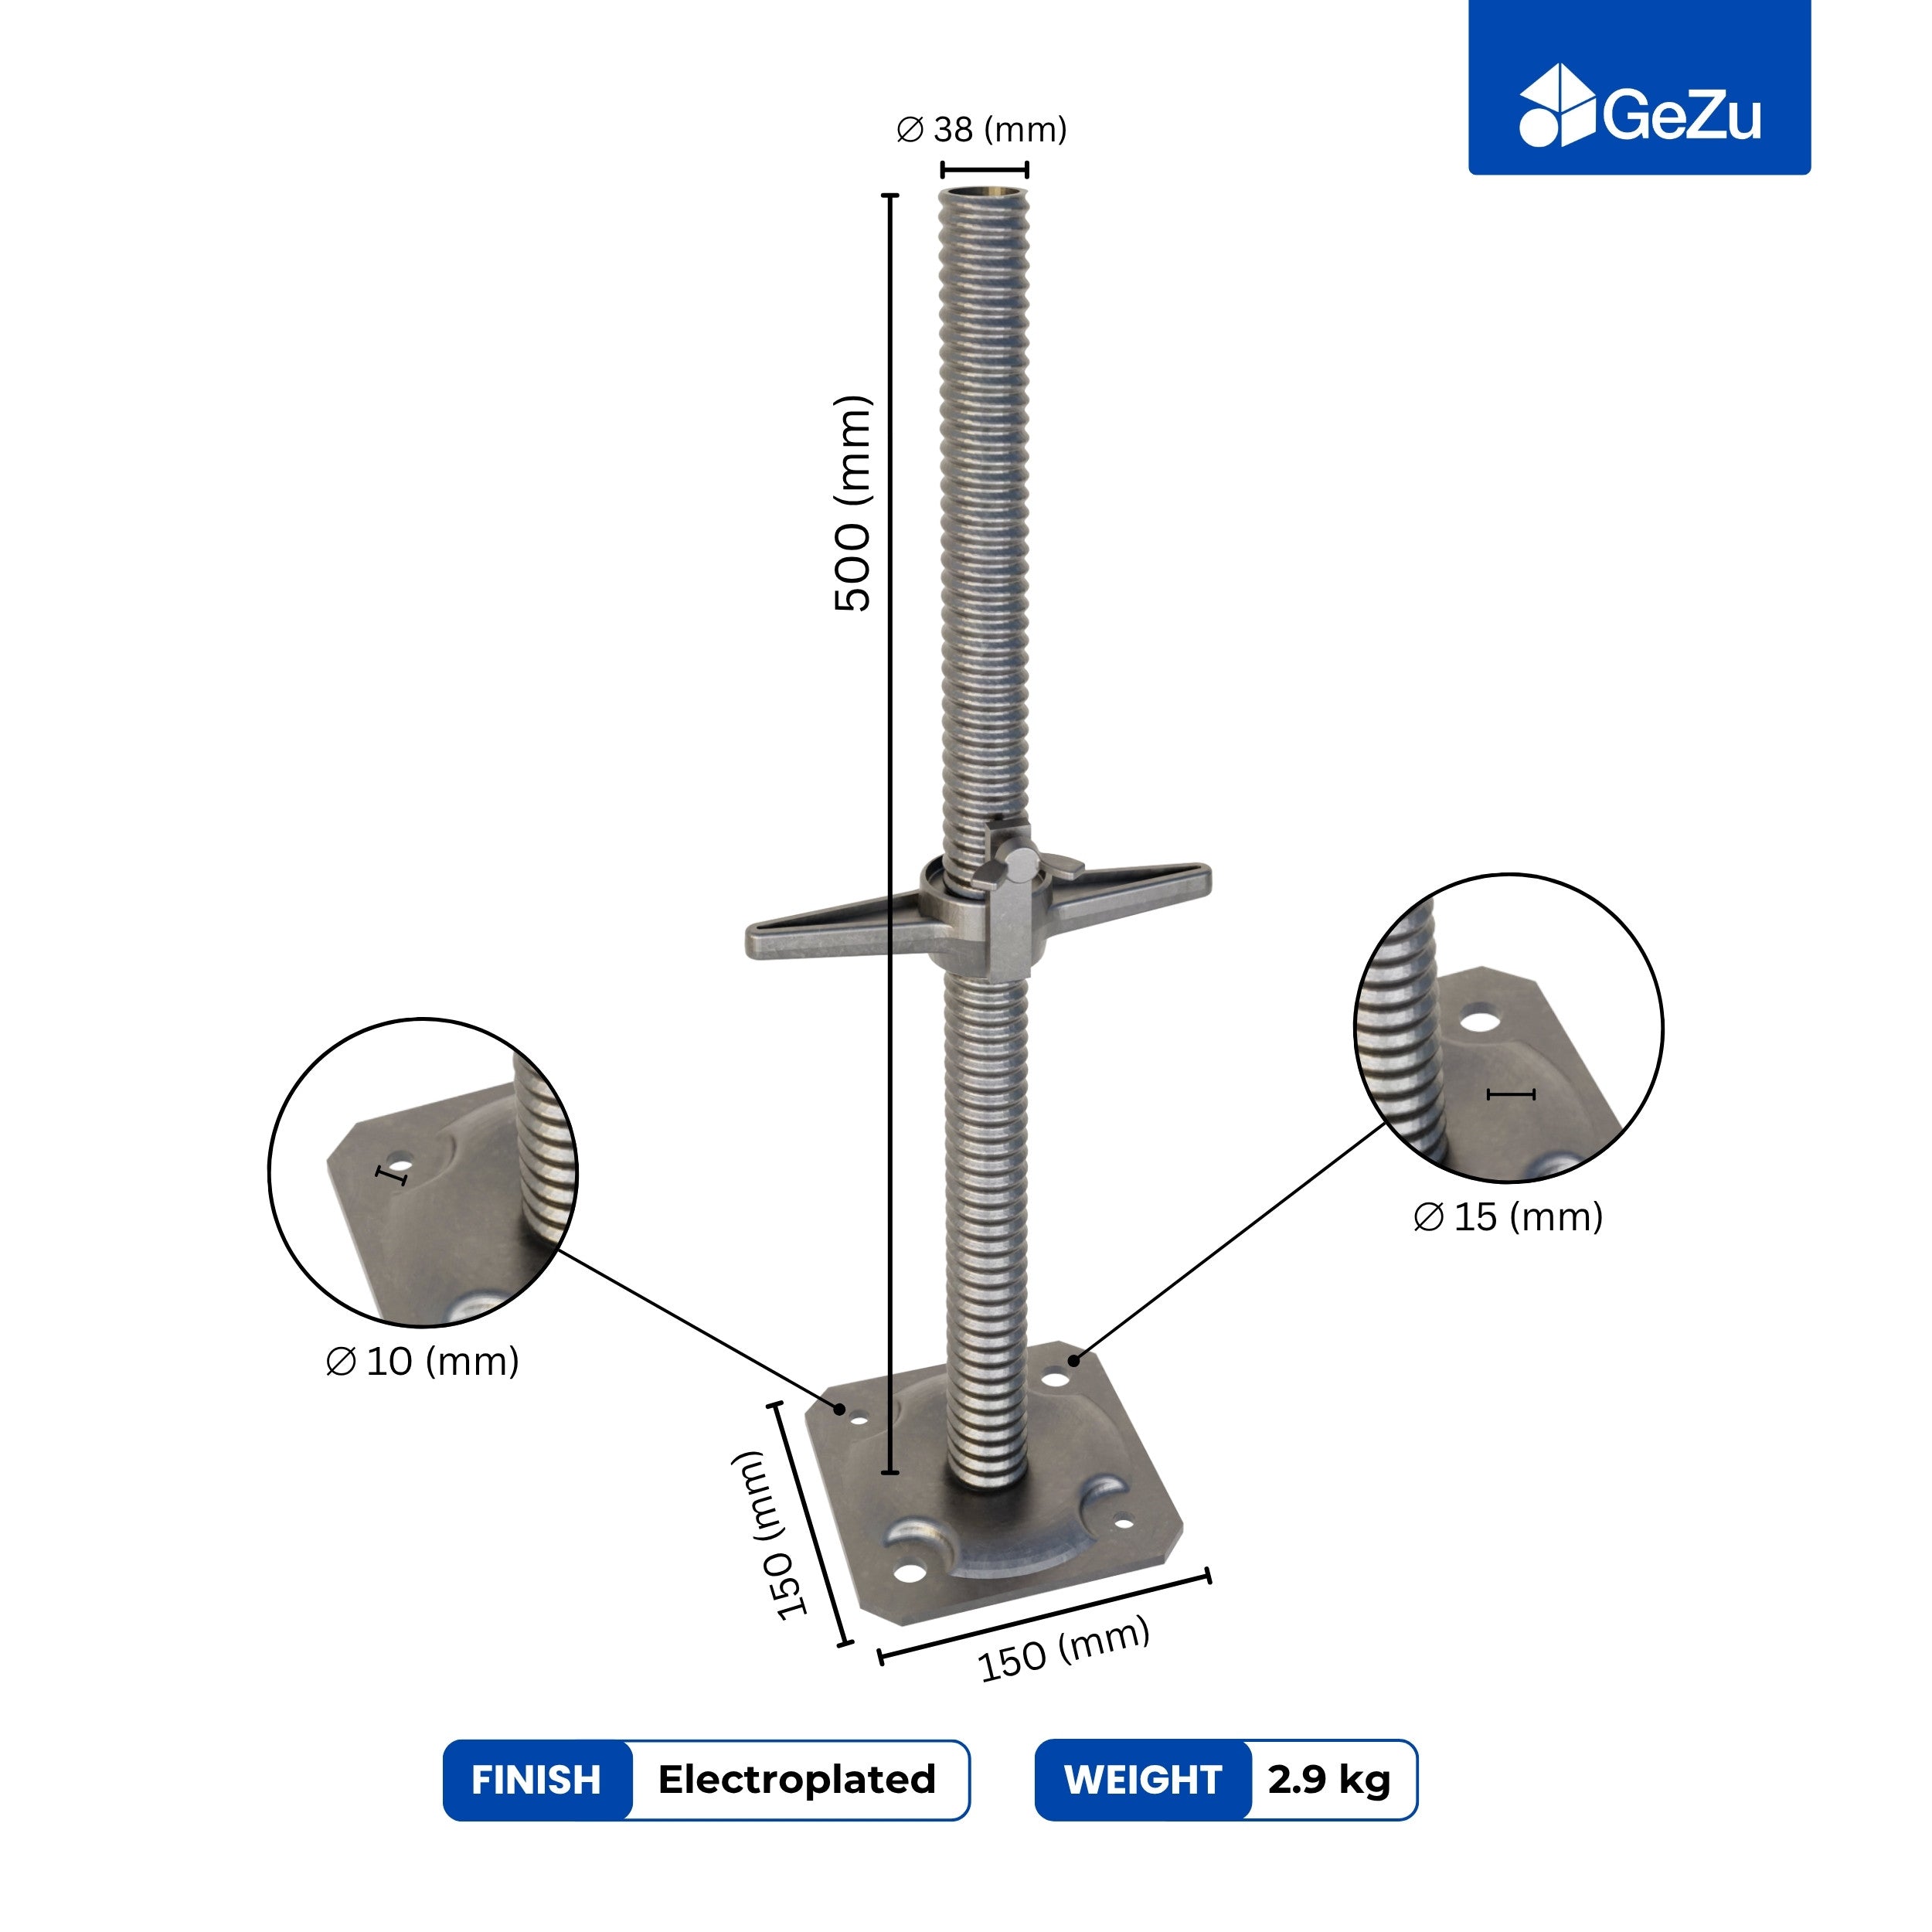
1. The ground. Every leg sits on a base plate on firm, level ground — or an adjustable base screw jack where the surface has any fall. Soil that compresses under load unlevels the frame and unloads joints; if the ground is soft, lay a solid pad under each plate first.
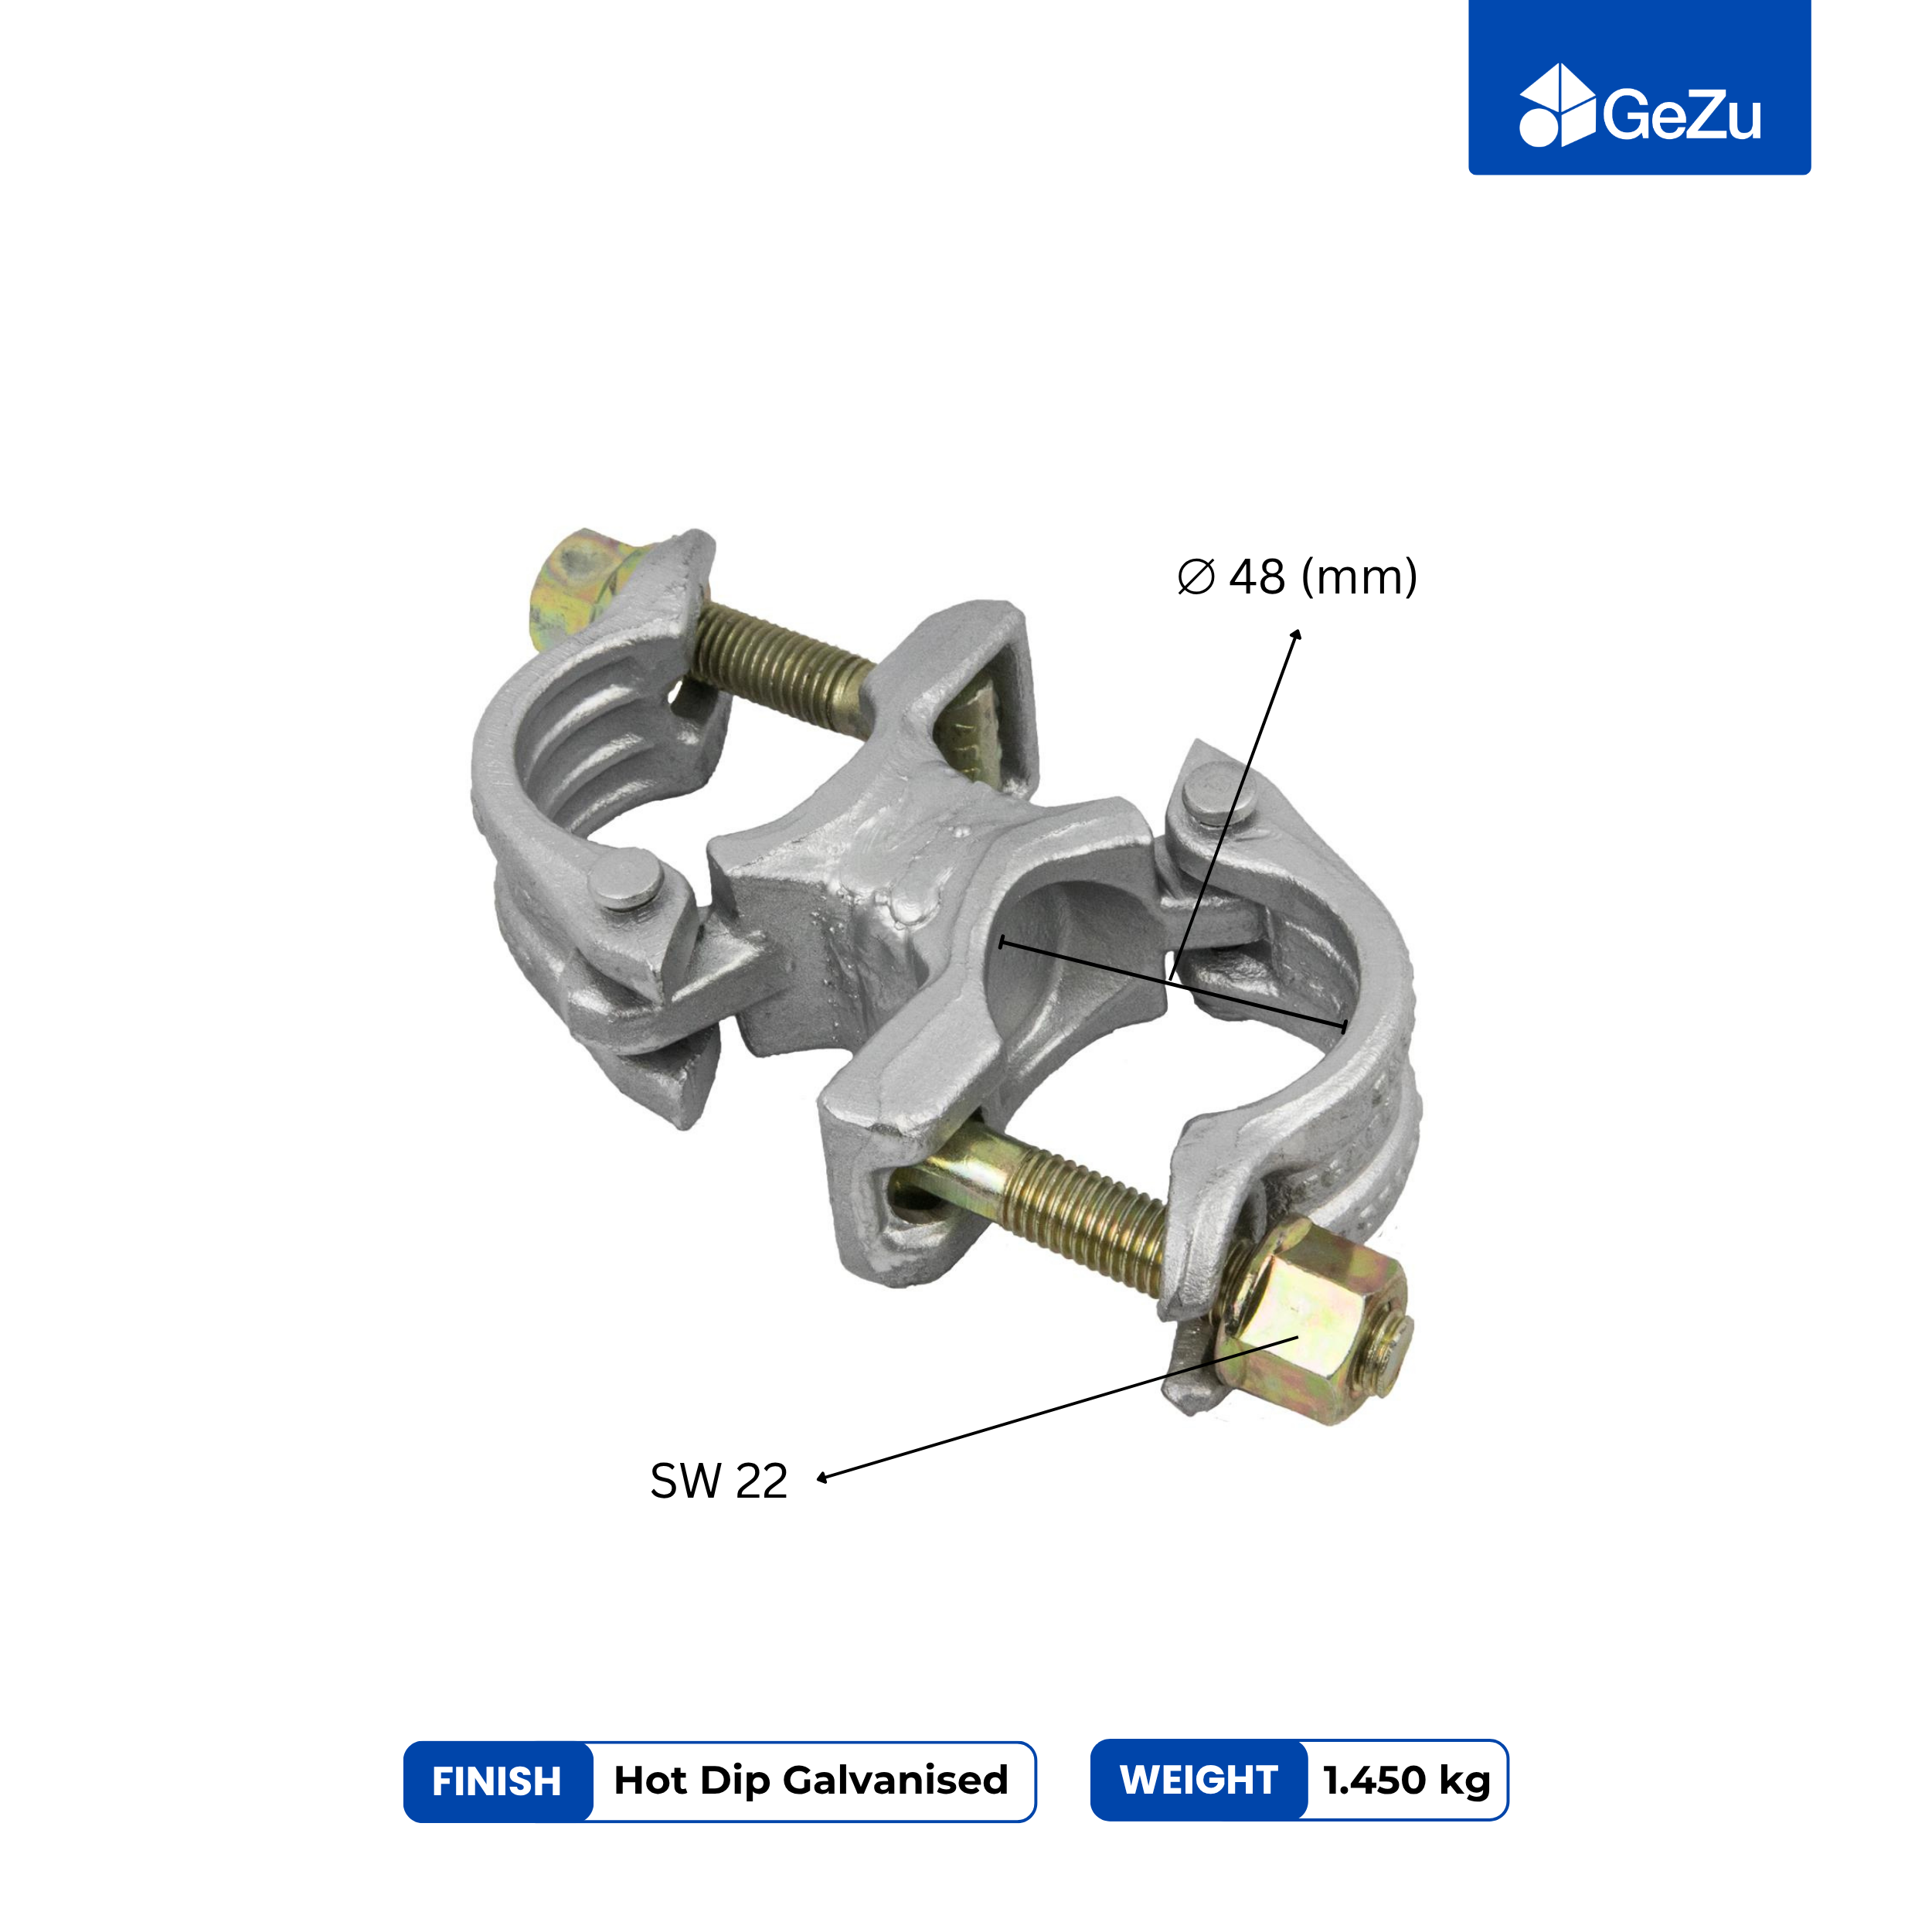
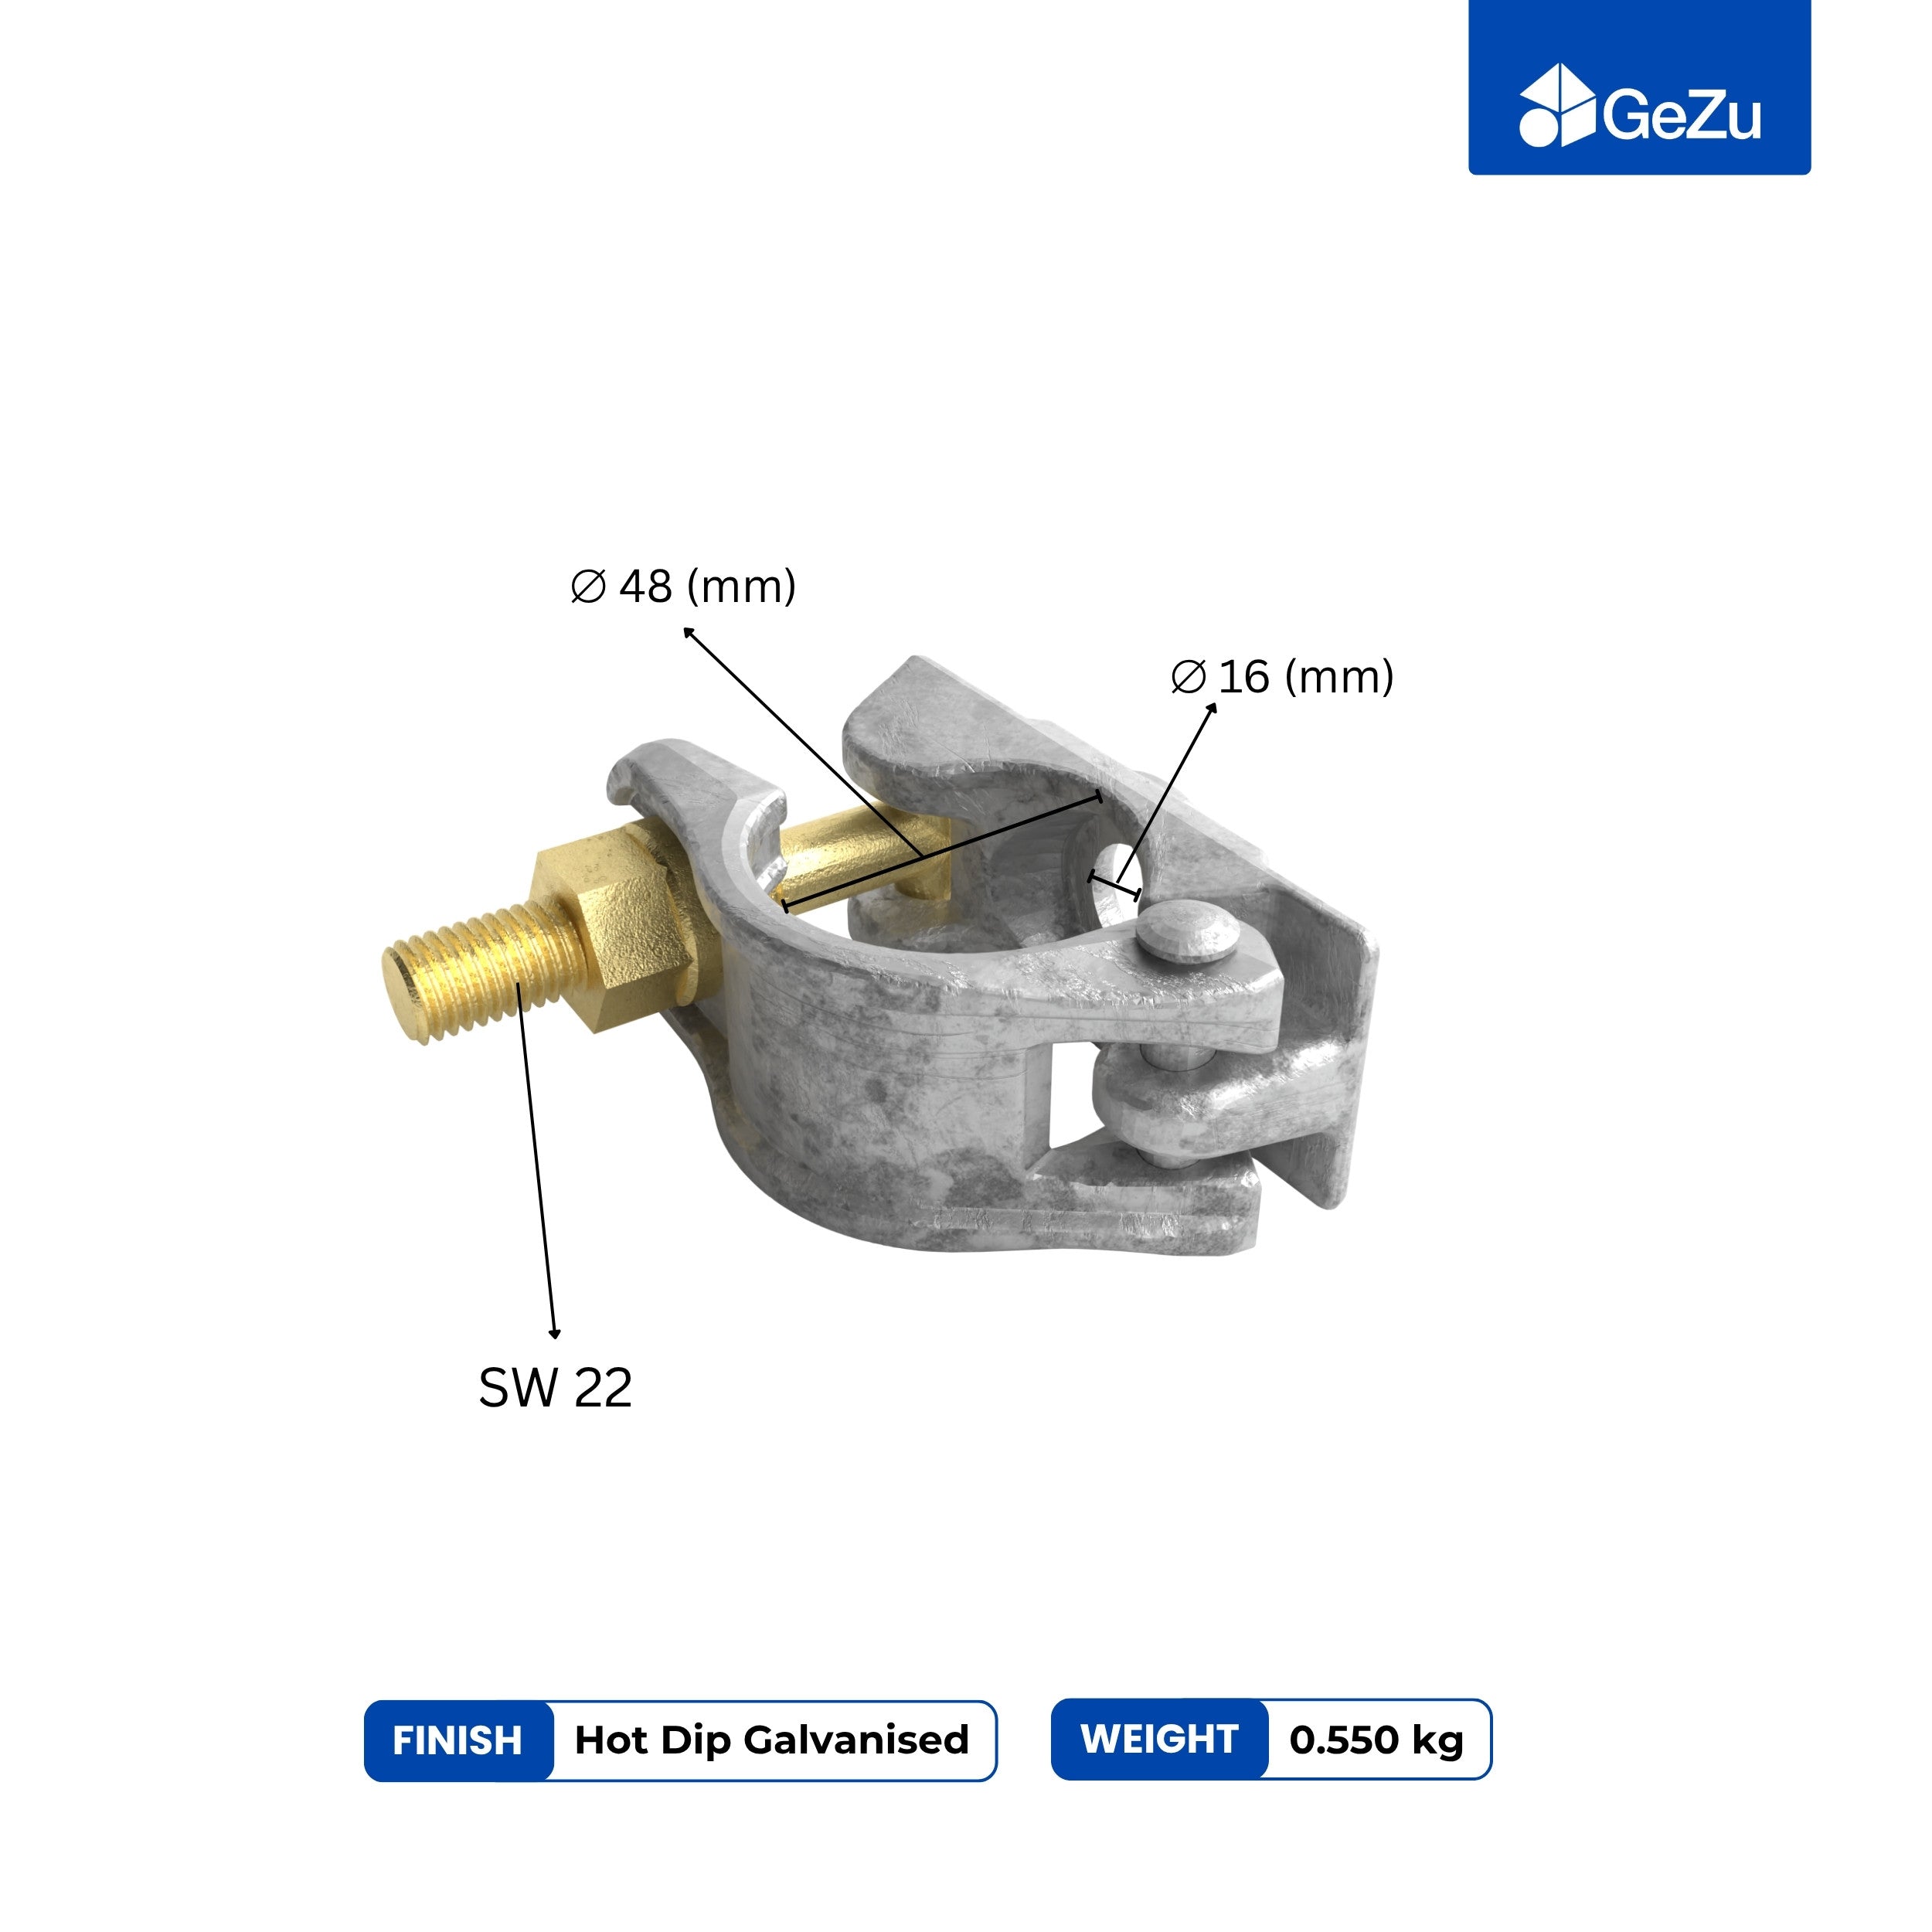
2. The joints. Structural joints take right angle couplers, diagonals take swivel couplers, and every bolt is torqued to the manufacturer's spec after the frame is squared — not just hand-tight. Hand-tight is an assembly stage, not a finished state.
3. The bracing. Diagonal braces on the faces that carry the load stop the frame racking sideways. Push the top of the finished frame: if it moves, a swivel coupler bolt is loose or a diagonal is missing. One brace on one face resists sway in one direction only.
4. The deck. Boards fully supported at both ends, butted tight, with no overhang past the last transom, no rocking underfoot, and no gaps a foot can roll into.


Heights: where DIY ends
The honest line is functional, not a number we can certify. While you are building a workbench, a low platform you step onto, or a frame you never climb above — build and check with the process above. Once you are standing on it with your centre of gravity well above ground level, you are working at height, and the rules that govern that differ by country: in the UK the Work at Height Regulations set the requirements for work above ground level; in France the Code du travail does the same for professional sites. Check the rules that apply to you before building tall.
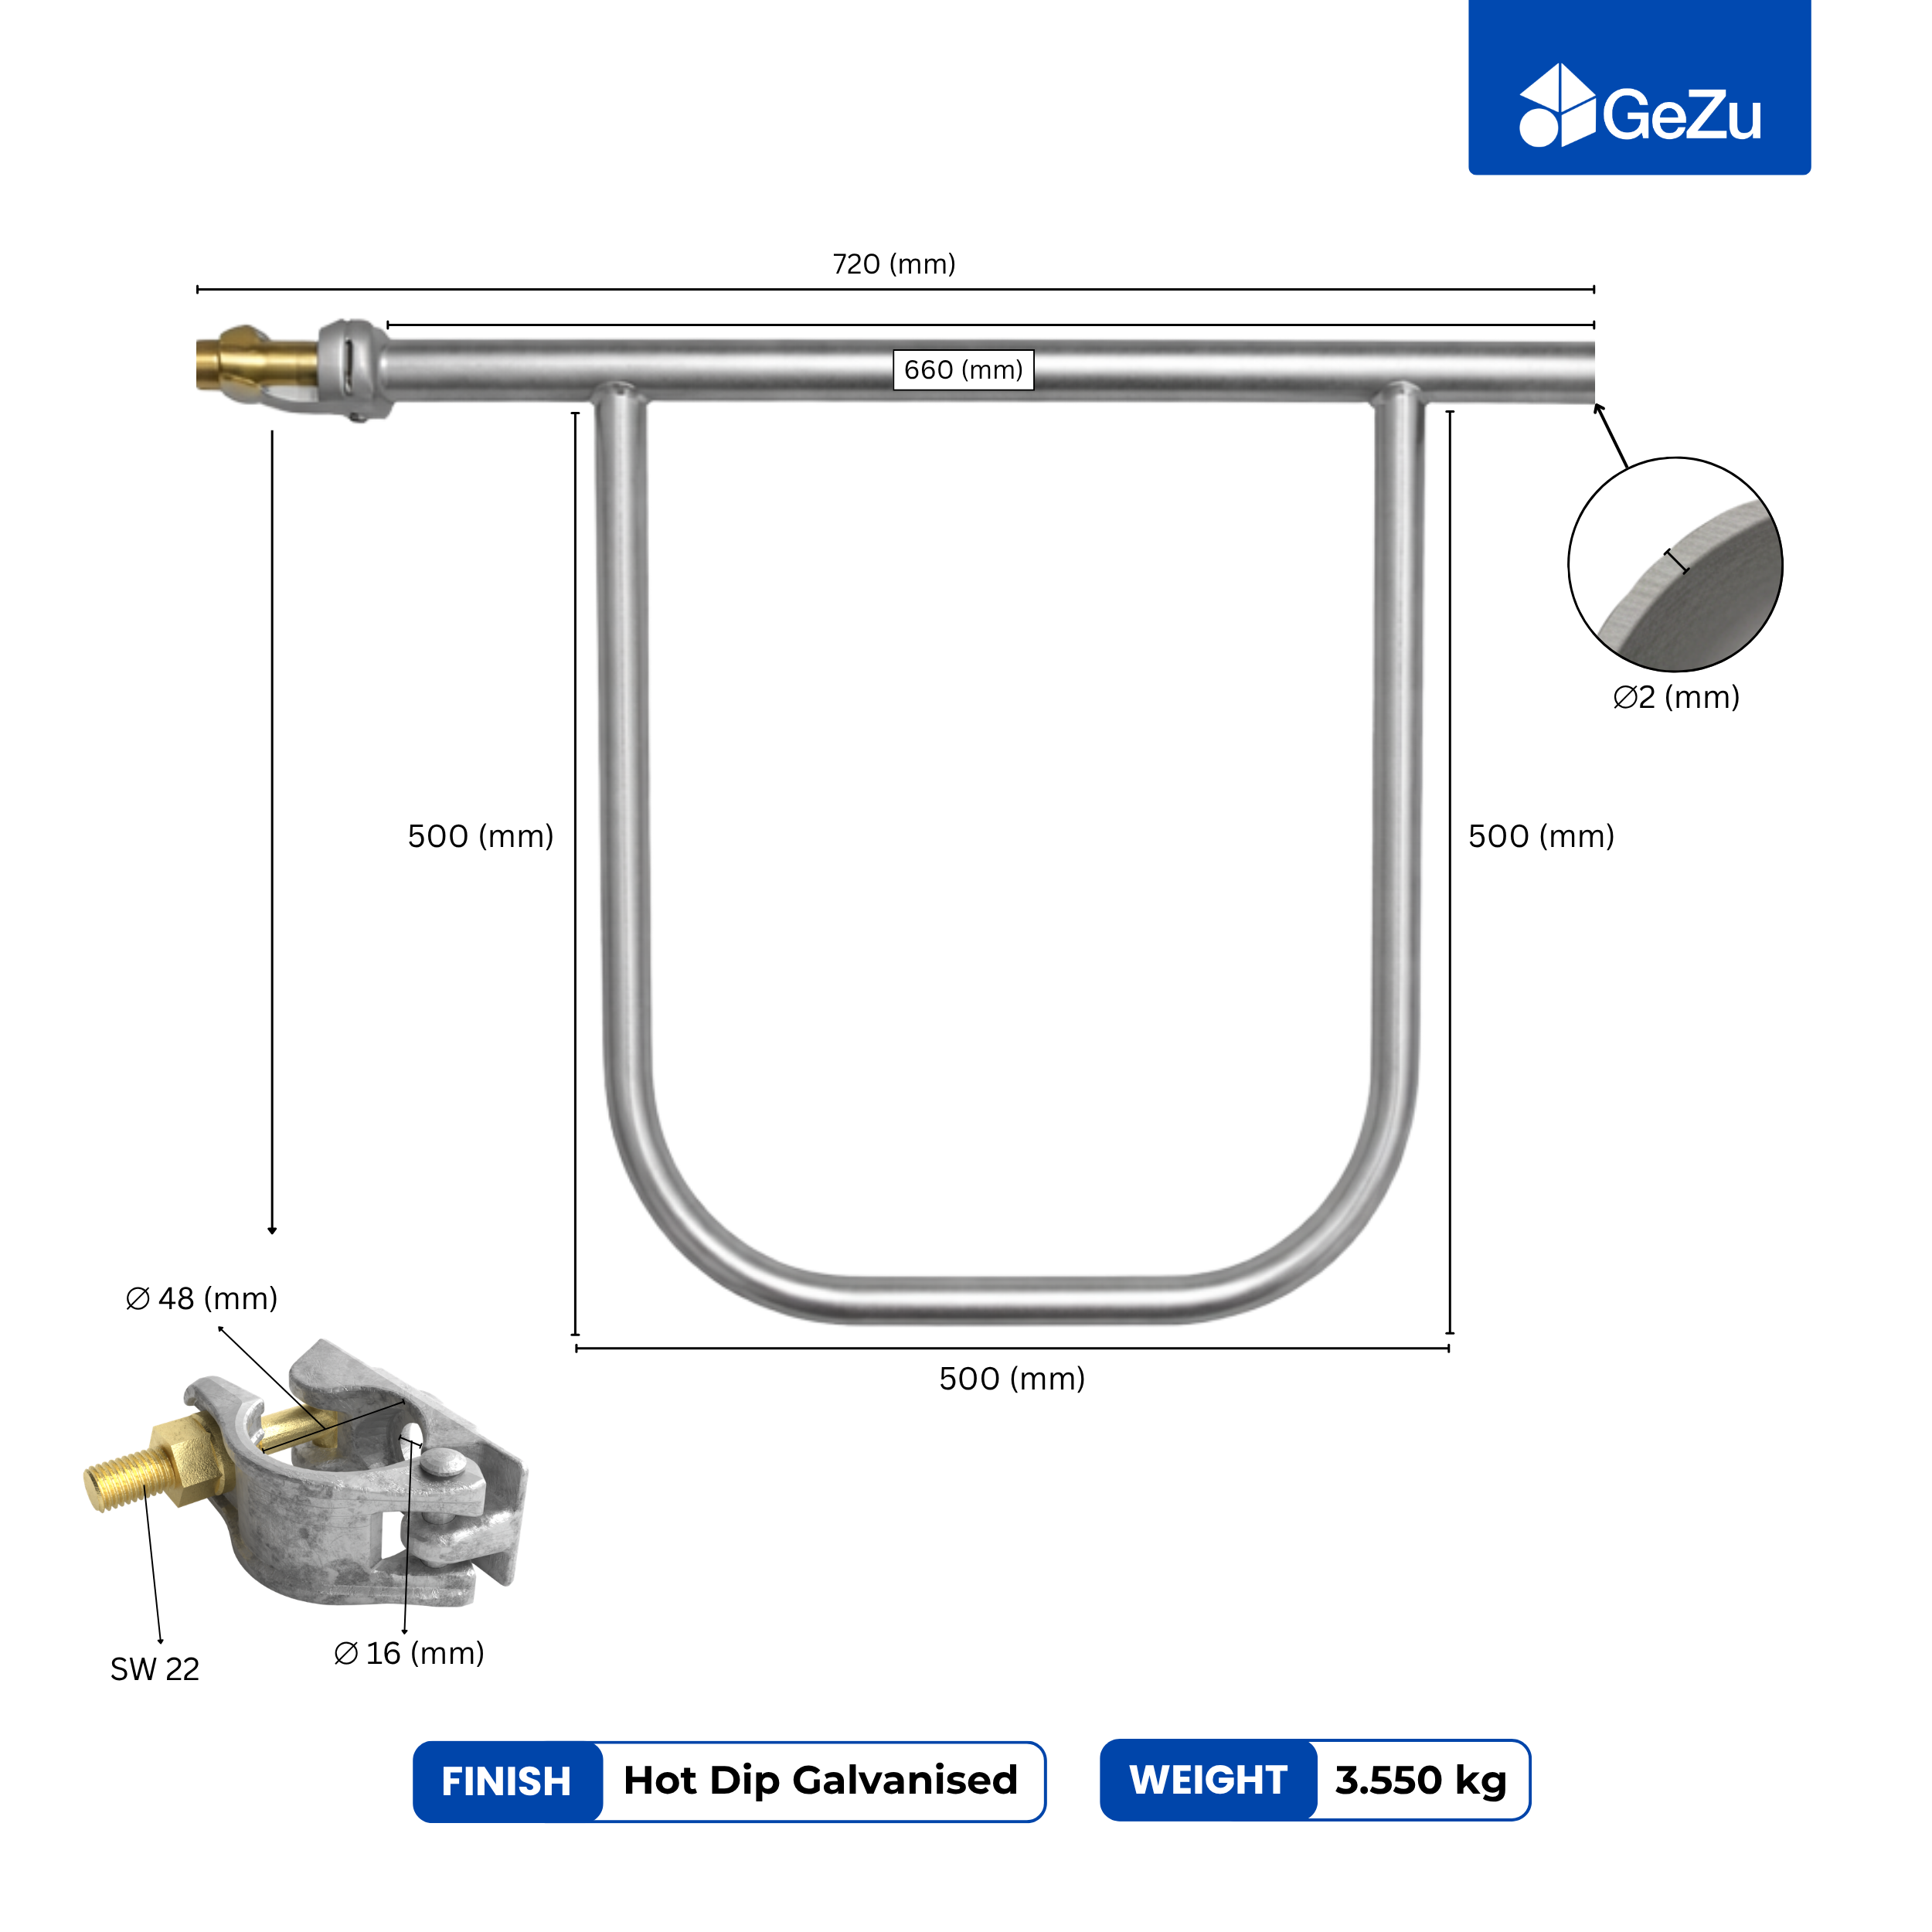
Practical rule of thumb used by experienced DIYers: guardrail tubes (top rail and mid-rail) on any platform you stand on, and a qualified scaffolder for anything anchored to a building, spanning a doorway, or taller than you can brace from the ground. None of that is a sales point — a scaffold erector's day rate is the cheapest line on a tall project.
The build process, step by step
The full sequence — base first, ledgers and transoms second, braces third, deck last, with the hand-tight-then-torque rule explained — is set out in the scaffold tube to braced working platform workflow. The short version for safety purposes:
- Set and level every leg on its base fitting before connecting anything.
- Build the frame hand-tight, square it, then torque every coupler.
- Add diagonals on loaded faces and re-check for sway.
- Deck the platform and test it with weight before you trust it.
A budget check before you buy helps too — what tube and couplers actually cost breaks a frame down into joints and metres so you can price the safe version, not a short-cut one.
Common DIY failure points
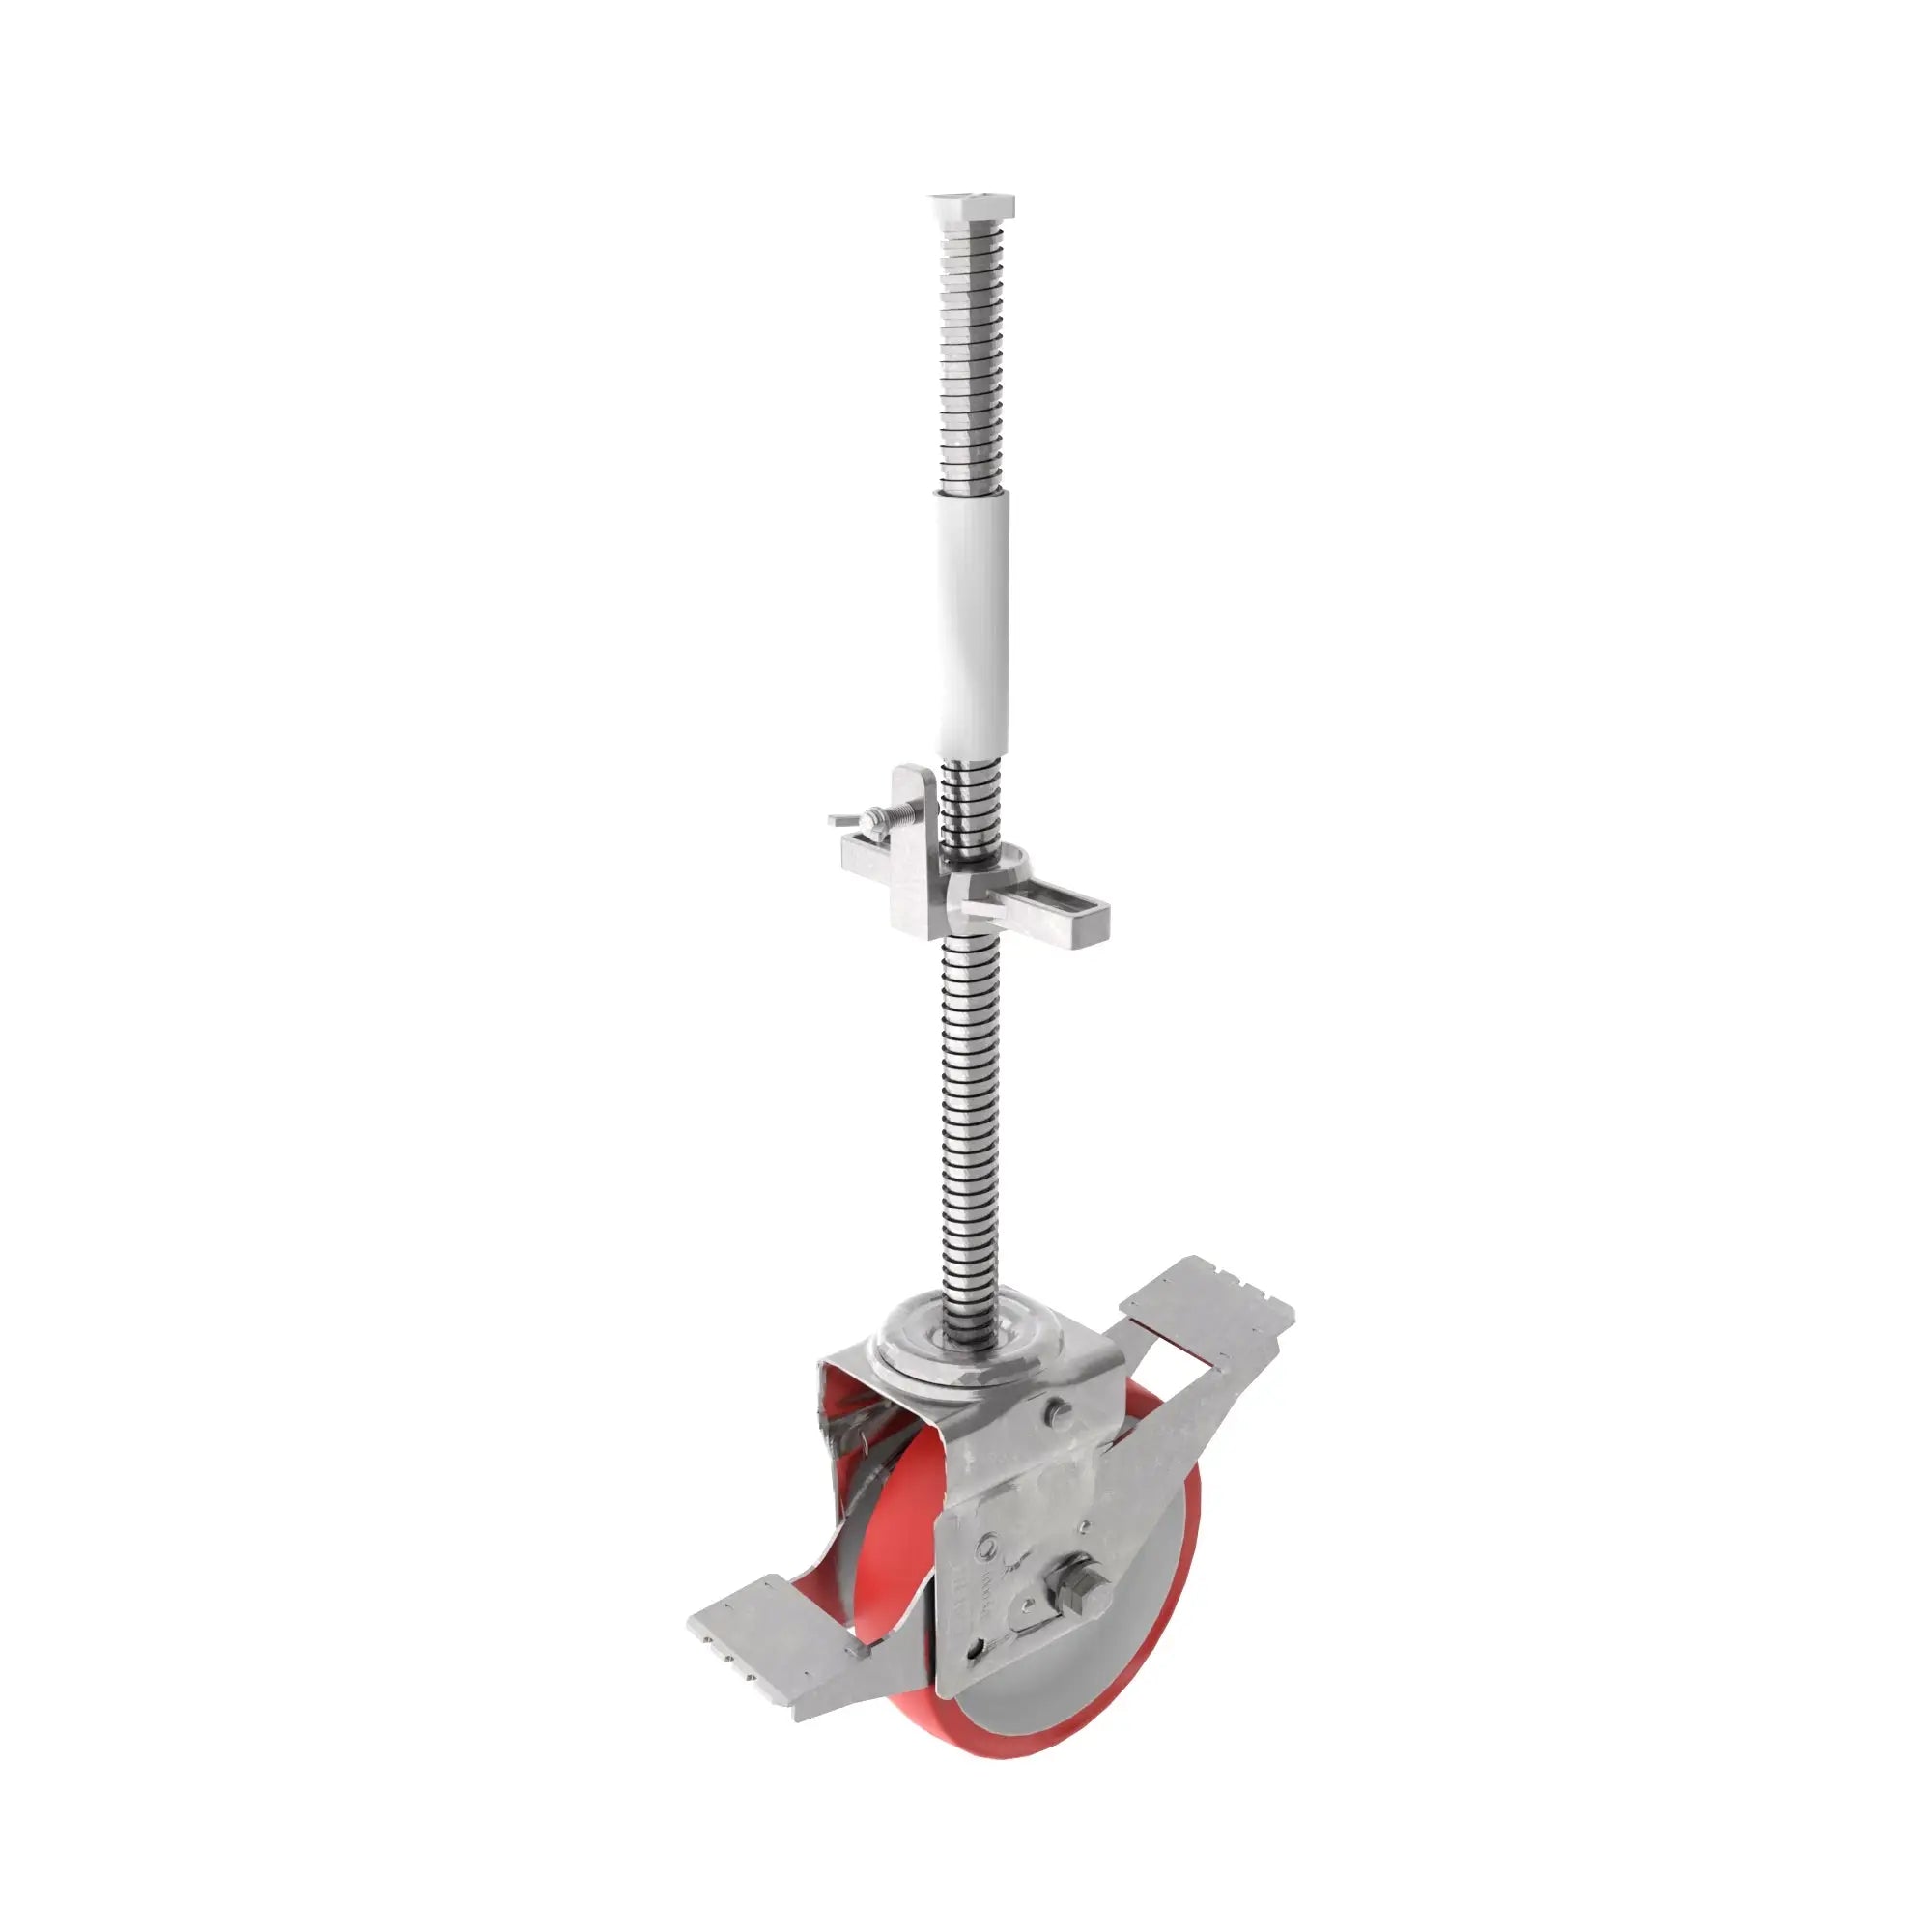
- Soft or sloped ground under fixed base plates. Swap to screw jacks and level each leg; do not pack plates with offcuts.
- Hand-tight couplers left as "done". Every joint gets full torque once the frame is square.
- Bracing one face only. Add a matching diagonal on the opposite face.
- Unrated or unbranded fittings. Look for EN 74 — what the standard means for the couplers you buy.
- Boards as an afterthought. Undersized or unsupported boards fail before the frame does.
- Bolts never rechecked. Vibration and load cycling back bolts off; recheck structural couplers each season.
FAQ
Is tube and clamp scaffolding safe for home DIY use?
For low, small structures built on firm ground with certified fittings and fully torqued joints — yes, and it is the same system professionals use. Safety comes from build discipline: level base, torqued couplers, bracing both faces, sound boards.
How high can I build tube and clamp scaffolding at home?
Work-at-height rules differ by country and should be checked locally. As practical guidance: guardrails on any platform you stand on, and a qualified scaffolder for anything anchored to a building or too tall to brace from the ground.
What fittings does a safe DIY frame need?
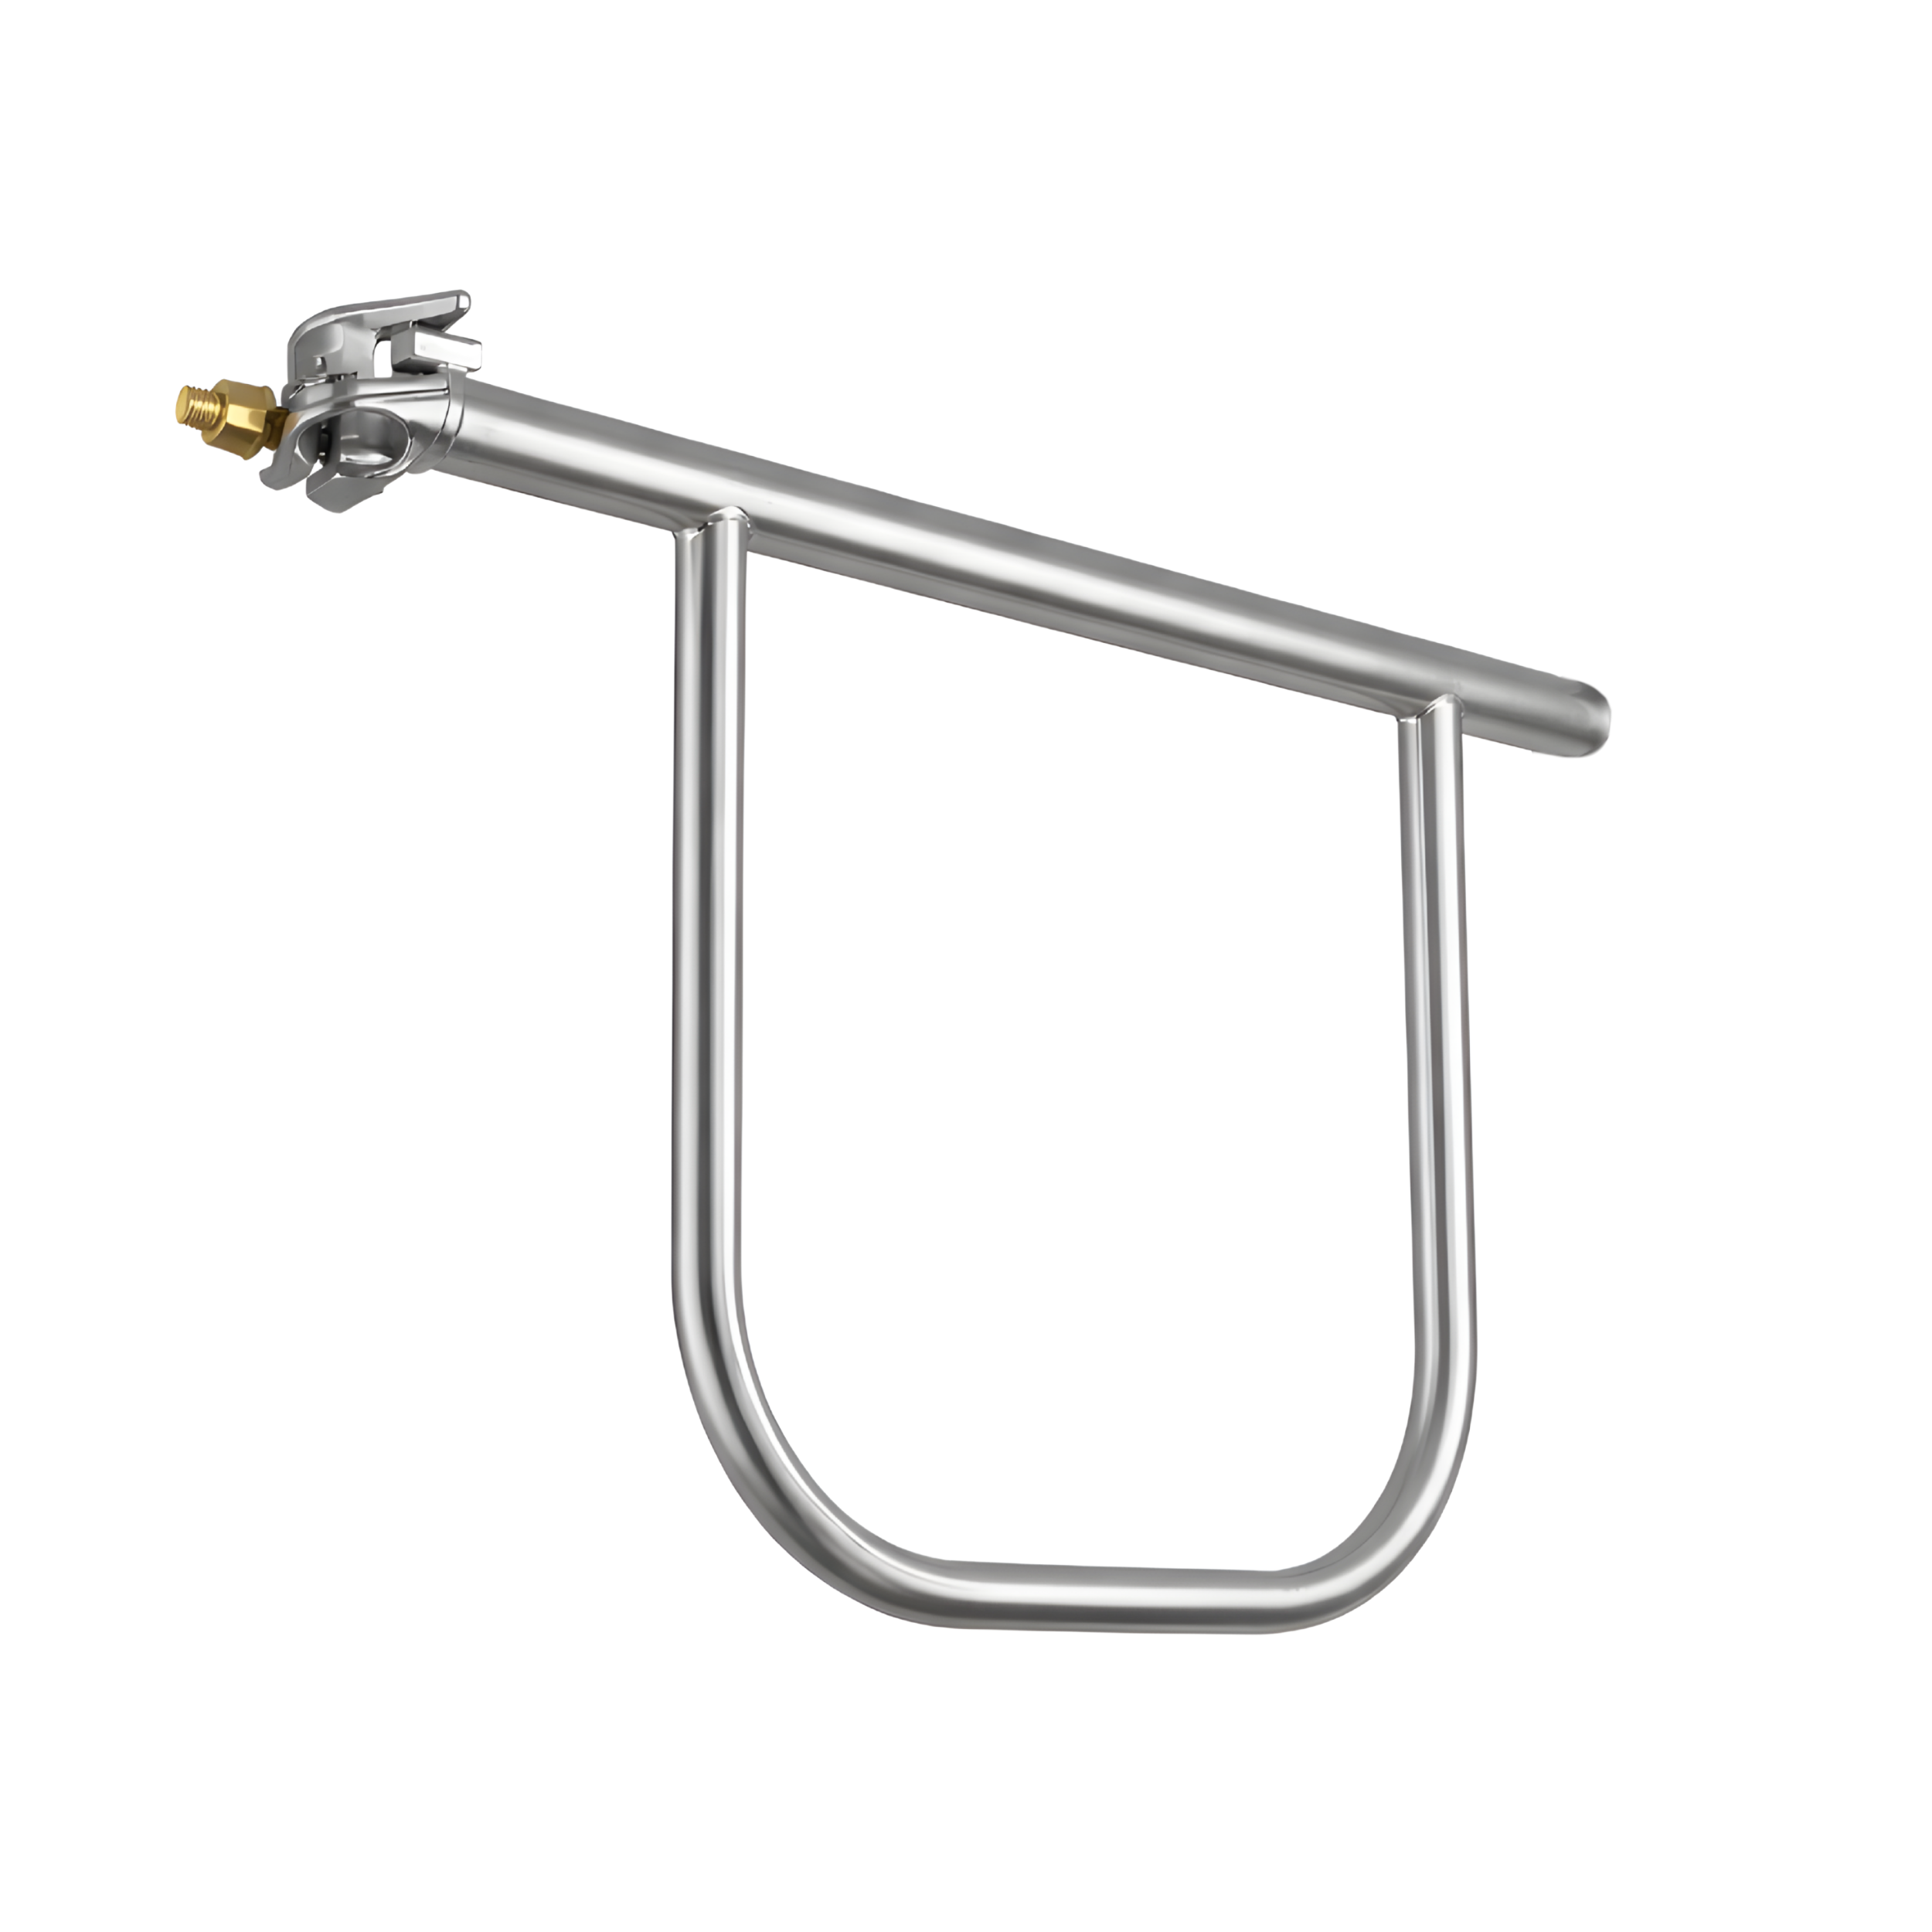
Right angle couplers for structural 90-degree joints, swivel couplers for diagonals, and a base plate or adjustable screw jack under every leg — all in 48 mm size for standard 48.3 mm tube.
How do I know the frame is safe before climbing it?
Push the top of the finished frame: a safe frame does not sway. Then load the deck with weight while standing beside it and check nothing rocks or shifts. A rigid, silent frame under load is the pass condition.
Do coupler bolts need rechecking over time?
Yes. Load cycling and vibration can back off a bolt that was correctly torqued at build time, so recheck structural couplers each season of use.
Can I fix tube and clamp scaffolding to my house myself?
No — that is professional territory. Ties into a building change the load path of the whole structure, and a qualified scaffolder should design and install them.
One last thing
The DIY version of scaffold safety is not a different product or a lighter kit — it is doing the professional checks yourself: firm feet, full torque, braced faces, sound boards, and the honesty to stop where the structure stops being a weekend build. A frame that passes the push test and the load test was built well; one that does not gets fixed before it gets trusted.