How to Attach a Pergola to a Wall (Brick, Block and Cavity Walls)

To attach a pergola to a wall you have two real choices: hang a continuous ledger beam off the wall, or carry each beam end on its own steel wall bracket bolted into solid masonry. On a brick or block house, brackets are usually the easier and the drier option. And on a few walls, rendered insulation being the obvious one, the honest answer is to not load the wall at all and stand a post there instead.
Nearly every guide on this is written for American timber-frame houses. Find the studs, lag-bolt through the sheathing, tuck Z-flashing behind the siding. That's genuinely good advice if you live in one of those houses. It's no use at all in Eindhoven, where we pack these brackets, and where the wall behind your terrace is far more likely to be two leaves of brick with a cavity in between and no stud anywhere in it.
So this is the masonry version.
Two ways to attach a pergola to a wall

A ledger is one long timber bolted flat against the wall with the rafters hung off it. It spreads the load across a lot of fixings, which is exactly why it's the default in timber frame: there's something structural to bite into every 400 or 600 mm.
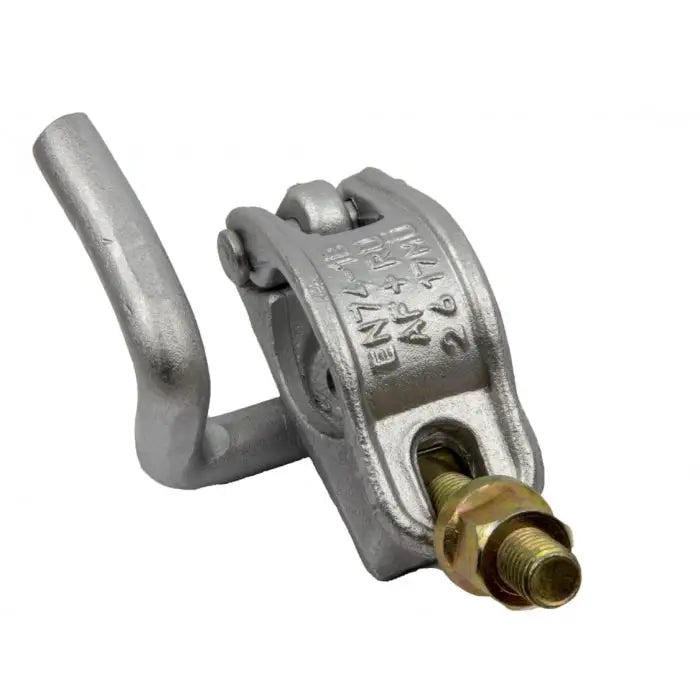
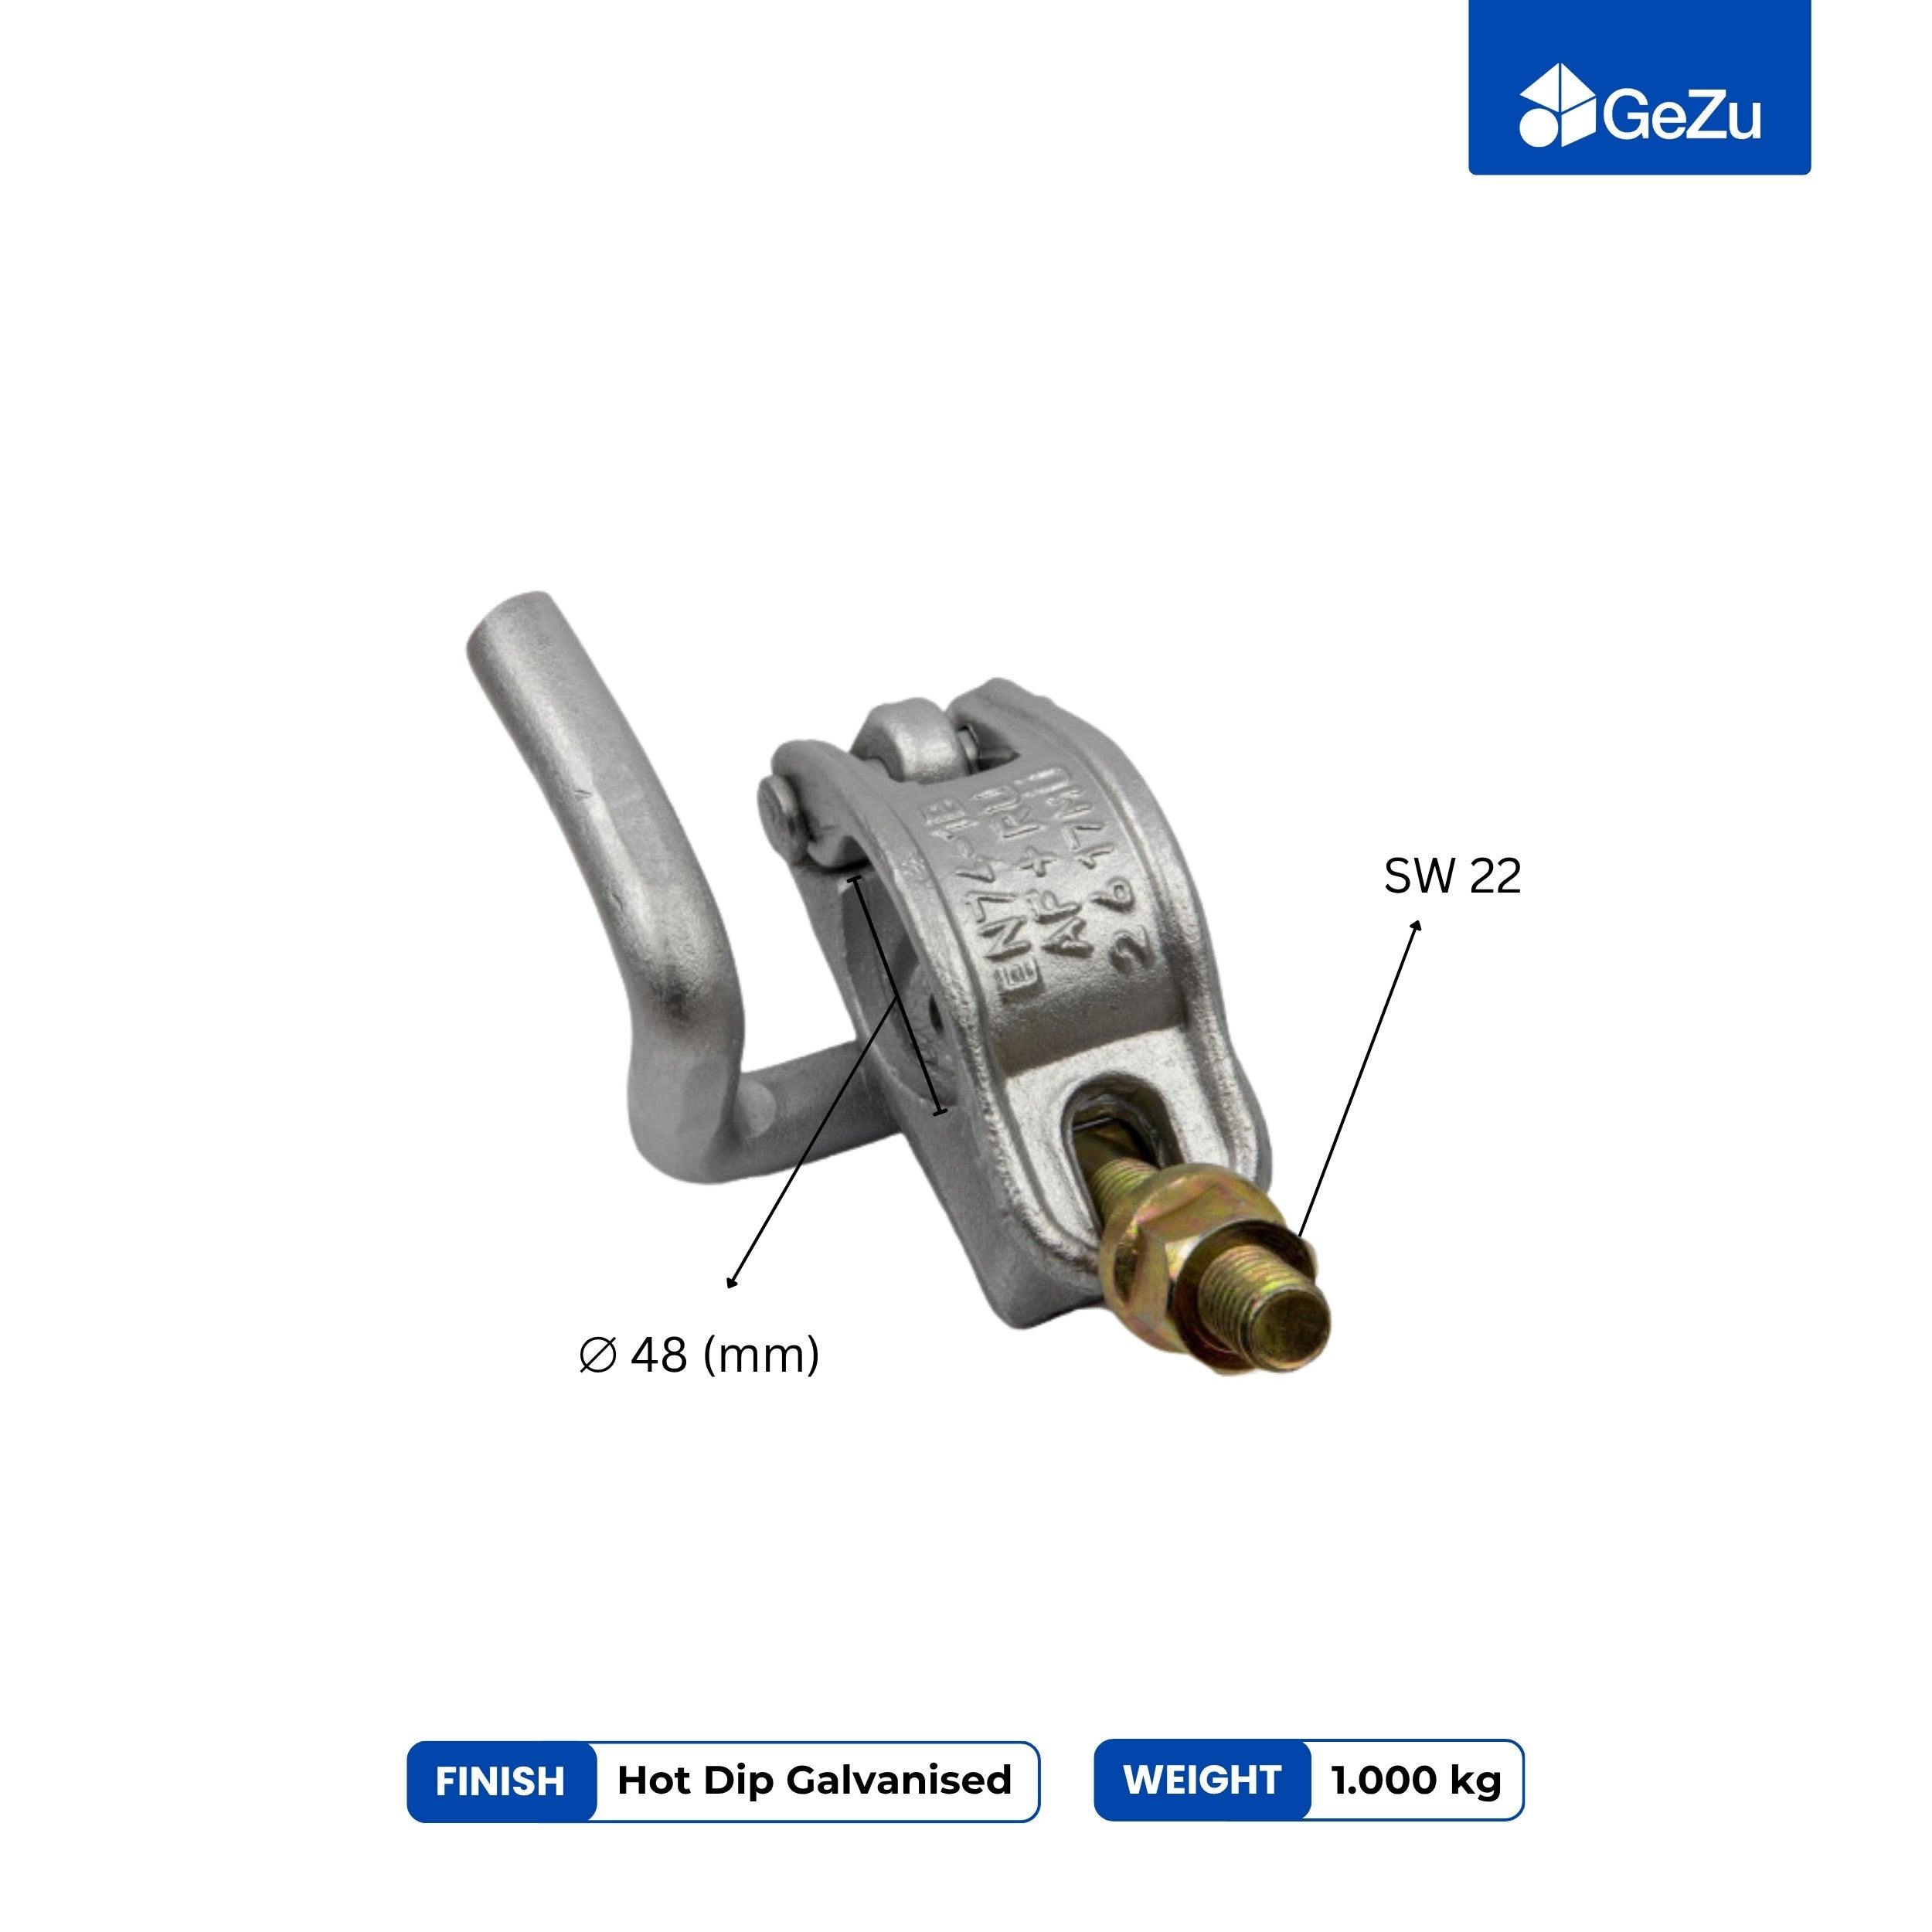
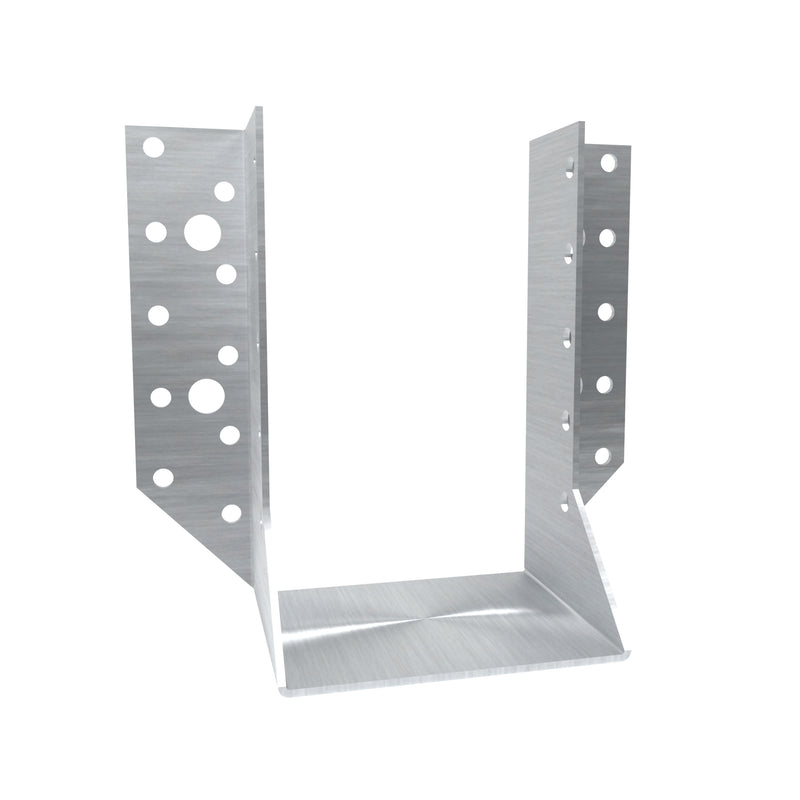
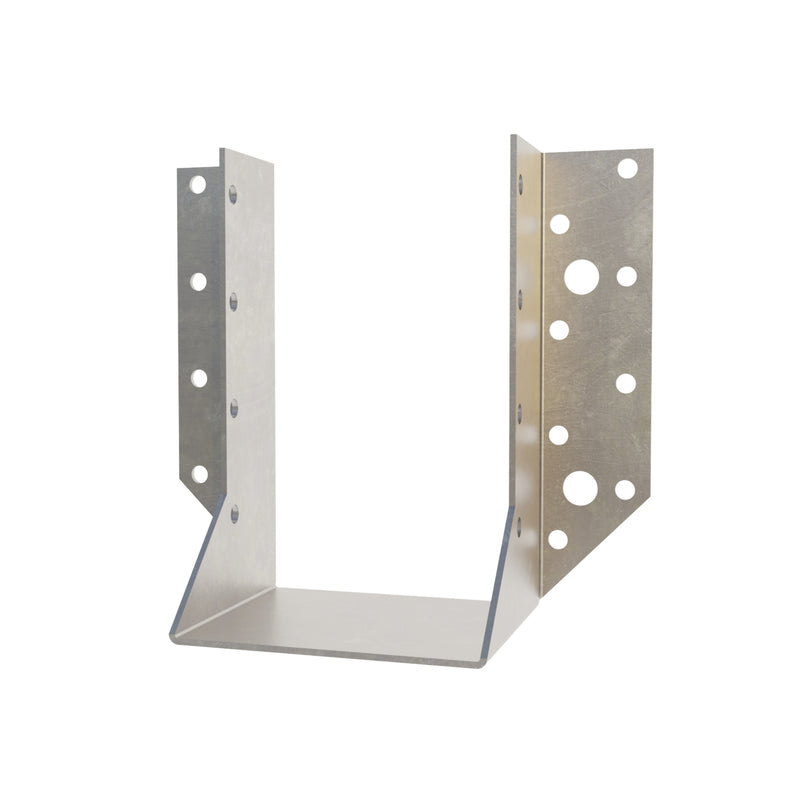
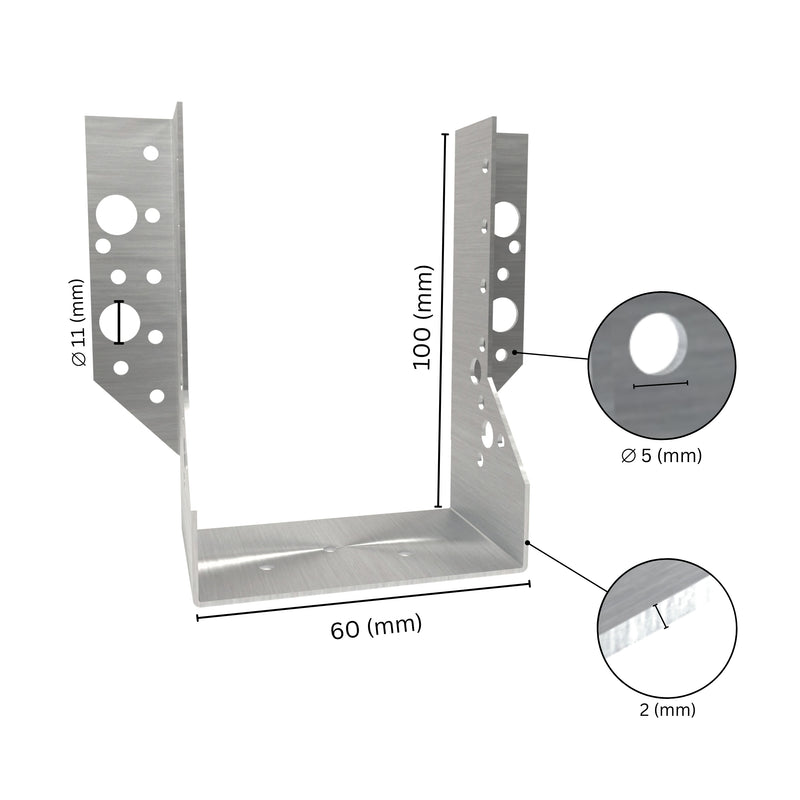
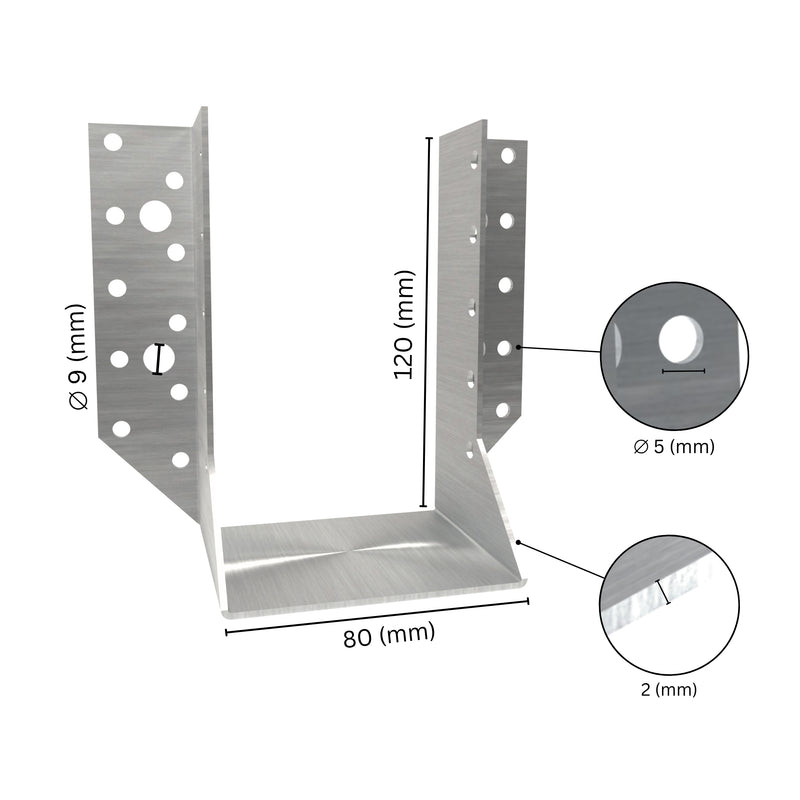
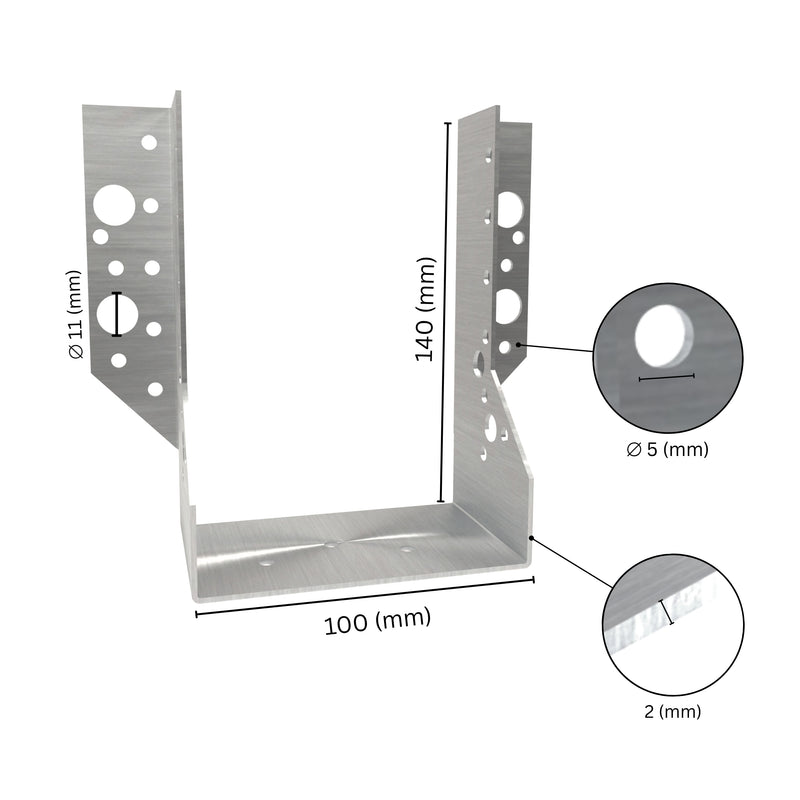
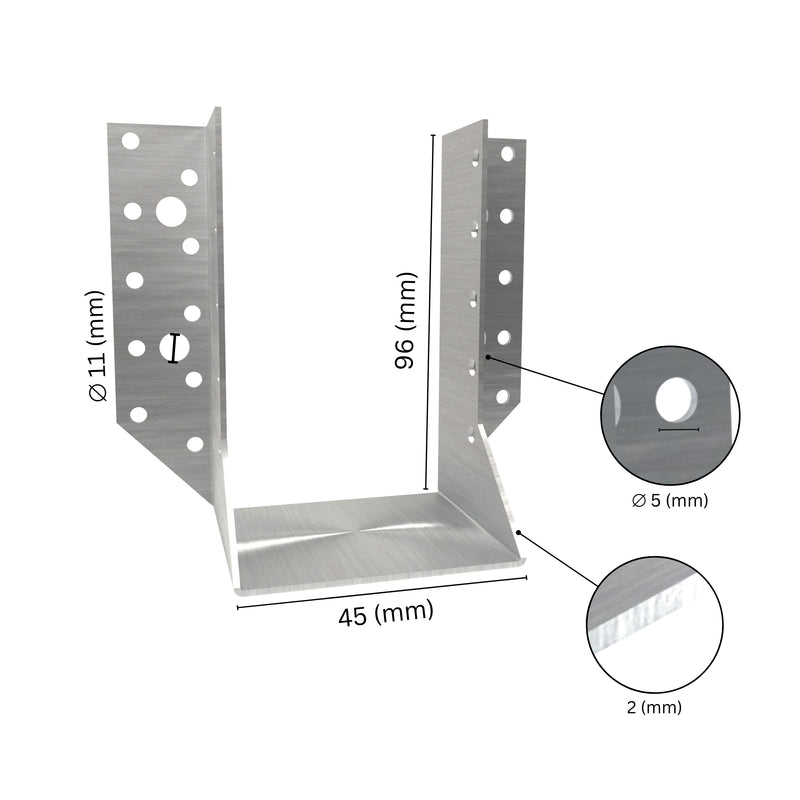
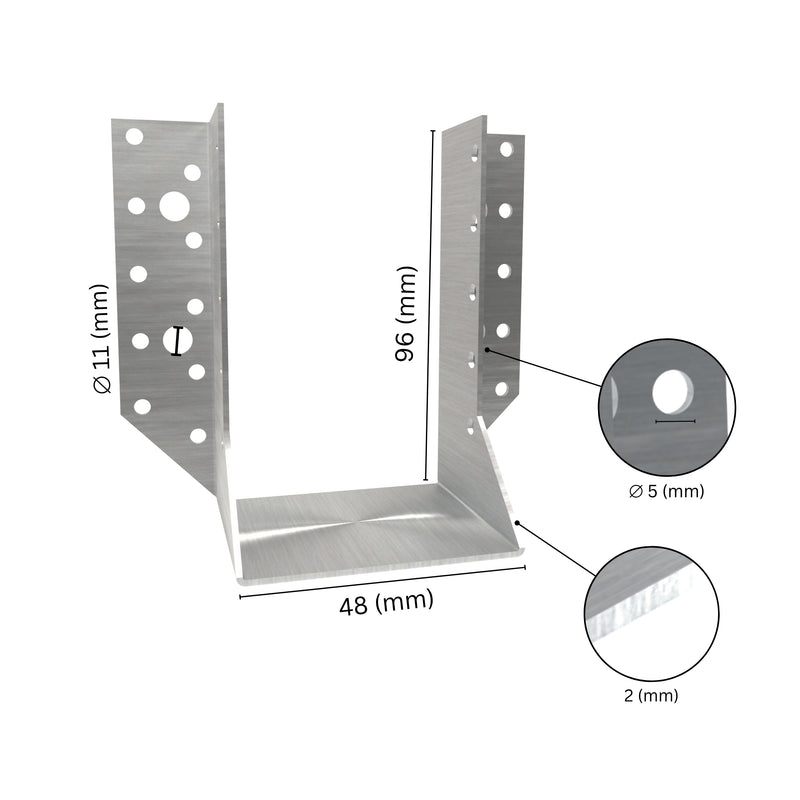
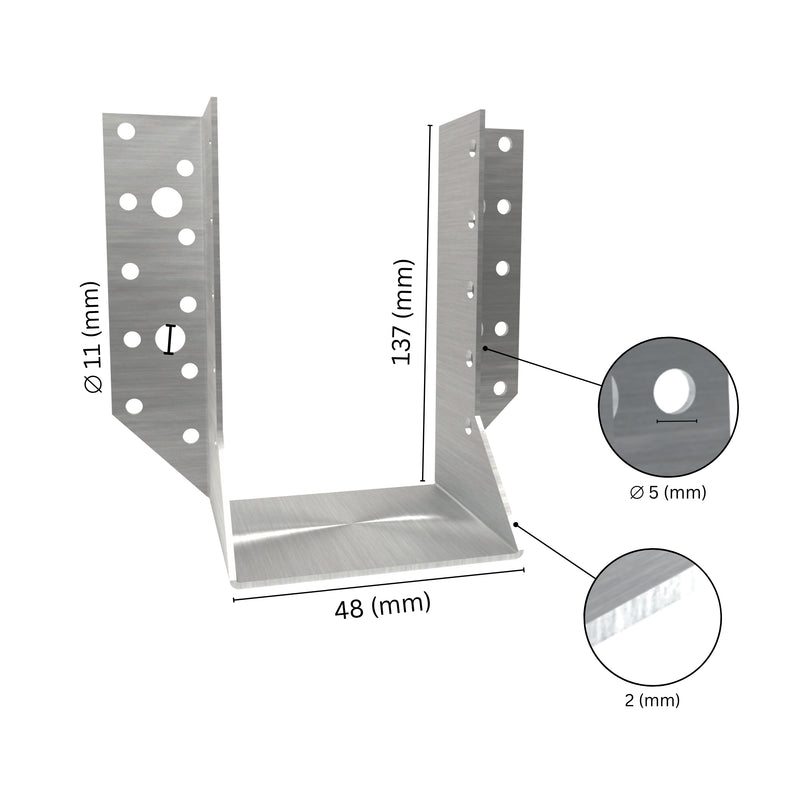
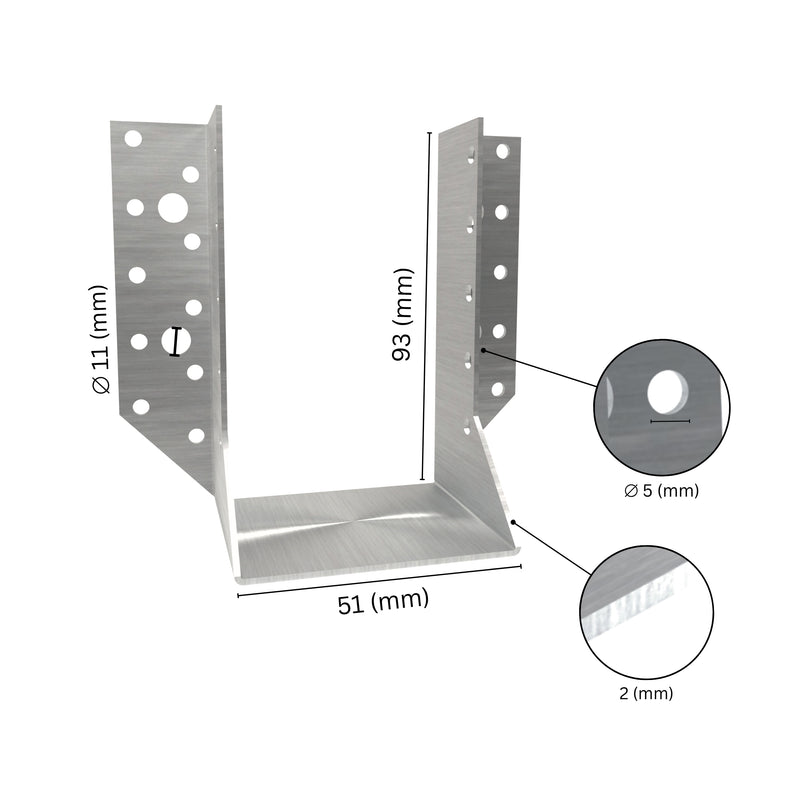
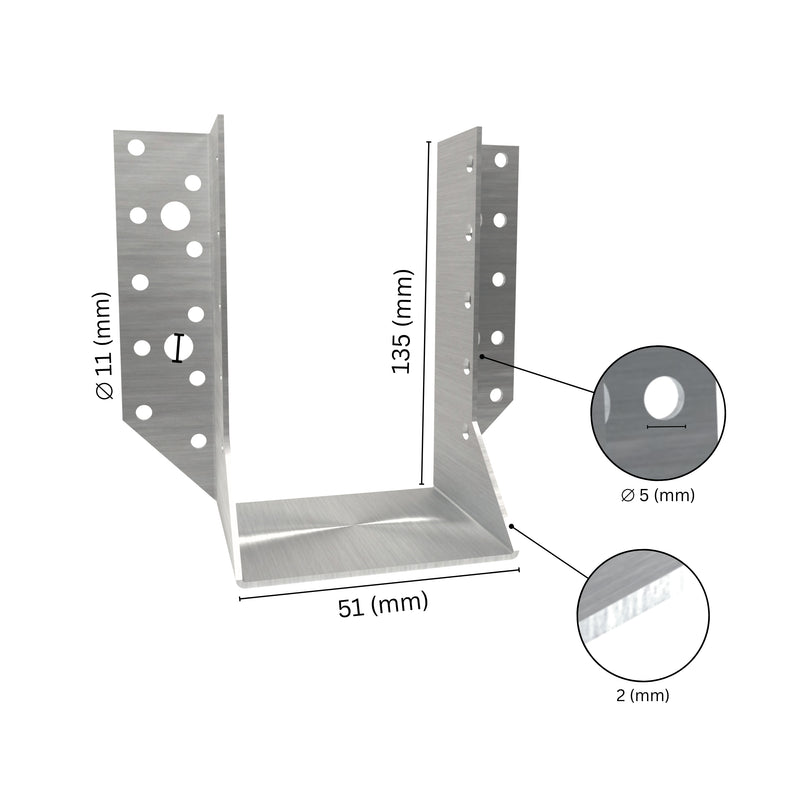
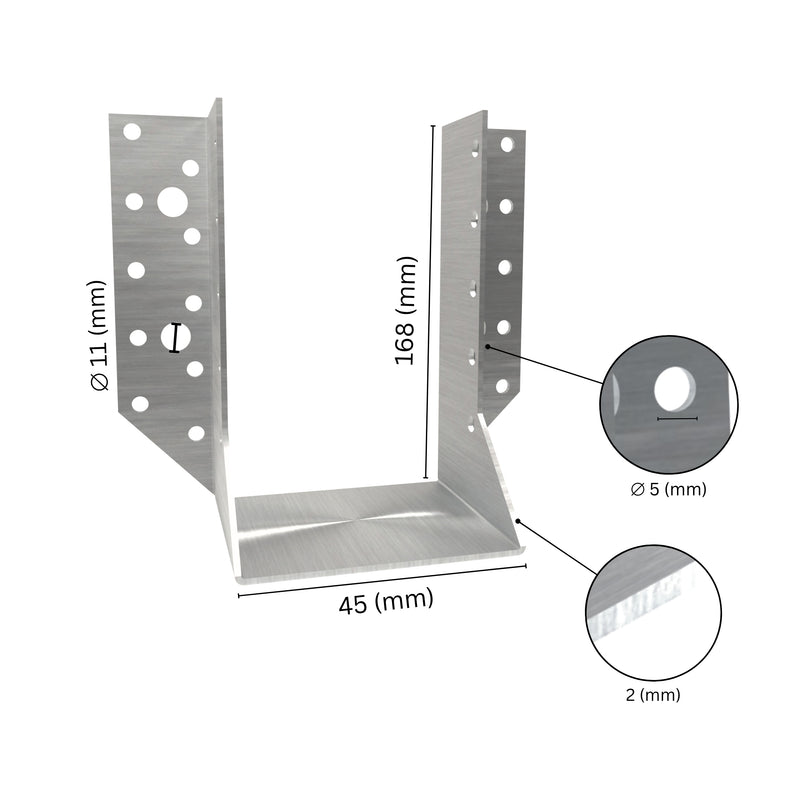
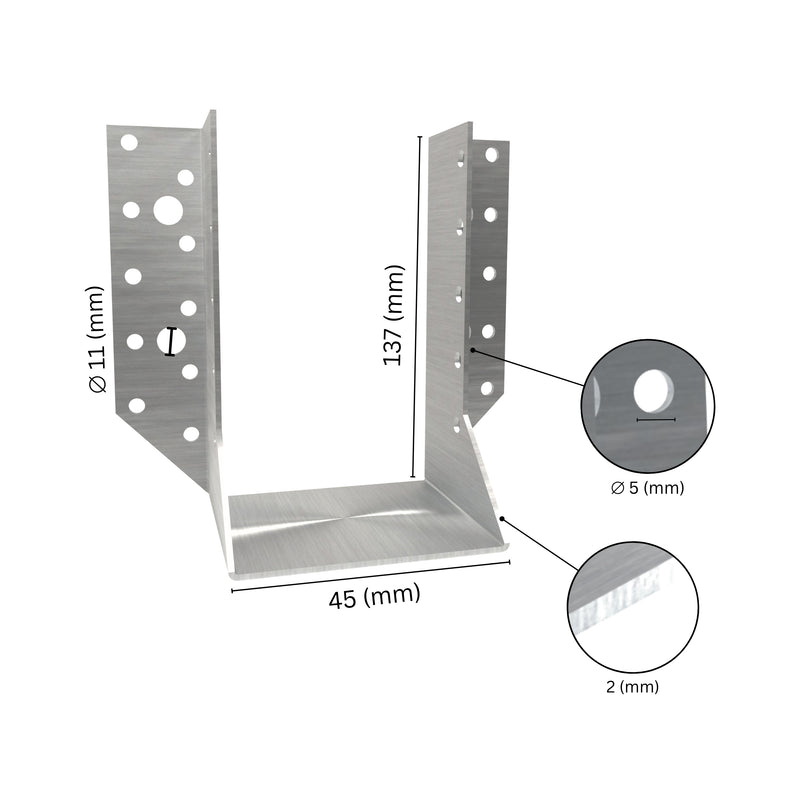
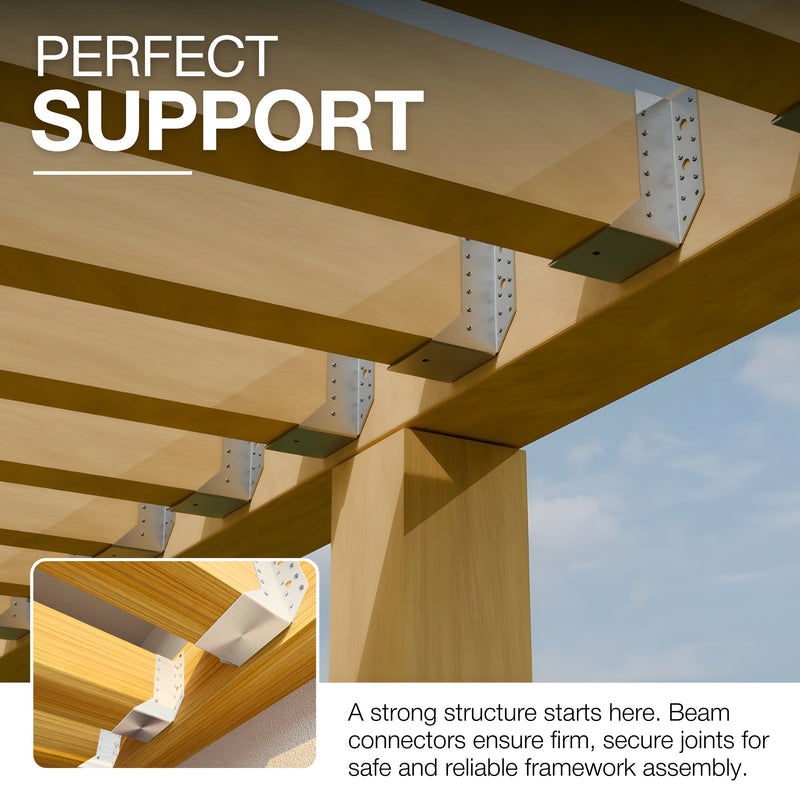
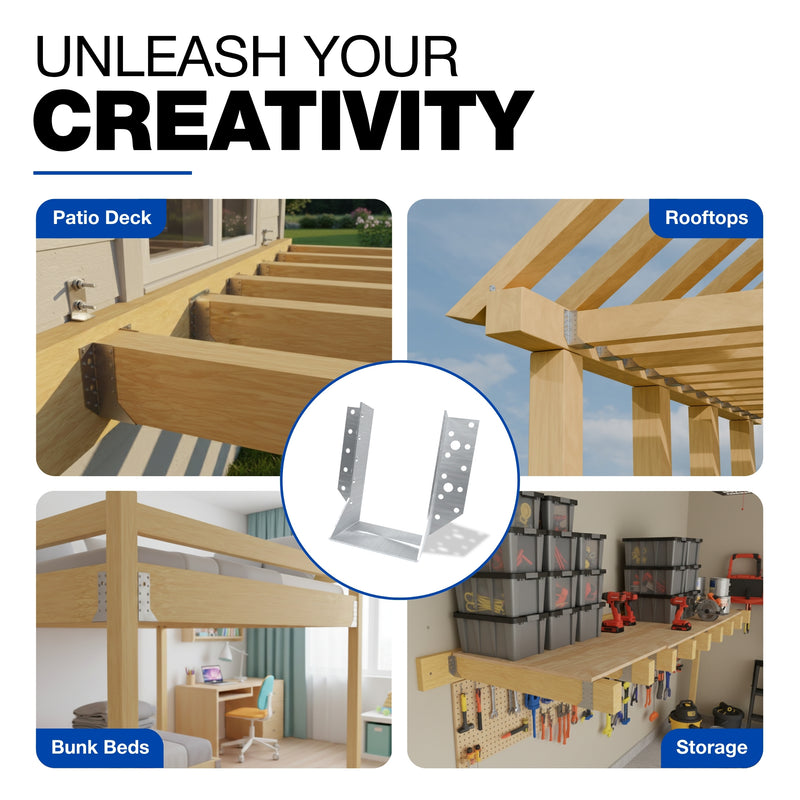
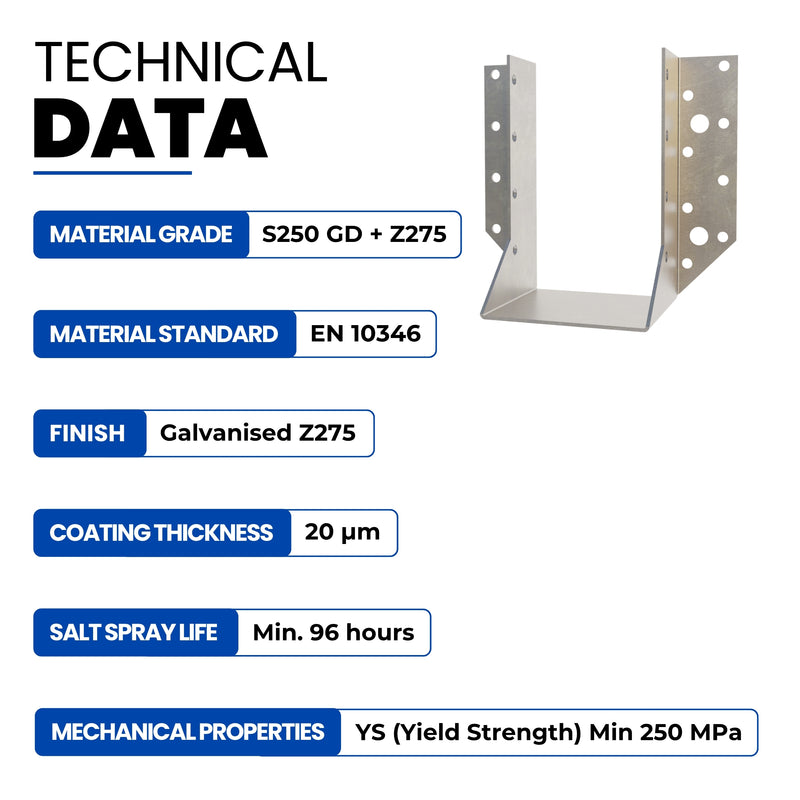
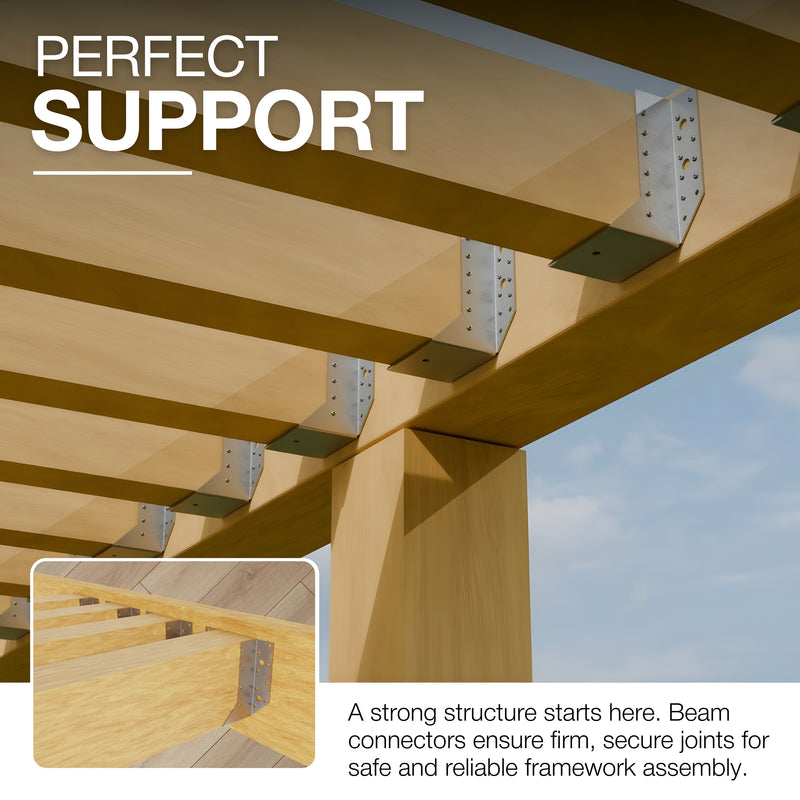
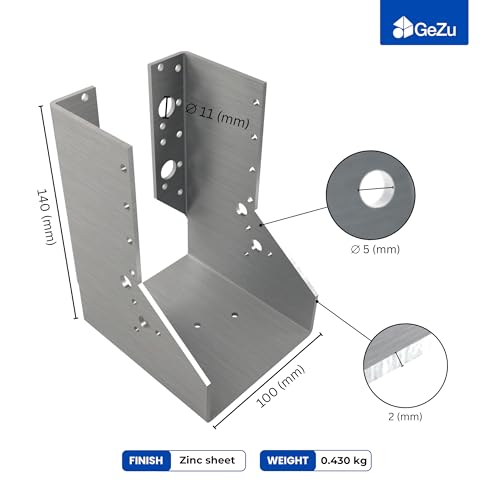
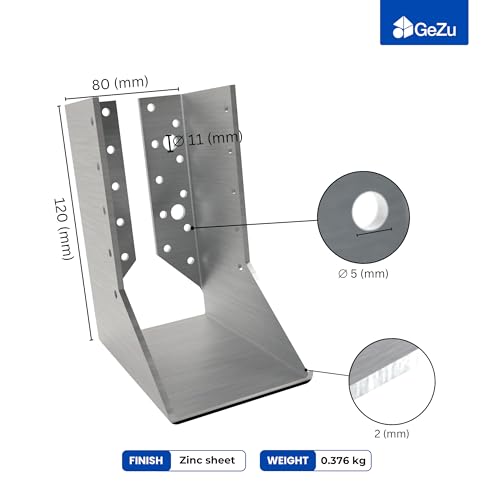
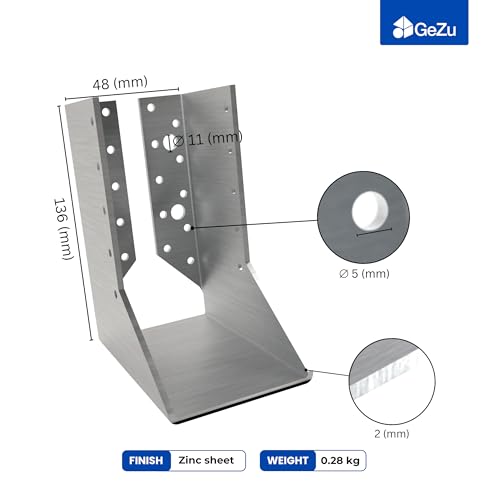
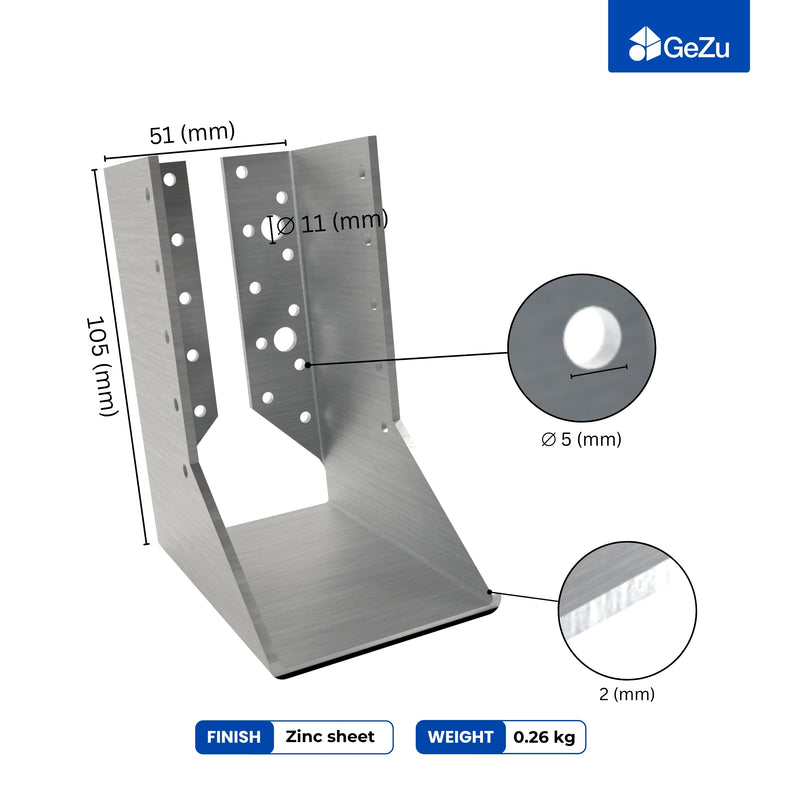
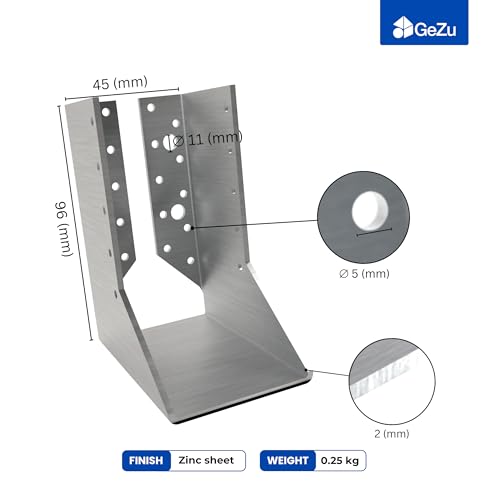
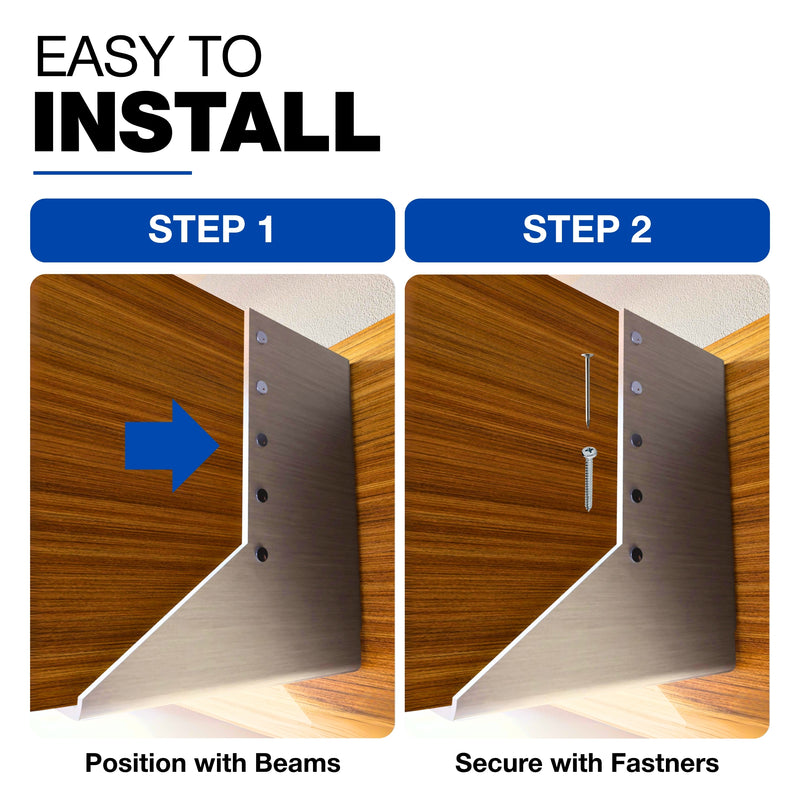
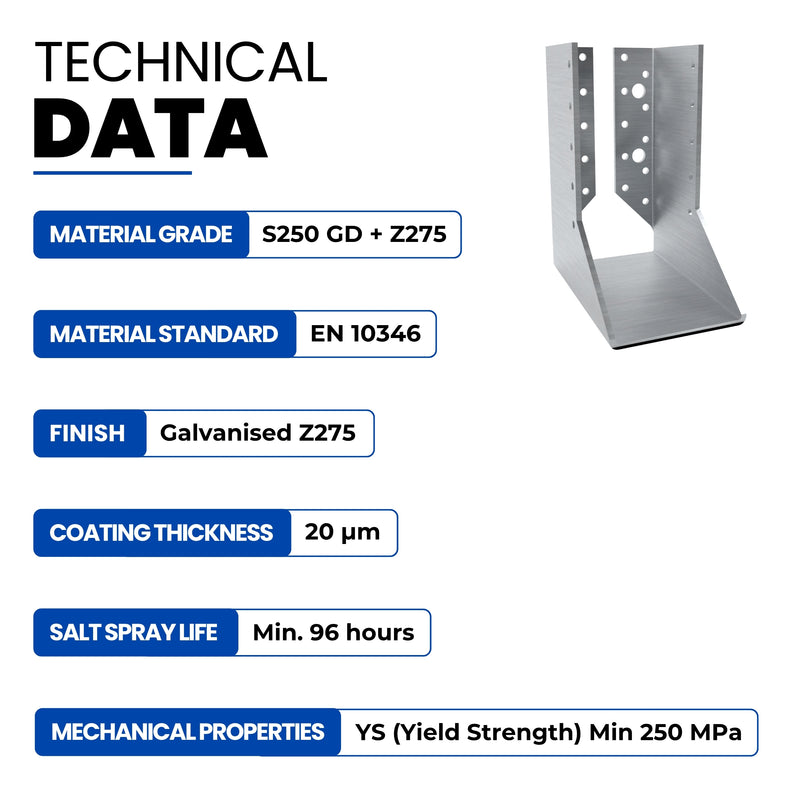
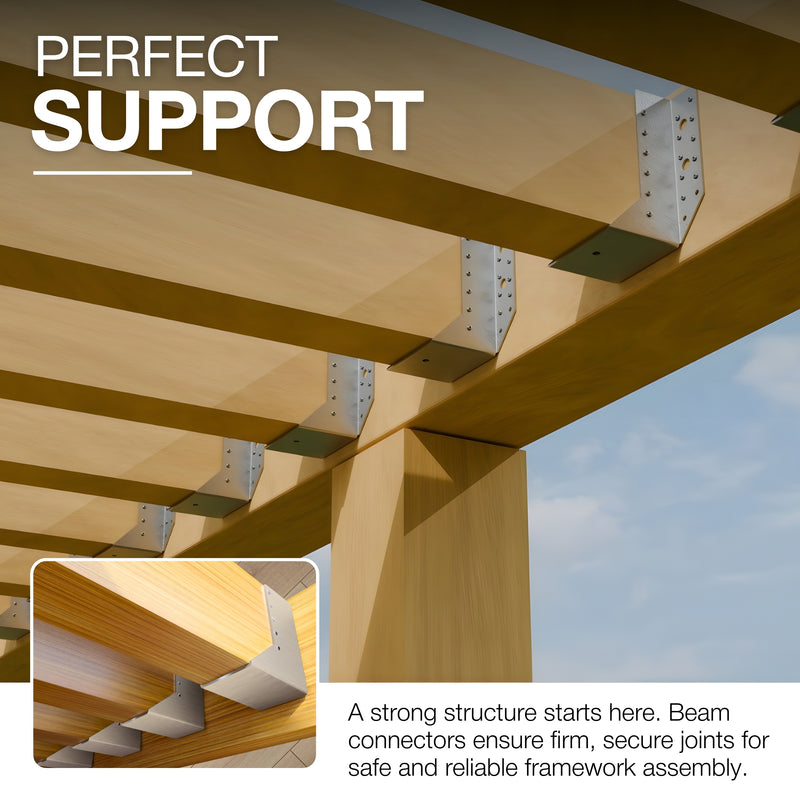
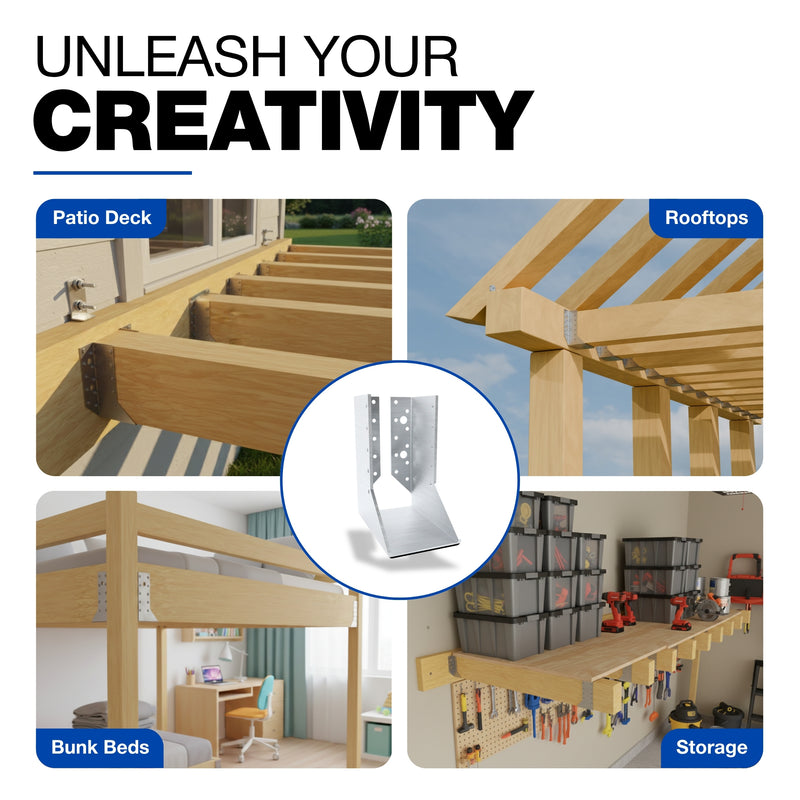
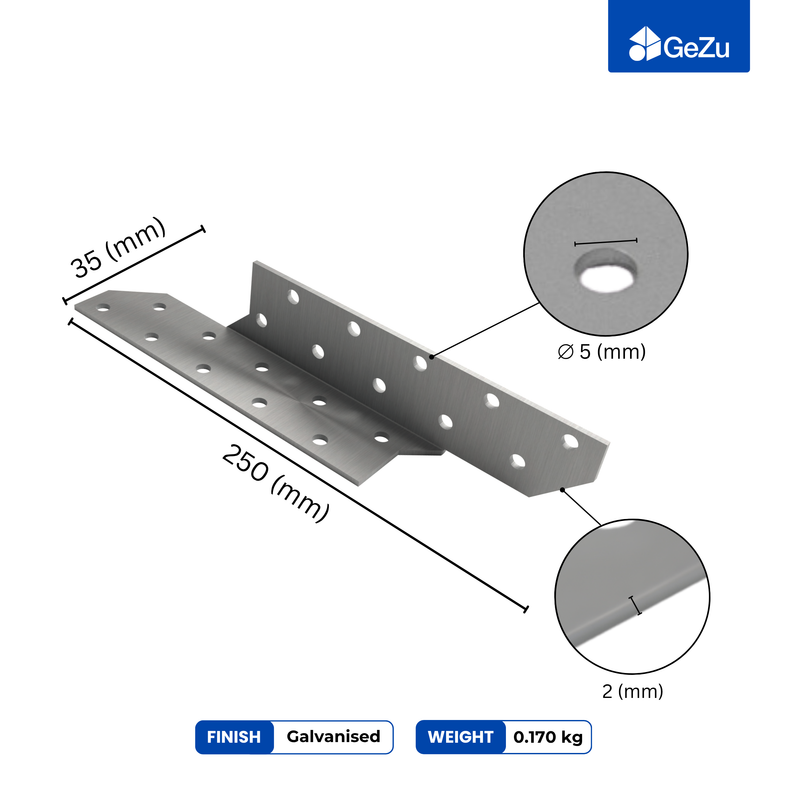
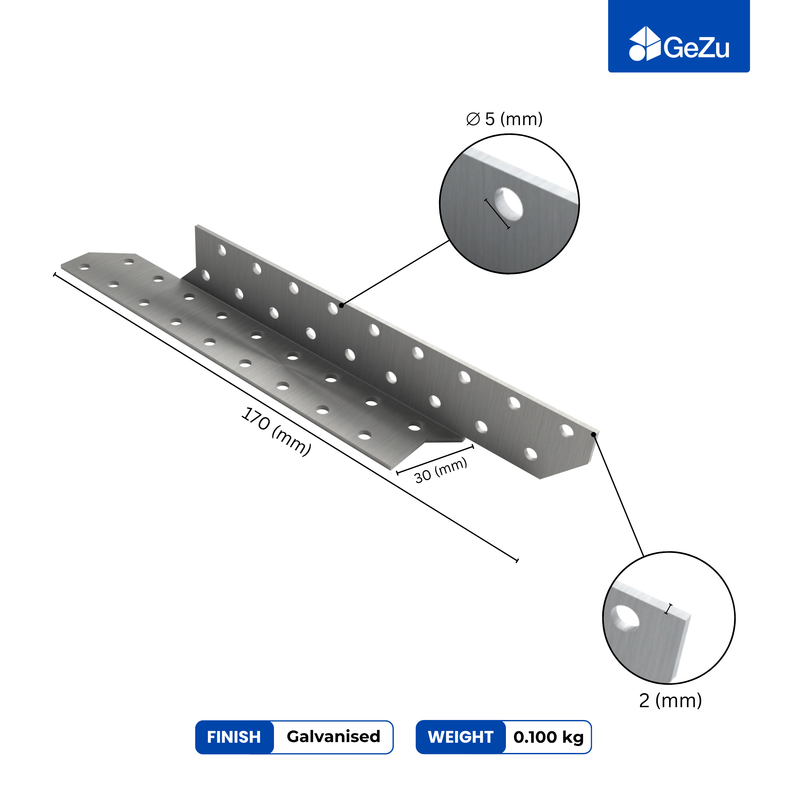
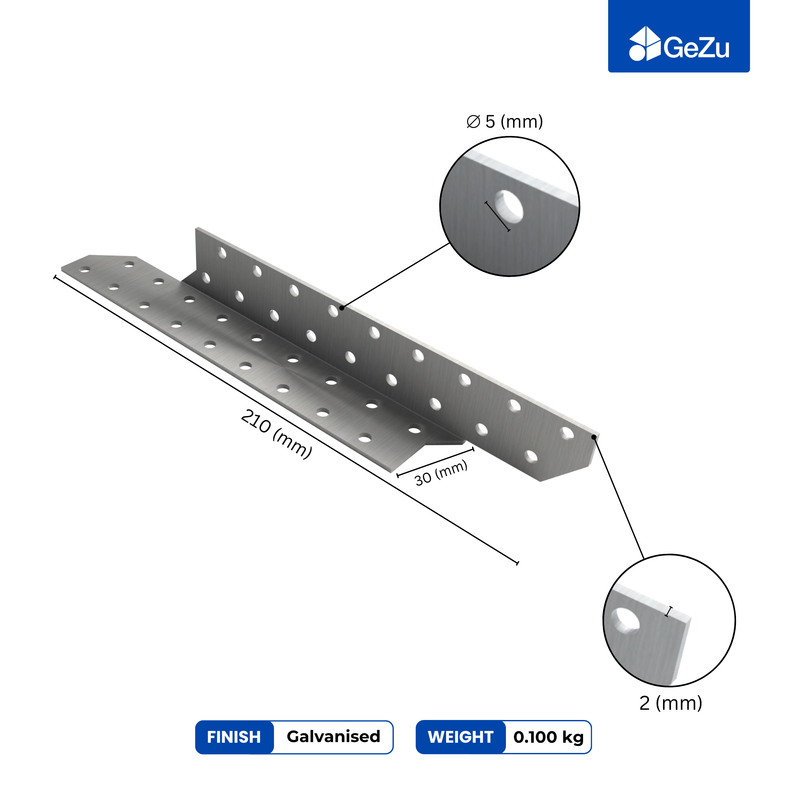
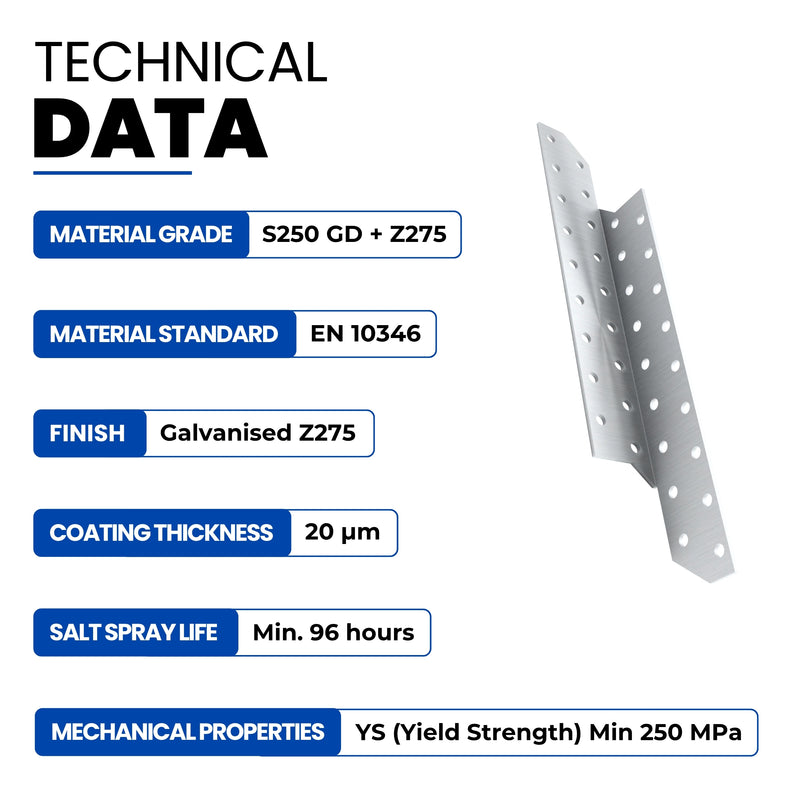
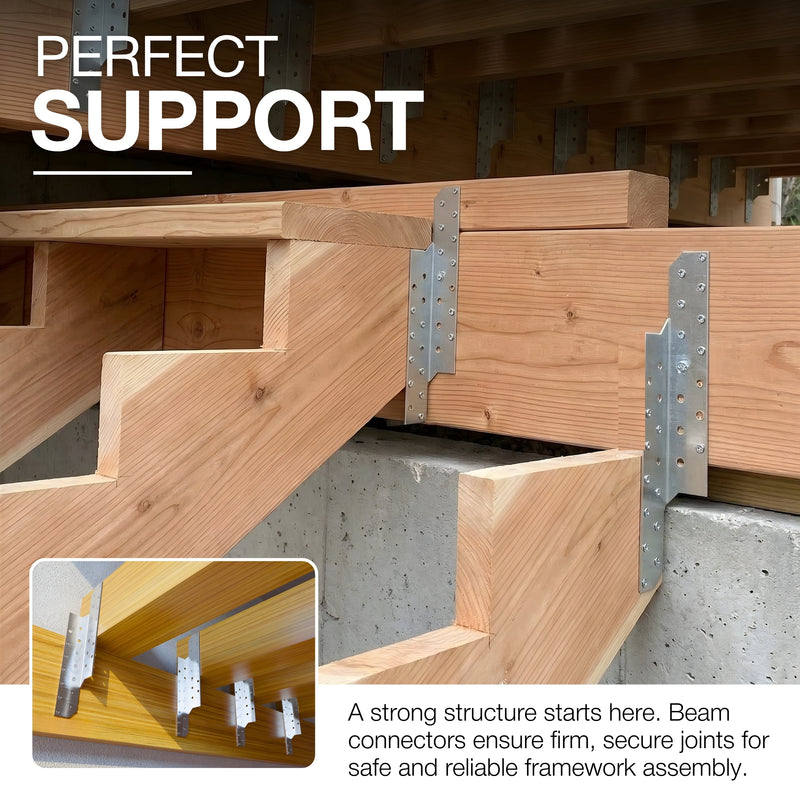
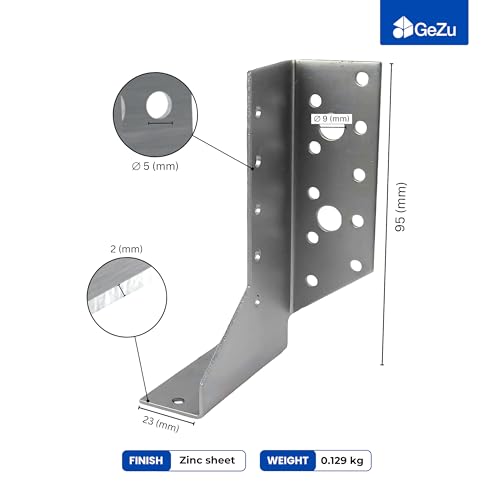
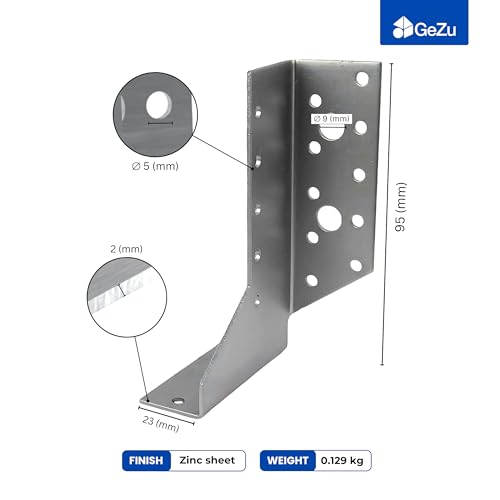
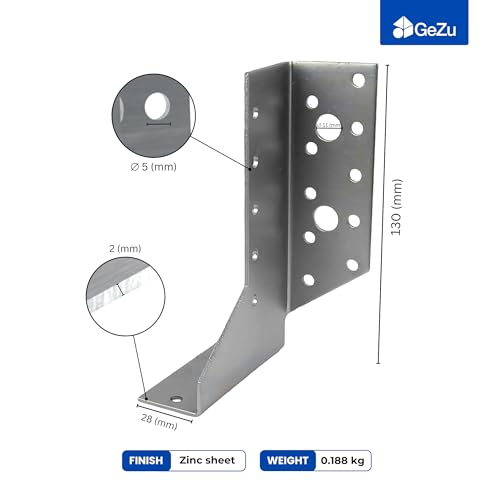
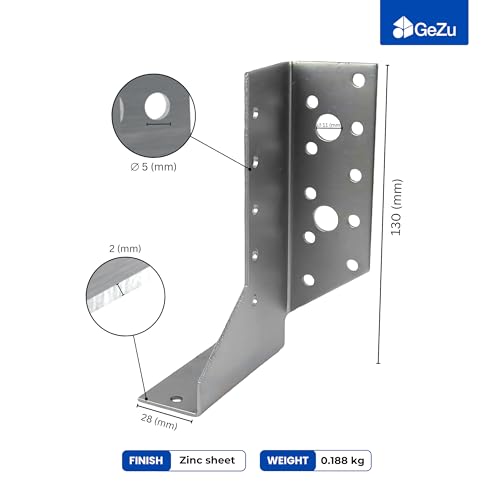
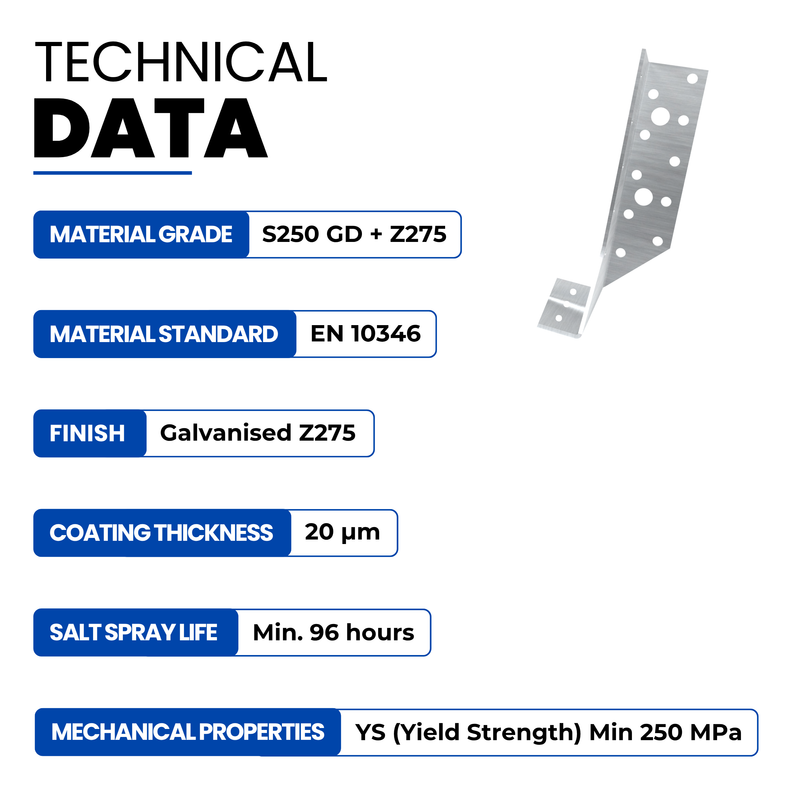
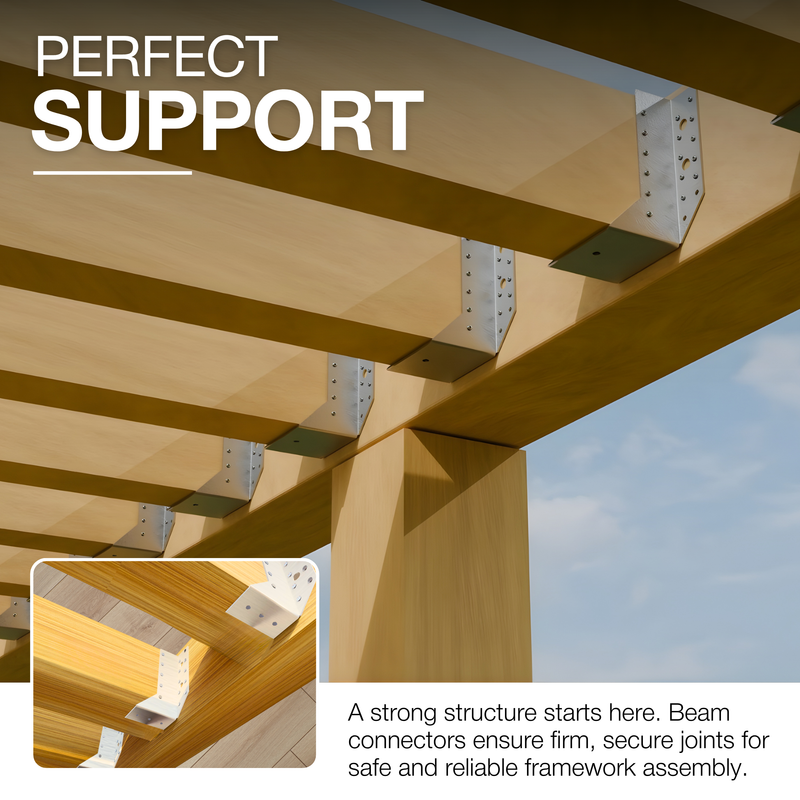
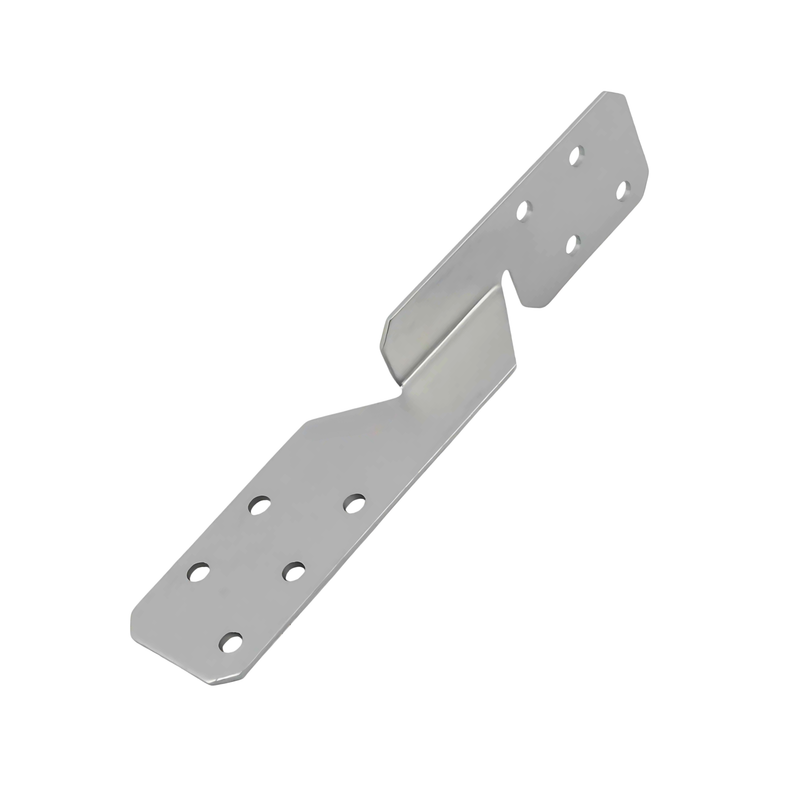
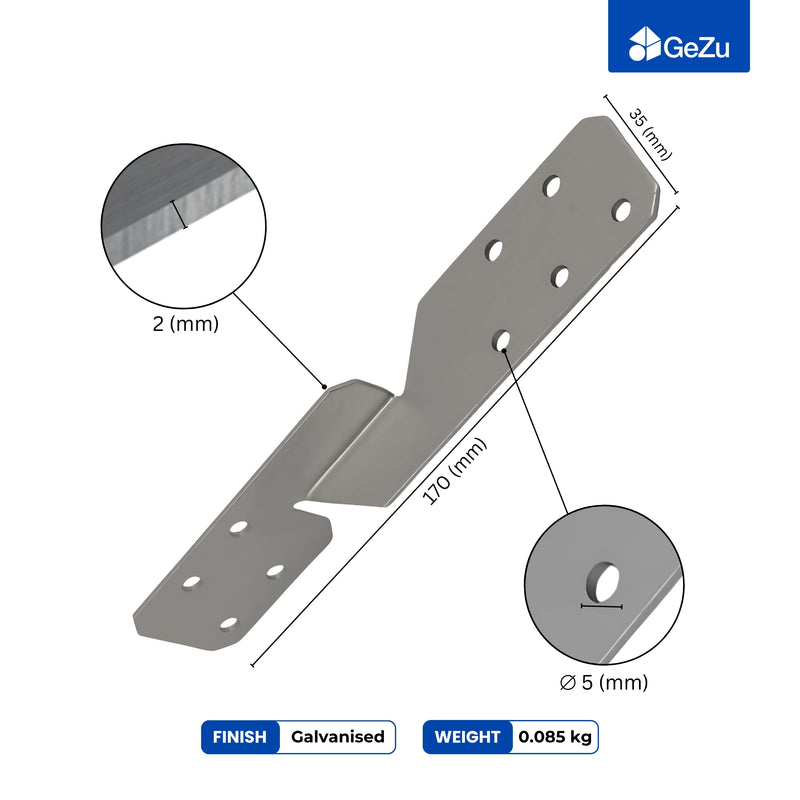
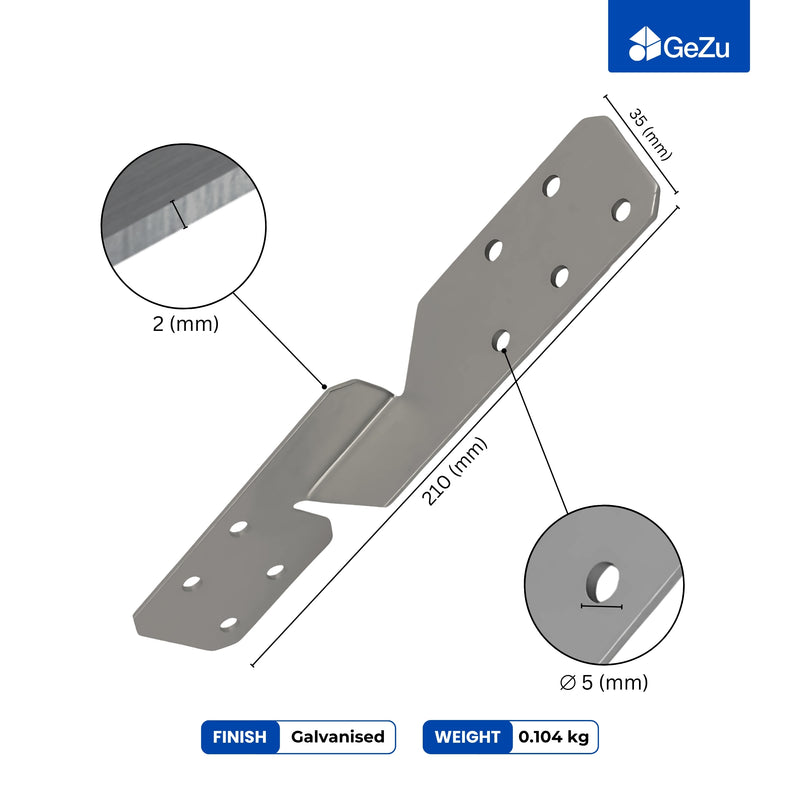
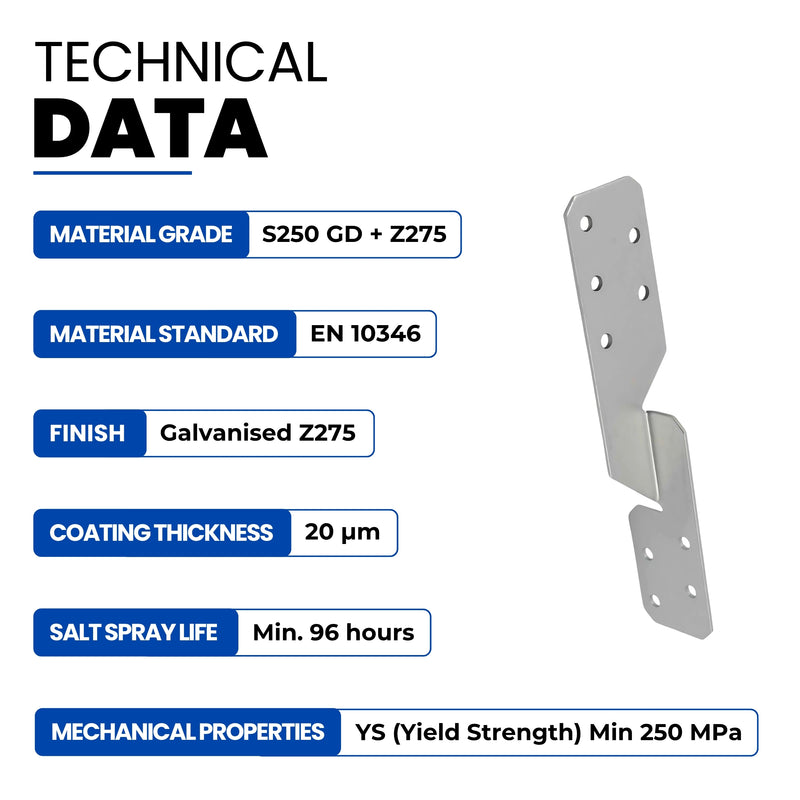
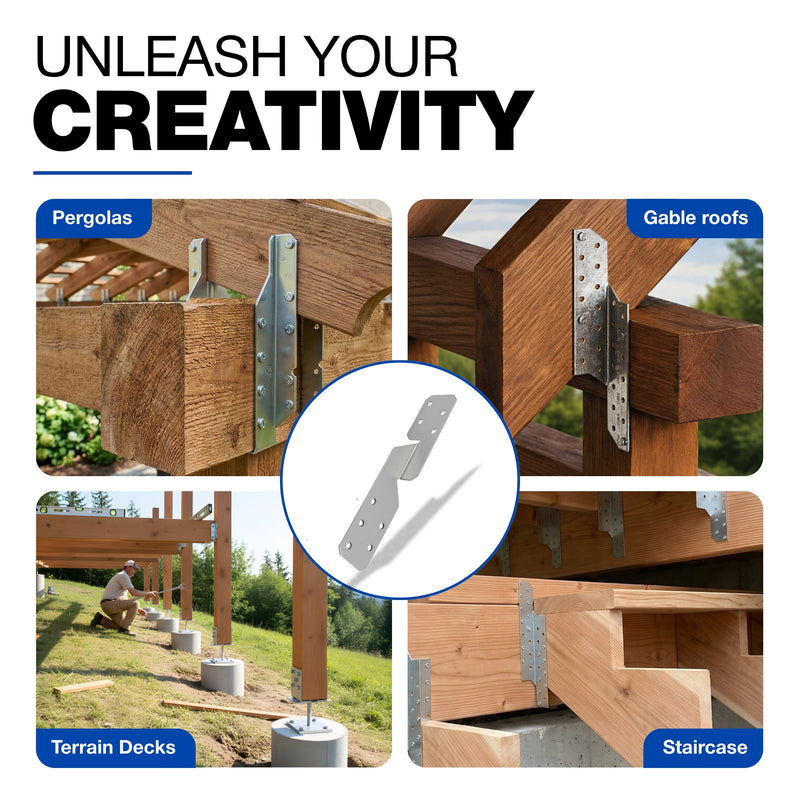
Wall brackets do the same job in pieces. Each one takes a single beam end, bolts back to the wall, and holds the timber a little off the face so water can escape from behind it. Ours come in pergola wall brackets sized 71, 81, 91 and 121 mm, from about seven euros each.
On masonry we'd usually go with brackets. Fewer holes. No wrestling a four-metre board level while someone else holds the other end. And no long timber-against-brick detail that stays wet for three days after it rains. A ledger still earns its place if you're hanging a lot of closely spaced rafters, or if the beam has to sit tight under a low soffit and you need every millimetre.
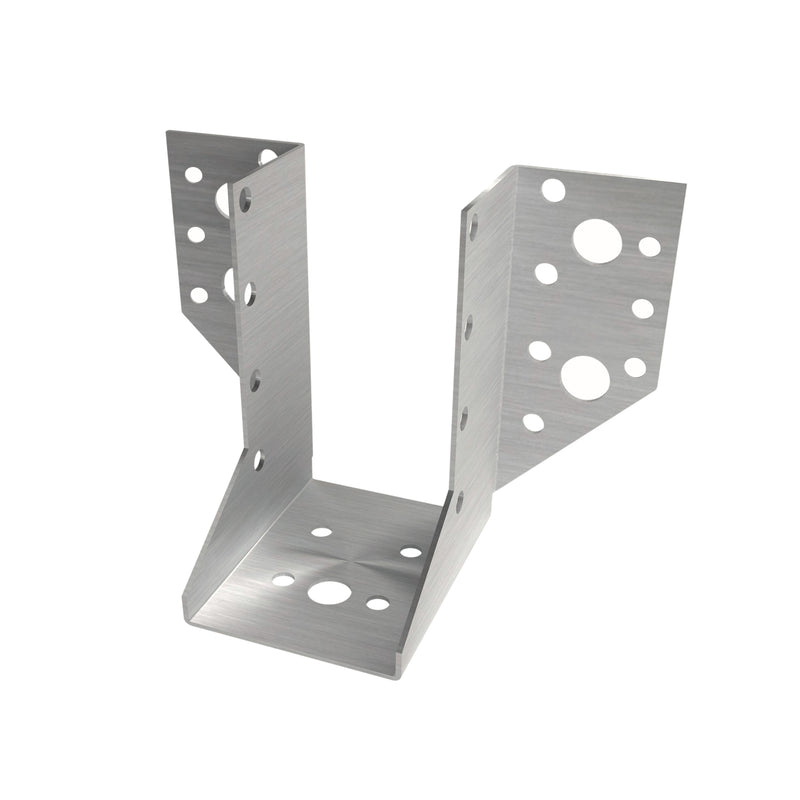
One thing that surprises people: the brackets at the wall are not the same part as the connectors at the outer corners. A wall bracket is a one-sided fitting with a flat back plate. A corner connector wraps a post and takes beams on two or three sides. You need both, and they're different sizes on the same build if your posts and beams differ.
Work out what your wall actually is
This is the step people skip, and it's the one that decides everything else.
Solid brick or dense block. The good case. There's real material to anchor into, and a properly sized expansion or resin anchor in the face of a brick will hold far more than a garden pergola will ever ask of it.
Cavity walls. Very common across the Netherlands, Belgium, Germany and the UK. The outer leaf is often a single 100 mm skin of brick that was never designed to carry a pulling load hanging off it. You can fix into it, but be honest about how much you're asking. A light rafter end, fine. The whole weight of a deep pergola plus wet timber plus a winter gale, not really. Either get the fixing through to something structural, or take the load on a post and let the wall do nothing but stop the frame racking sideways.
Render, external wall insulation and cladding. If there's insulation behind the render, stop. A fixing into render over insulation is holding onto nothing. You'd need a purpose-made thermal-break bracket or a long structural fixing that reaches the substrate, and at that point you're into territory where a builder should look at it. Tapping the wall tells you a lot here: insulation sounds hollow and dead, brick sounds sharp.
The damp proof course. Somewhere near the bottom of the wall there's a DPC. Don't drill through it and don't fix so that a bracket bridges it, because you'll carry moisture past the barrier that exists to stop exactly that.
Picking the fixing
| Wall | Fixing that usually works | Watch out for |
|---|---|---|
| Solid brick, sound mortar | Through-bolt or sleeve anchor into the brick face | Edge distance: keep well back from the brick's edges |
| Old, soft or perforated brick | Resin (chemical) anchor with a sleeve | Perforated brick needs the mesh sleeve, not bare resin |
| Dense concrete block | Expansion anchor or resin | Lightweight aircrete blocks hold very little |
| Cavity outer leaf | Resin anchor, or move the load to a post | Don't let a fixing bridge the cavity and track water inwards |
| Rendered over insulation | Nothing standard. Get advice | Render is a finish, not a structure |
Drill into the face of the brick rather than the mortar joint where you can. Mortar is softer, it's often the weakest thing in the wall, and on an older house it can be lime and genuinely crumbly. Some anchors are rated for mortar beds, but as a default for something carrying a roof, we'd take the brick.
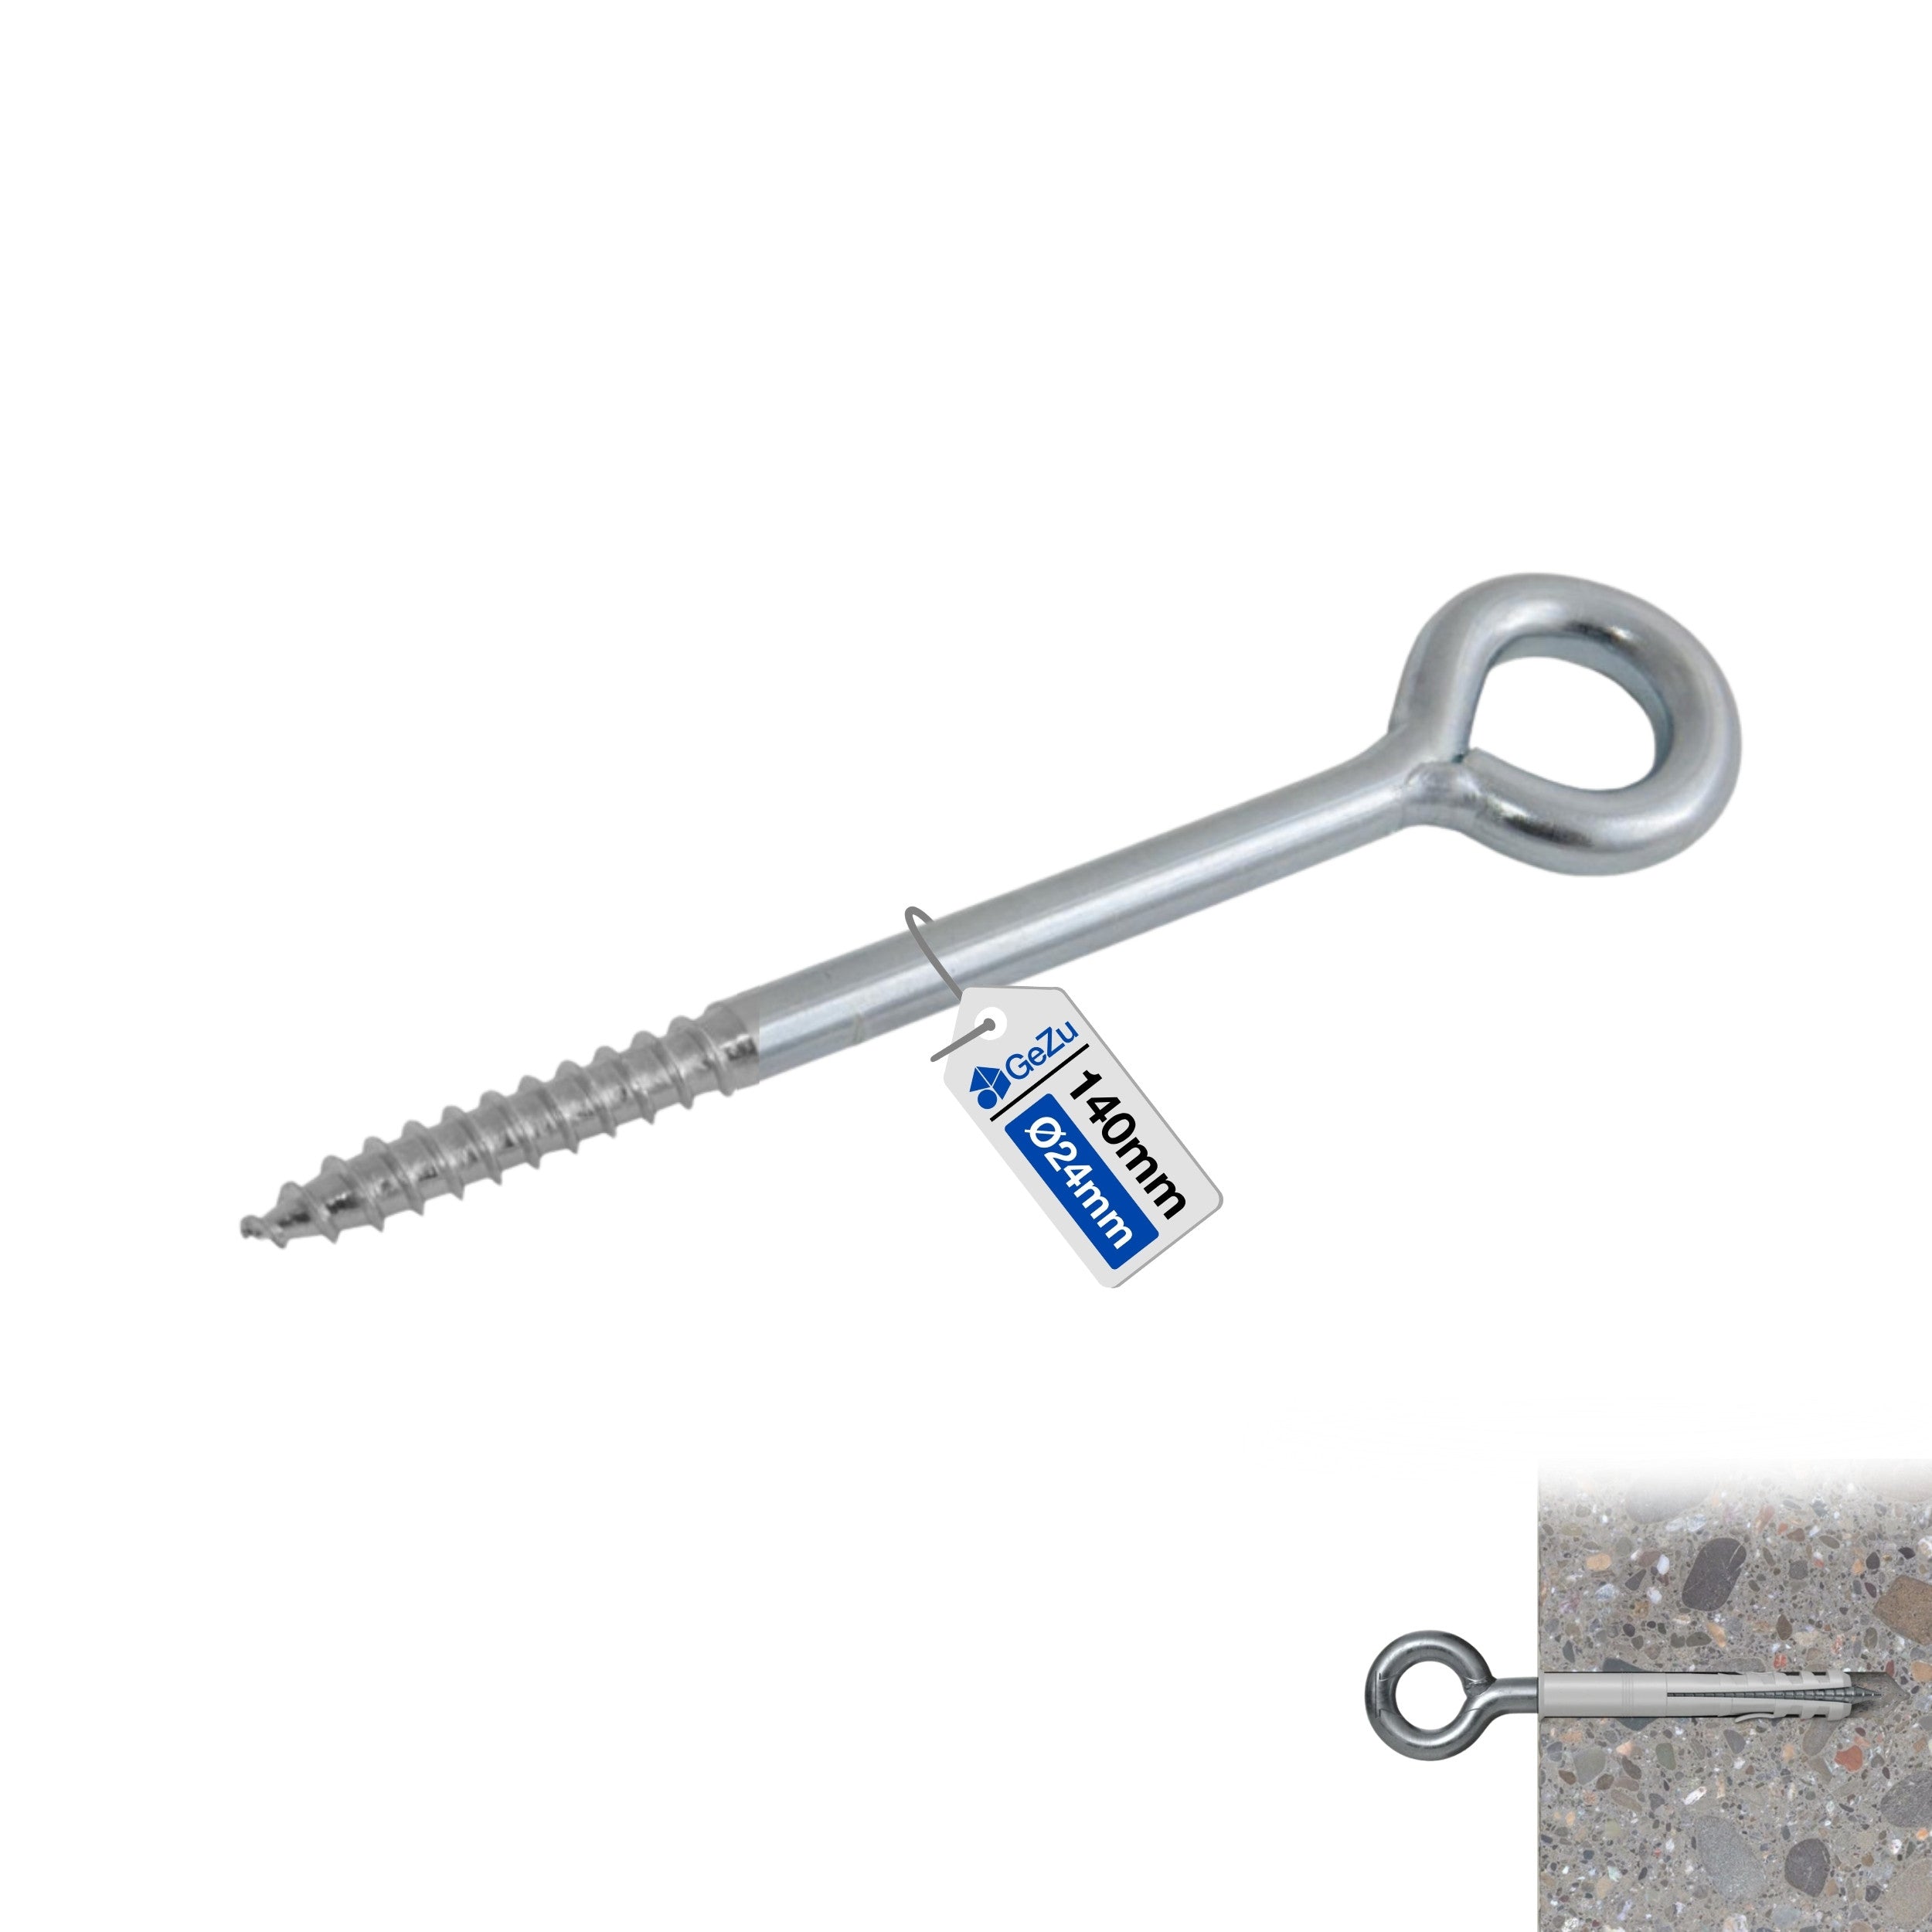
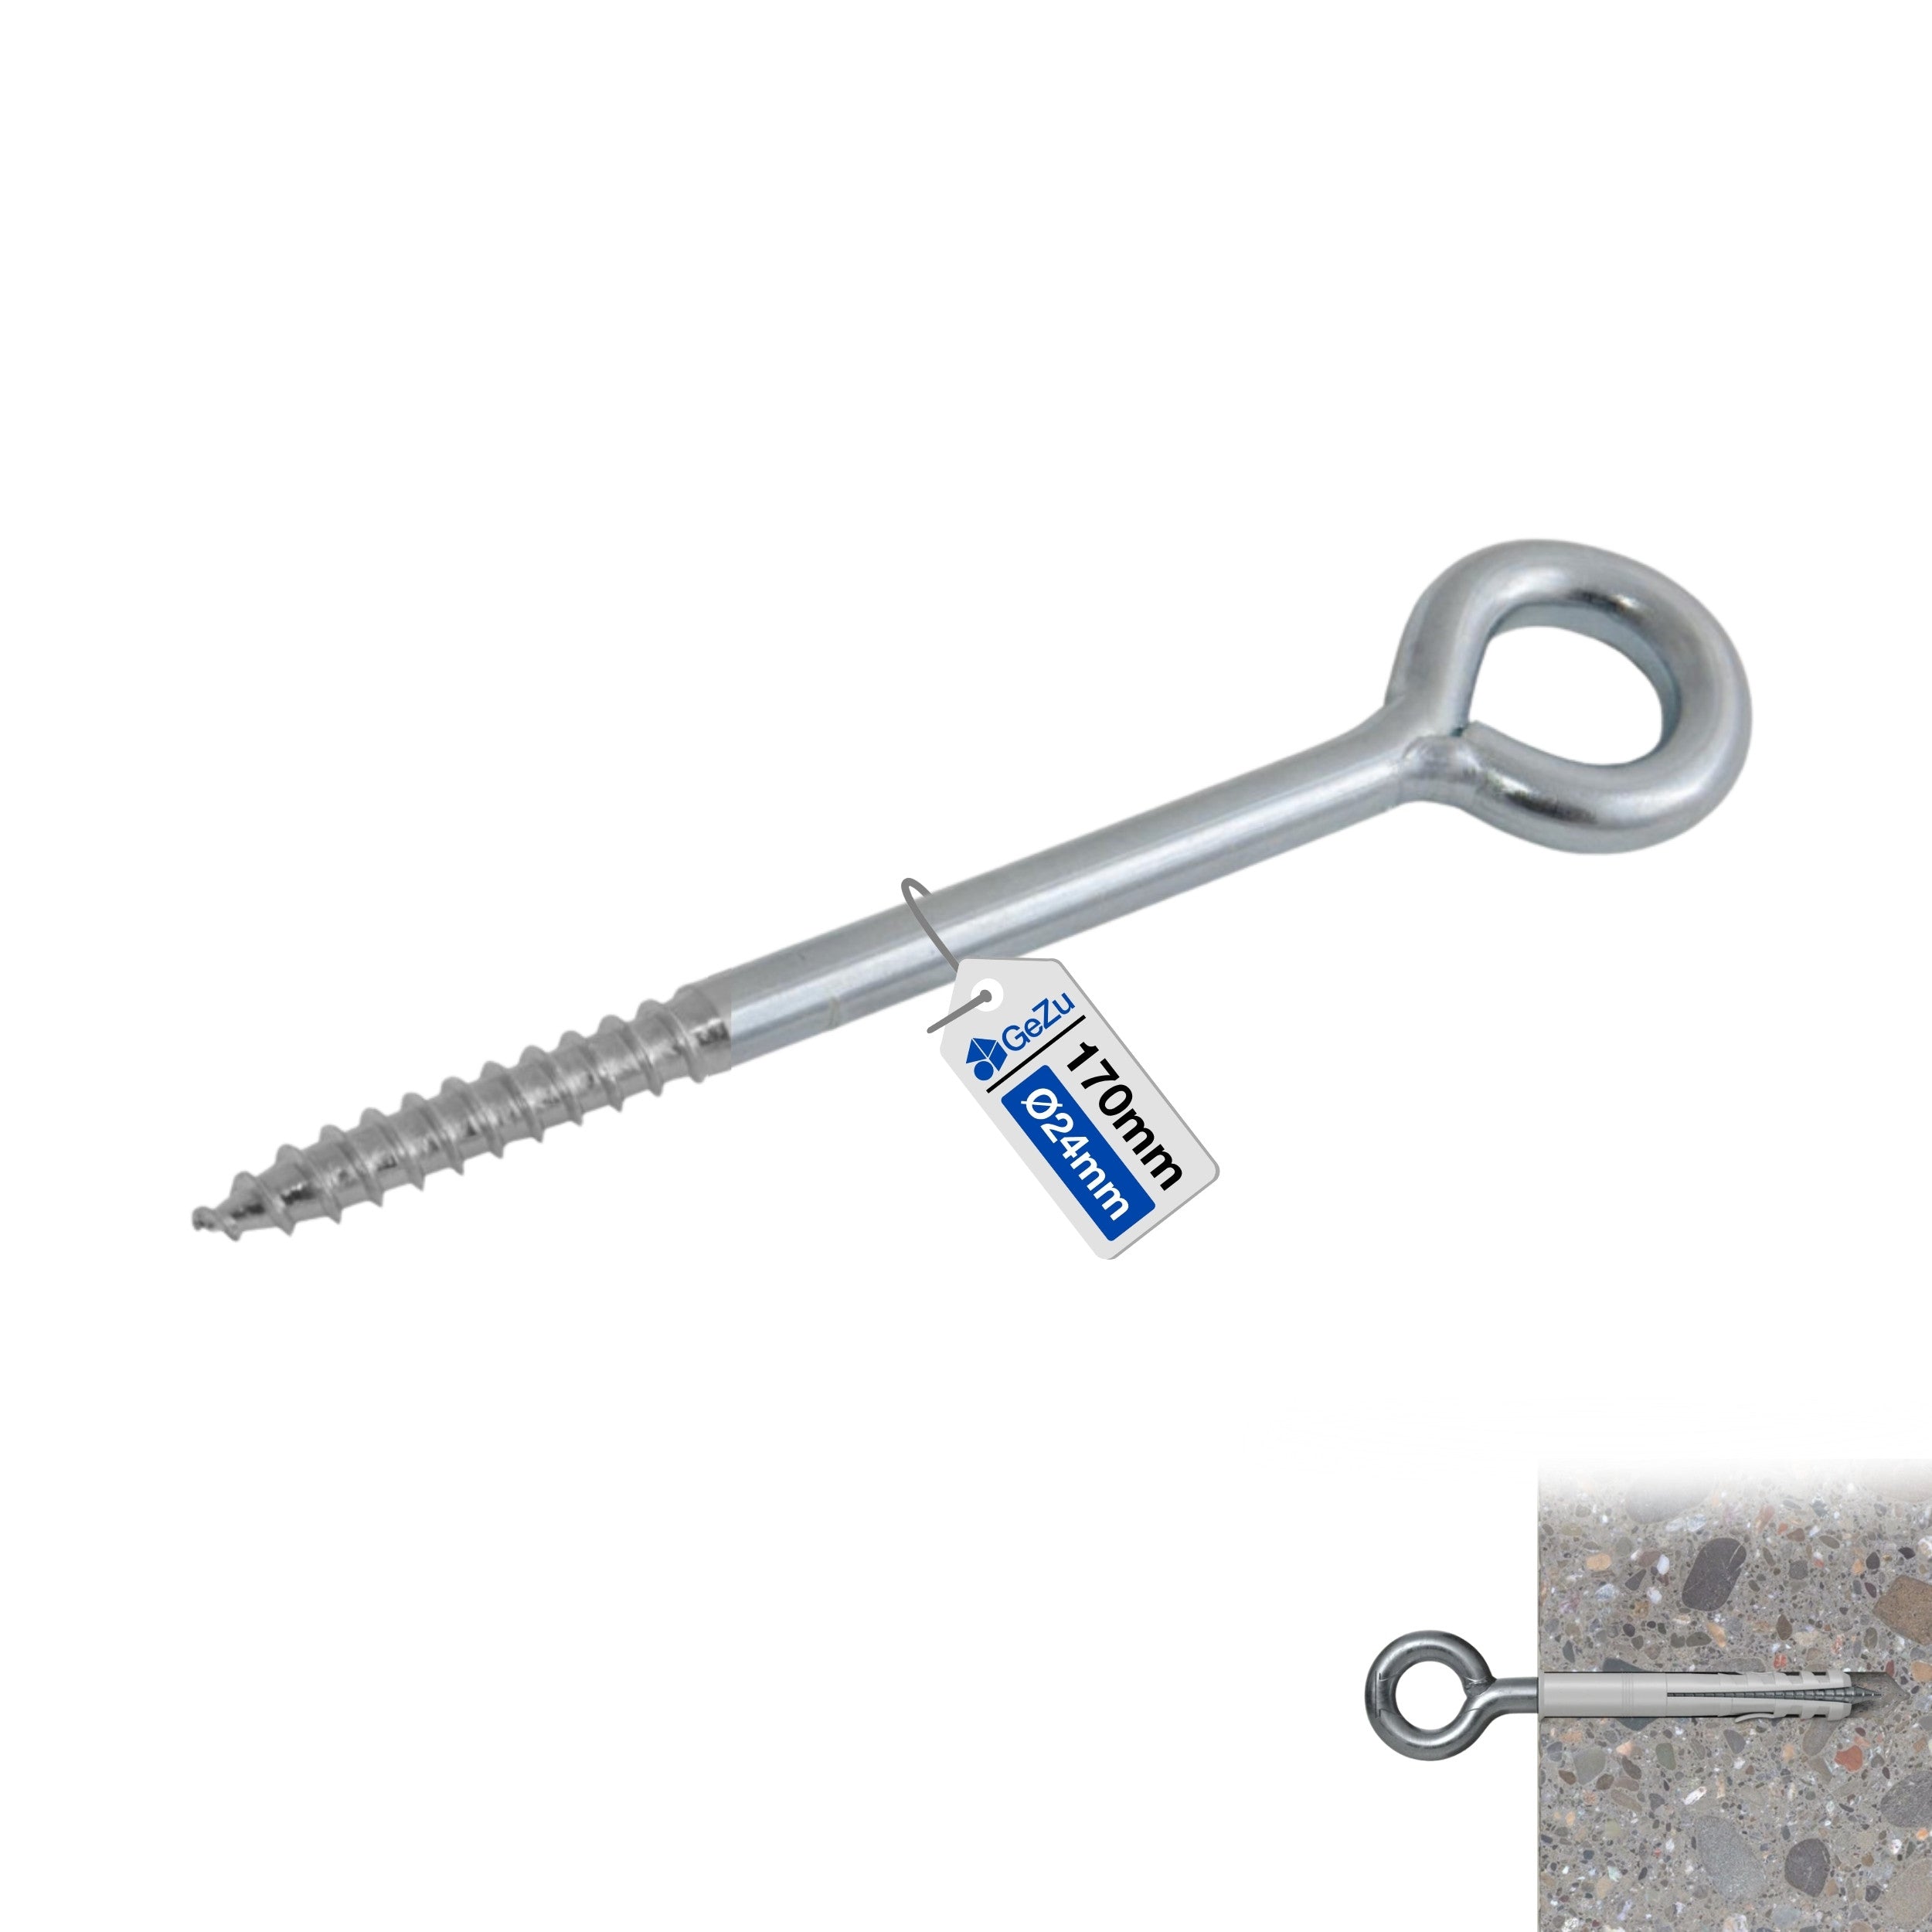
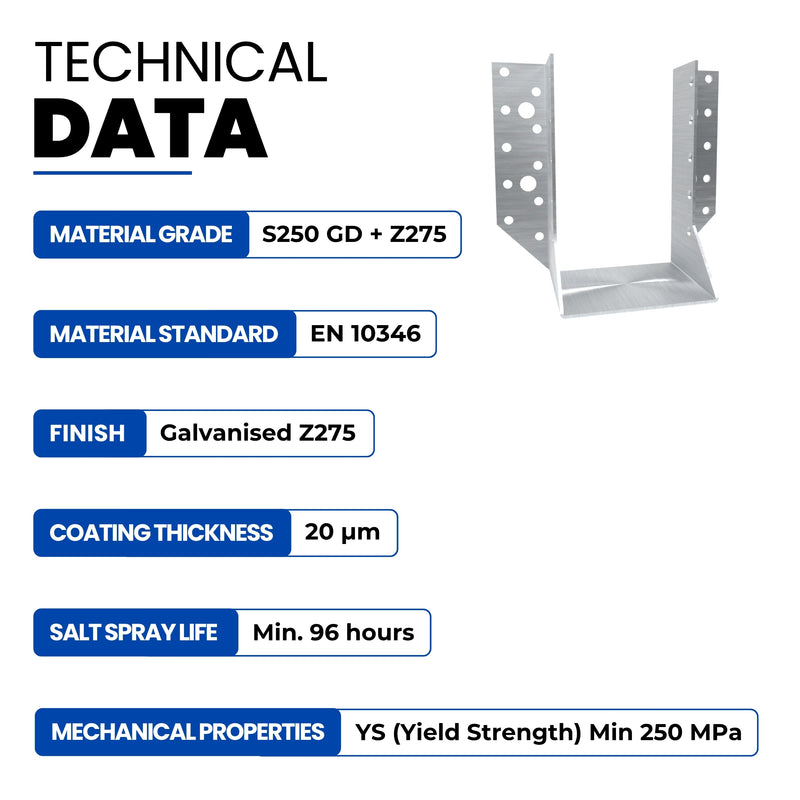
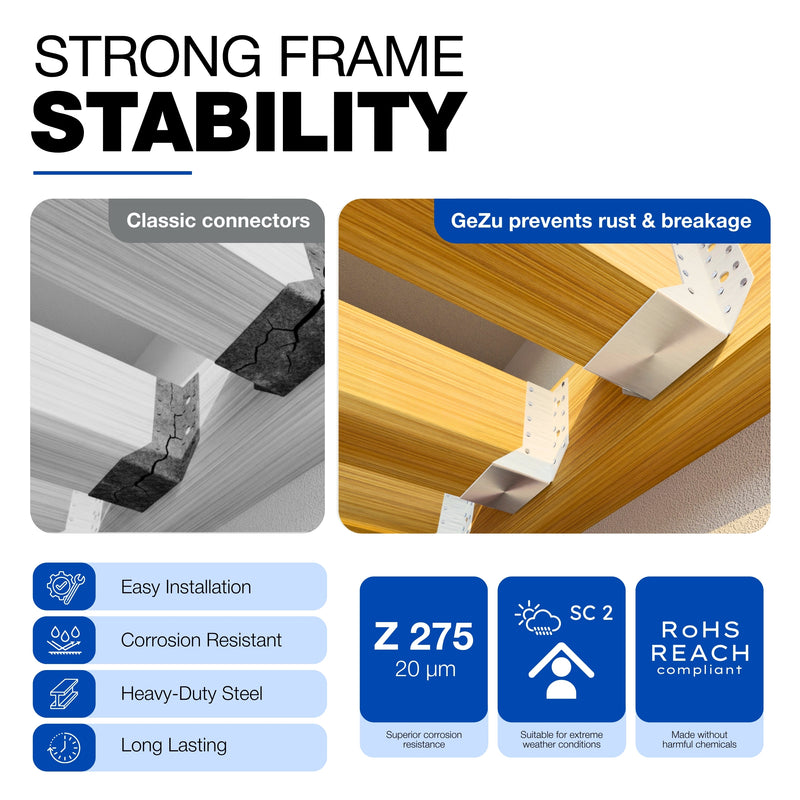
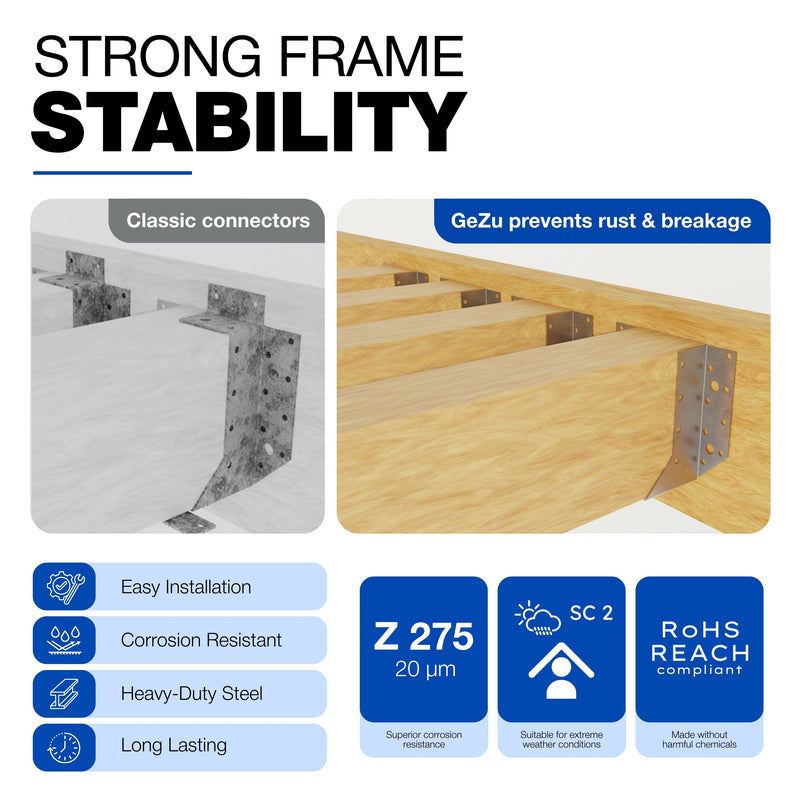
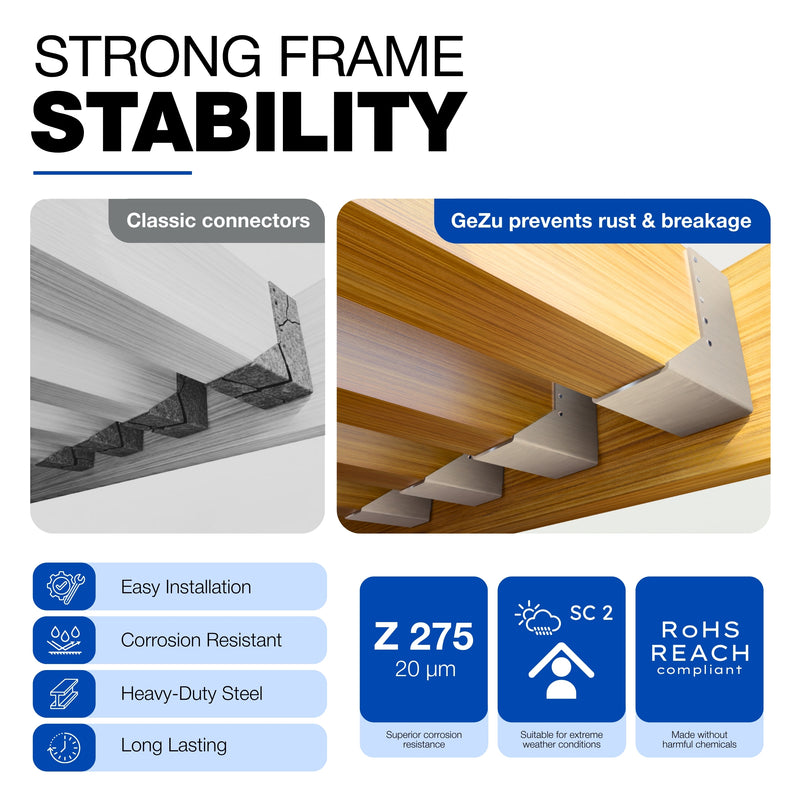
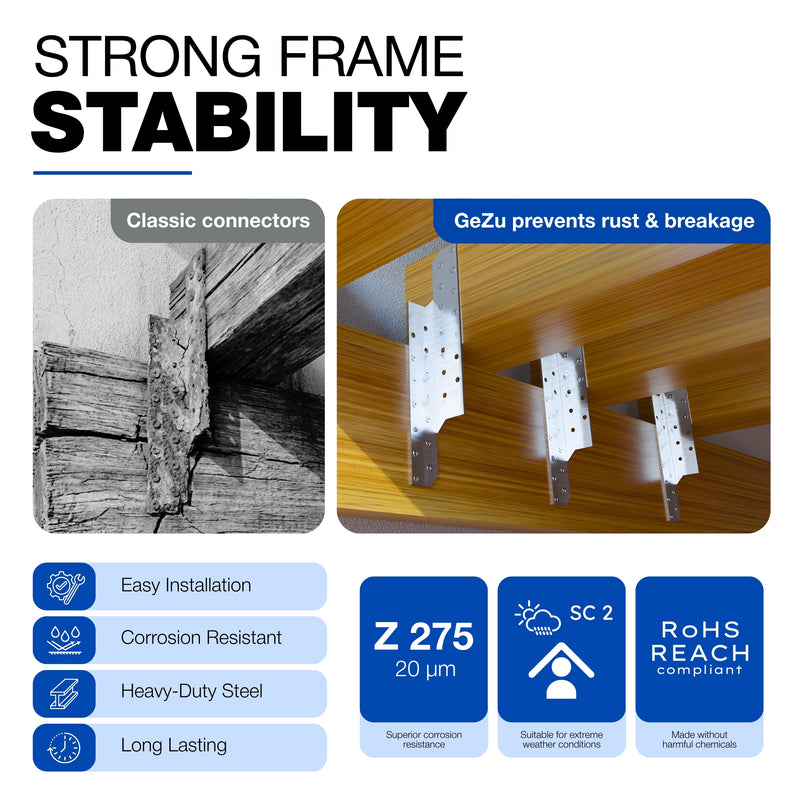
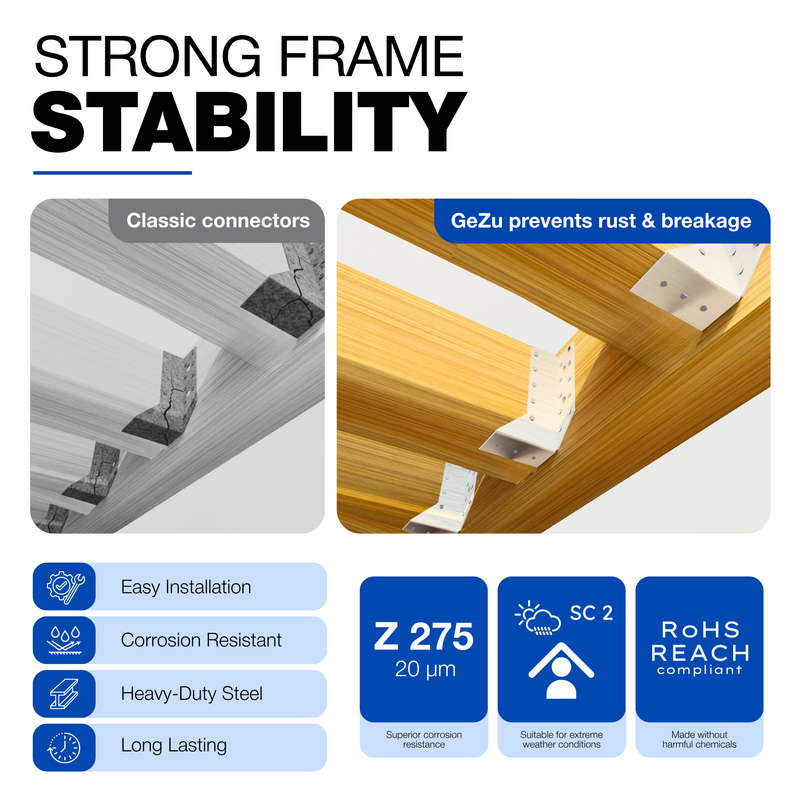
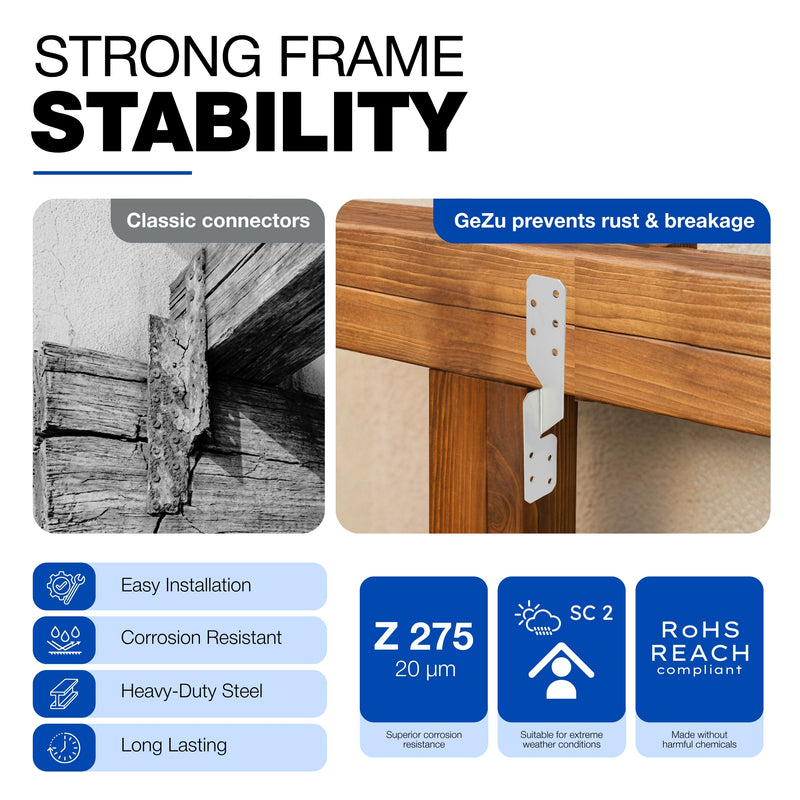
Use stainless or hot dip galvanised fixings outdoors, and keep them consistent. Mixing a stainless bolt with a galvanised bracket in a wet spot sets up galvanic corrosion, and the galvanising is the bit that loses.
Height and fall
Set the wall beam high enough that you can walk under the outer beam comfortably once the fall is taken out. A pergola normally slopes away from the house so water runs off rather than back at the wall.
Check the obvious obstacles before you drill anything: the gutter, the soffit, any window head, the cill of an upstairs window, external lights, and the vent from the boiler. We've had more than one customer measure a beautiful line and then find the flue terminal sitting right in the middle of it.
Keep the wall beam below the DPC's problem zone and below the gutter line, and dry-fit one bracket before you commit to the whole row.
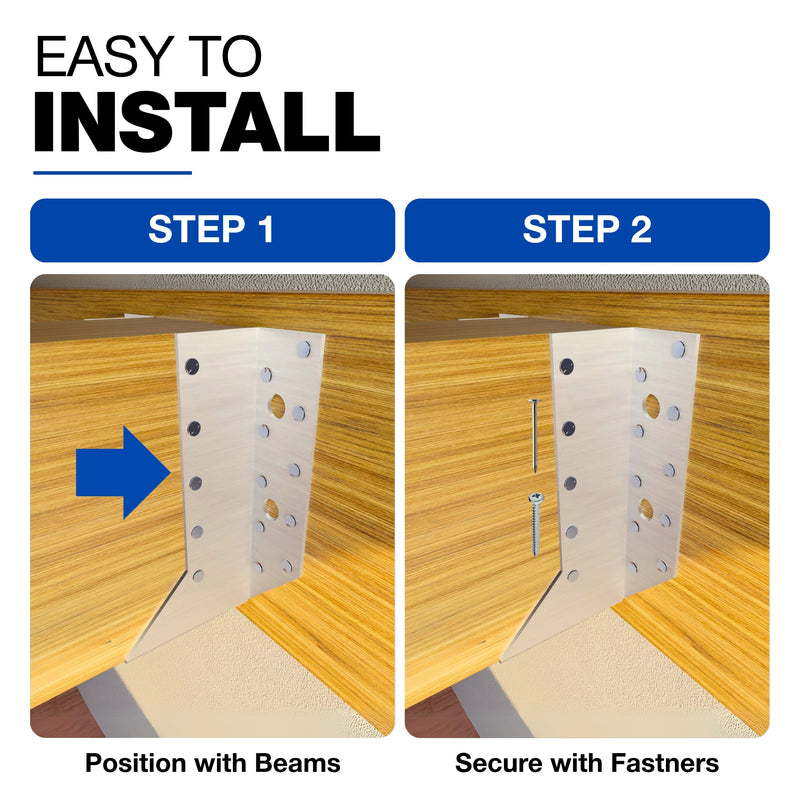
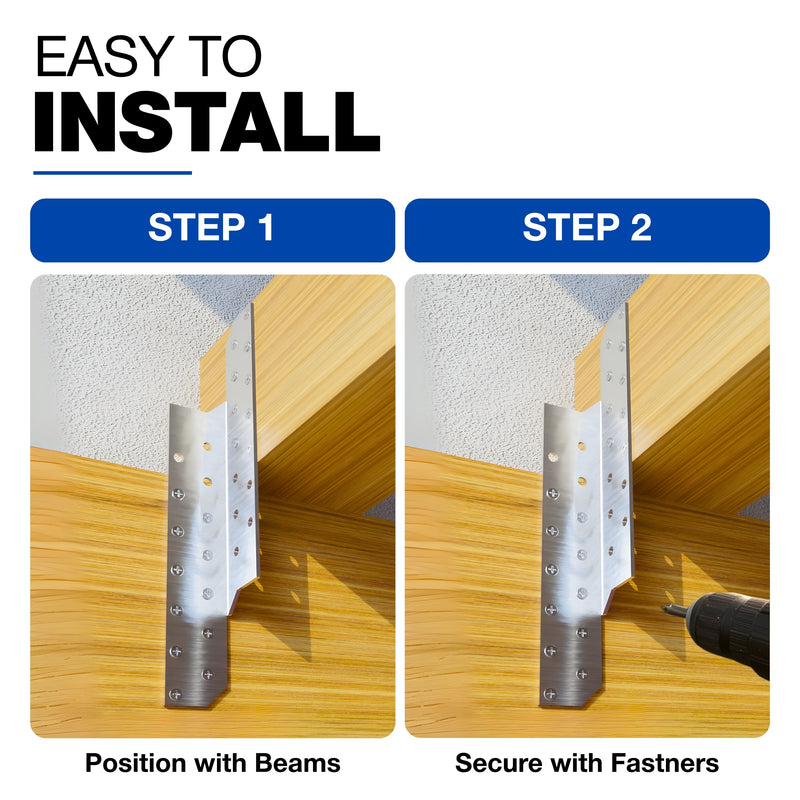
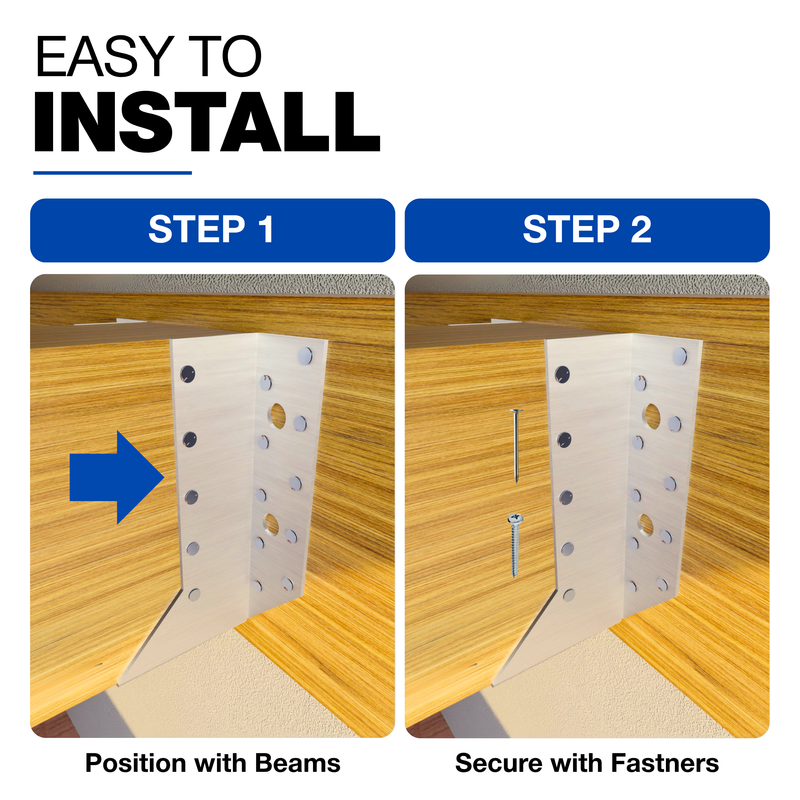
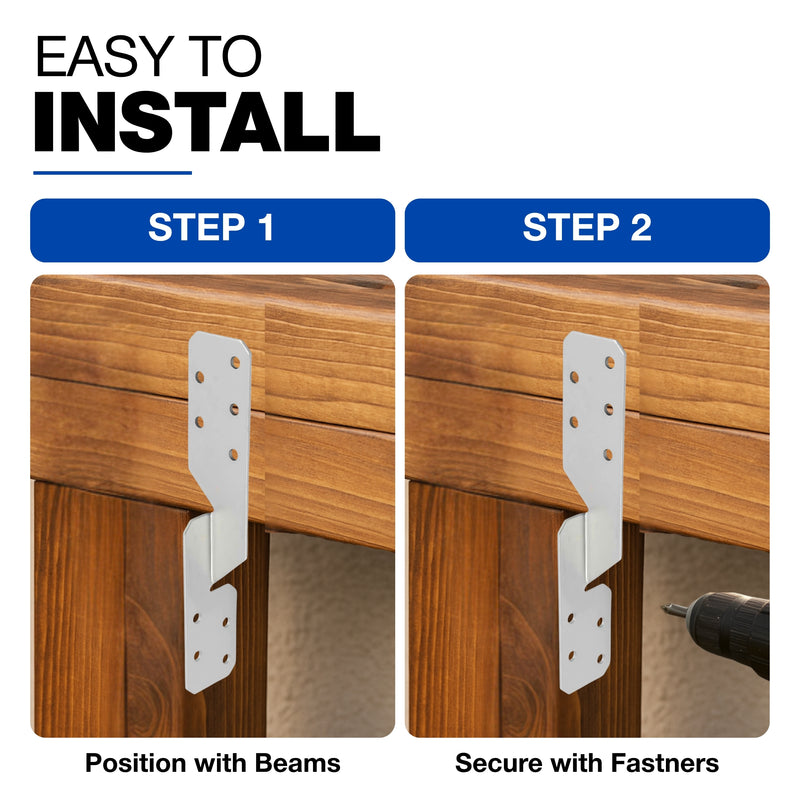
Fitting the wall brackets, step by step

- Mark a level line on the wall for the underside of the beam. A laser is easiest, a long spirit level and a pencil is fine.
- Mark bracket positions along that line so each one lands in the face of a brick, not on a perp joint. Shuffle a bracket 30 mm sideways rather than drilling a joint.
- Hold the bracket up, mark the holes, and drill with the hammer off for the first few millimetres so the bit doesn't skate and blow the brick face out.
- Blow or brush the dust out of the hole. Resin in a dusty hole is the single most common reason a chemical anchor pulls.
- Fit the anchors, hang the brackets, and check the row is still level before you tighten everything down.
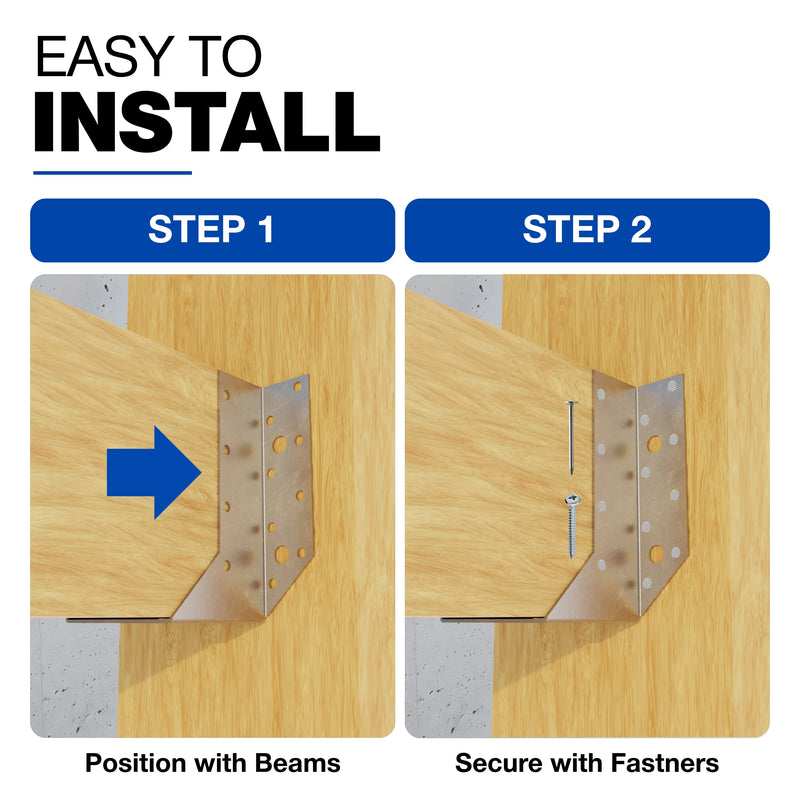
- Drop the beam in, fix it to the brackets through the bracket's own holes, and only then take the props away.
The outer half
The wall is half the job. The other half stands on the ground, and it fails more often.

Outer posts want a proper foot: a bolt-down or concrete-in post support that keeps the end grain off wet paving, because a post standing directly in a puddle will rot from the bottom long before anything at the wall goes wrong. Our adjustable and bolt-down post supports cover the usual 71 to 141 mm timbers.

At the top of each outer post you want a corner connector rather than a bracket: a three-way Y connector takes the post and two beams at a corner, and an L connector does a straight 90-degree turn. We've written up which pergola corner bracket does which joint in more detail, and if you're not fixing to the wall at all, the free-standing build with post connectors is the one to follow instead.
Common questions
Are the wall brackets different from the ones at the corners?
Yes, and it's the thing people get wrong when ordering. Wall brackets are one-sided with a flat back plate that bolts to masonry. Corner connectors wrap around a post and accept beams from two or three directions. Size them to your timber, not to each other.
How far apart should the wall brackets go?
One per beam end, so the spacing is really a question of how far apart your rafters or beams are. Most people land somewhere around 400 to 600 mm for rafters. Heavier timber can go wider, but the beam's span, not the bracket, is what limits you.
How far can a wall-mounted pergola stick out?
Two to four metres from the wall is ordinary for a domestic build with posts at the outer edge. Push much past that and you're into deeper beams or a third post in the middle. Wind matters more than weight here, and a slatted roof behaves very differently from a solid one.
Can I fix into the mortar instead of the brick?
You can, and plenty of people do, but we wouldn't for a structure over a seating area. Mortar is the softest thing in the wall and its condition varies wildly along a single course. Go into the brick.
Where to start
Measure your posts and beams first, because every bracket on the job is sized off that number. Then work out what the wall is before you buy anything for it. If you want to see the range in one place, the pergola brackets and post connectors collection has the wall brackets, corner connectors and post feet together.